
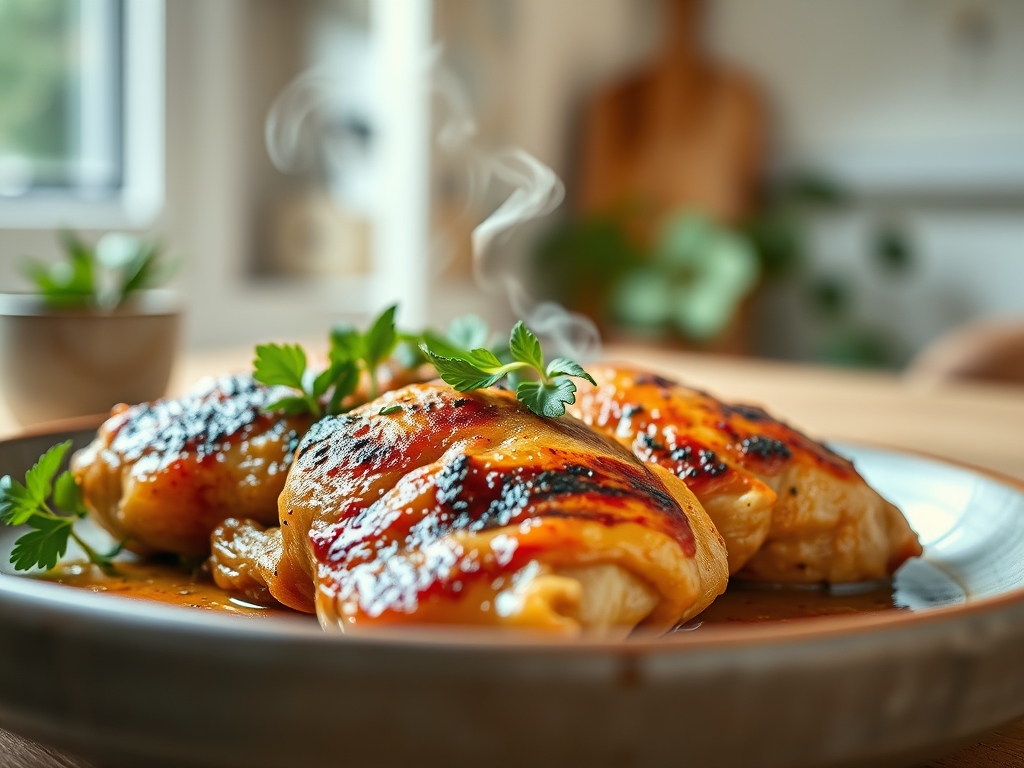
Picture the scene: a heavy-bottomed skillet hissing on the range, the air thick with the scent of toasted garlic and caramelized protein. We have all been there, staring at a pack of poultry and praying it does not turn into a dry, fibrous disaster. Most home cooks struggle with consistency, but the secret to mastering top chicken recipes lies in the intersection of molecular chemistry and heat management. We are moving beyond basic seasoning and entering the realm of cellular hydration and enzymatic browning. Whether you are searing a thigh or poaching a breast, the goal is a golden crust paired with an interior that remains succulent and tender. This is not just cooking; it is an exercise in moisture retention and flavor layering. By understanding how proteins denature and how fats emulsify, you can transform a humble bird into a five-star masterpiece every single time. Grab your digital scale and your favorite apron; we are about to overhaul your kitchen game with nine hacks that professional chefs use to keep their reputations intact.
The Gathers:
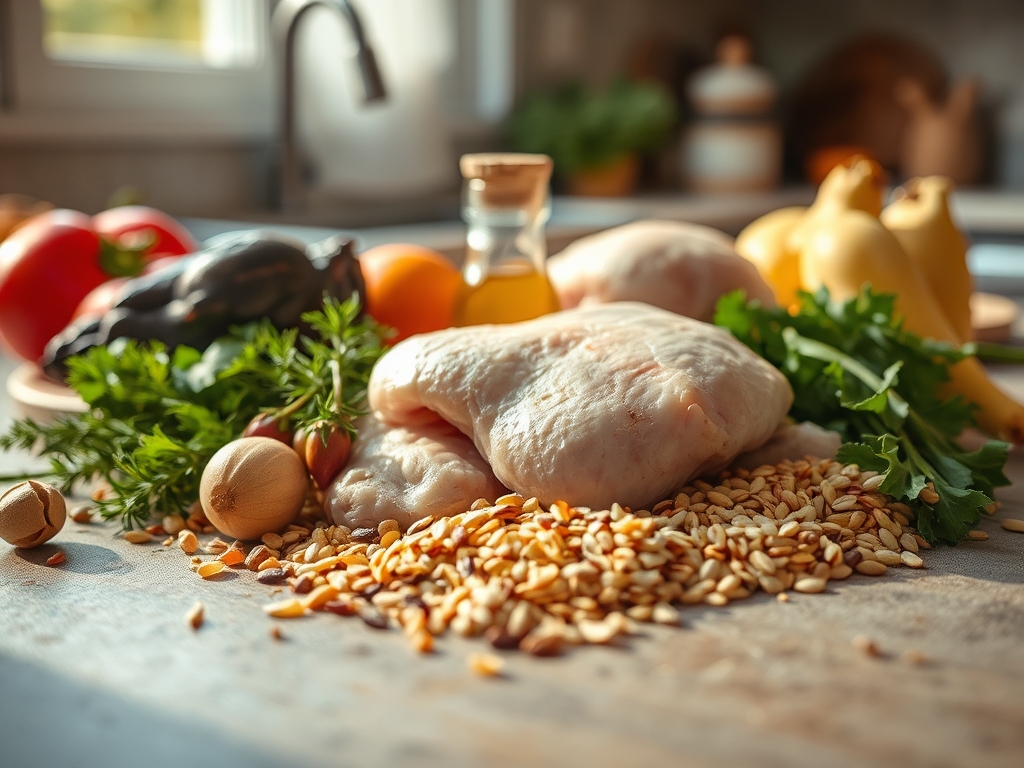
Setting up your station, or mise-en-place, is the difference between a frantic mess and a fluid performance. Start with your protein: organic, air-chilled chicken is the gold standard because it has not been bloated with a saline solution, allowing for a better sear. You will need a high-smoke-point fat like avocado oil or clarified butter to withstand the thermal intensity of the pan. For the aromatics, gather fresh thyme, rosemary, and several cloves of garlic. You will also need a piquant acid source, such as a bright lemon or a splash of dry white wine, to deglaze the pan and balance the richness of the rendered fats.
Smart Substitutions: If you are out of fresh lemons, a teaspoon of white wine vinegar provides the necessary acidity to cut through the viscous sauce. Instead of heavy cream for pan sauces, a dollop of Greek yogurt can provide a similar mouthfeel with a sharper tang. For those avoiding butter, a high-quality extra virgin olive oil added at the very end of the cooking process will infuse the dish with a grassy, peppery finish without the risk of burning the milk solids during the high-heat phase.
The Clock:
Efficiency in the kitchen is dictated by the "Chef's Flow." This means performing tasks in an order that maximizes passive time. Your total active prep time should be roughly 15 minutes, with cooking times varying between 12 to 25 minutes depending on the cut.
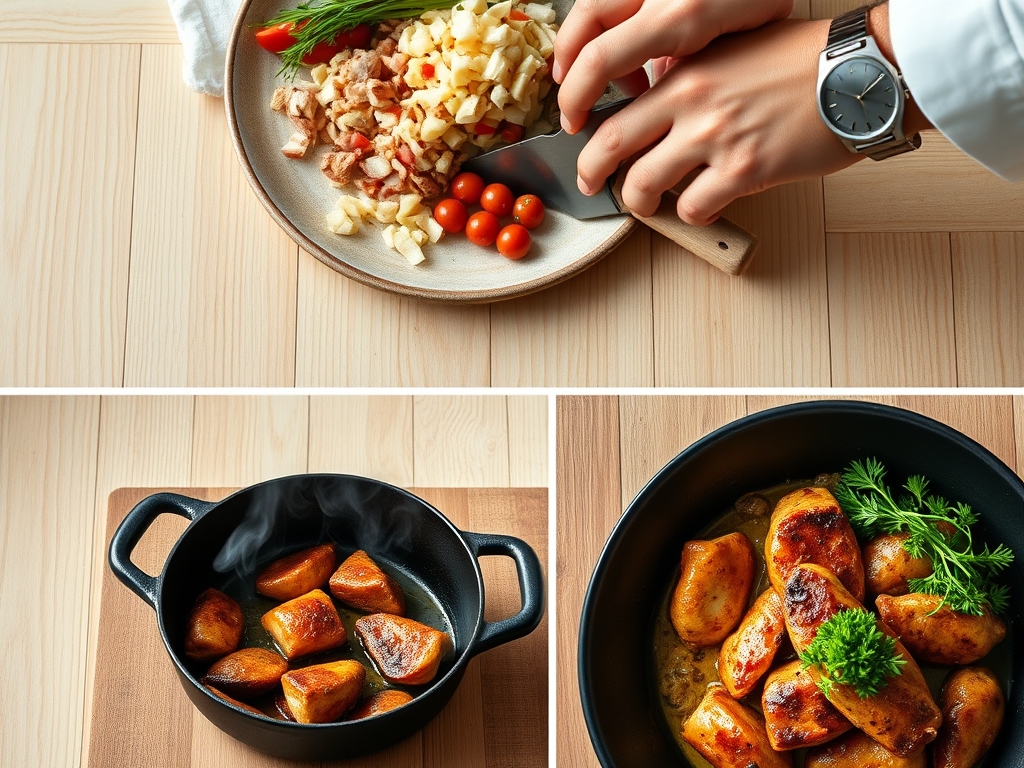
Start by tempering your meat; let it sit on the counter for 20 minutes to take the chill off. Cold meat hitting a hot pan causes the muscle fibers to seize, resulting in a tough texture. While the meat tempers, use your microplane to zest citrus and your bench scraper to organize chopped aromatics. The cooking process itself is a sequence: sear, aromatic infusion, deglaze, and rest. Never skip the ten-minute rest period at the end. This allows the internal pressure to stabilize and the juices to redistribute through the muscle fibers, ensuring that the moisture stays in the meat rather than spilling onto your cutting board.
The Masterclass:
1. The Dry Brine Technique
Generously salt your chicken at least 30 minutes before cooking. This process uses osmosis to draw moisture out, dissolve the salt, and then pull that seasoned brine back into the cells.
Pro Tip: This is known as denaturation. The salt breaks down the tightly wound protein strands, allowing them to hold more water during the high-heat cooking process.
2. The Skin-Side Cold Start
Place skin-on thighs in a cold, heavy-bottomed skillet before turning on the heat. This allows the fat to render slowly, resulting in a glass-like crunch without overcooking the meat underneath.
Pro Tip: Slow rendering prevents the skin from shrinking too quickly, which often traps unrendered fat and leads to a rubbery texture.
3. The Pounding Method
Use a meat mallet or the bottom of a heavy saucier to even out the thickness of chicken breasts. Uniformity ensures that the thin "tail" of the breast does not dry out while the thick center reaches safety.
Pro Tip: Maintaining a consistent thickness allows for uniform thermal conductivity, ensuring every bite reaches the 165 degree Fahrenheit mark simultaneously.
4. The Maillard Maximizer
Pat your chicken bone-dry with paper towels. Moisture is the enemy of the Maillard reaction, which is the chemical reaction between amino acids and reducing sugars that creates that savory, browned crust.
Pro Tip: Surface moisture causes the meat to steam rather than sear. A dry surface allows the temperature to exceed 300 degrees Fahrenheit instantly upon contact with the oil.
5. The Butter Baste
In the final two minutes of cooking, drop a knob of cold butter and crushed garlic into the pan. Use a large spoon to continuously douse the chicken in the foaming fat.
Pro Tip: This is an aromatic infusion. The milk solids in the butter brown quickly, adding a nutty complexity while the fat acts as a heat transfer medium for the garlic oils.
6. The Deglaze Maneuver
After removing the meat, pour wine or stock into the hot pan. Use a wooden spoon to scrape up the brown bits, known as the fond, which contain concentrated flavor.
Pro Tip: The alcohol in wine acts as a solvent, releasing flavor compounds that are not water-soluble or fat-soluble, creating a more complex sauce profile.
7. The Velvet Finish
For stir-fries or quick sautes, coat raw chicken strips in a mixture of cornstarch and egg white. This creates a protective barrier that keeps the interior silky.
Pro Tip: This technique, called velveting, creates a physical buffer that prevents the high heat of a wok from evaporating the intracellular fluids.
8. The Carryover Calculation
Remove your chicken from the heat when the internal temperature hits 160 degrees Fahrenheit. The temperature will continue to rise during the rest.
Pro Tip: This is thermal carryover. The residual heat on the surface moves toward the cooler center even after the heat source is removed, preventing overcooking.
9. The Acid Pop
Always finish your dish with a squeeze of fresh lemon or a dash of vinegar right before serving.
Pro Tip: Acid acts as a flavor enhancer by stimulating the salivary glands and brightening the heavier, fatty notes of the cooked protein.
The Deep Dive:
From a macro perspective, chicken is a lean protein powerhouse. A standard 6-ounce breast provides roughly 50 grams of protein with minimal fat. To keep it Keto, lean into the butter baste and skin-on thighs. For a Vegan alternative, these same searing and deglazing techniques work wonders on oyster mushrooms or thick-cut cauliflower steaks. If you are Gluten-Free, ensure your deglazing liquid is a certified stock or wine rather than a flour-thickened gravy.
The Fix-It:
- Rubbery Skin: You likely crowded the pan. Cook in batches to ensure steam can escape.
- Bland Interior: You skipped the brine. Salt early to ensure deep penetration.
- Sticking to Pan: You tried to flip too soon. Meat will naturally release from the metal once a proper crust has formed.
Meal Prep: To reheat without that "leftover" taste, avoid the microwave. Use a low-heat oven (300 degrees) with a splash of water or stock in the dish, covered tightly with foil. This creates a small steam chamber that rehydrates the proteins without toughening them.
The Wrap-Up:
Mastering the art of the bird is about control and chemistry. By respecting the Maillard reaction, utilizing the power of a dry brine, and never underestimating the importance of the rest, you elevate your kitchen status from novice to expert. These top chicken recipes are not just about following a list of ingredients; they are about understanding how heat interacts with fiber. Now, take these hacks, grab your tongs, and go create something legendary. Your dinner table will never be the same.
The Kitchen Table:
How do I prevent chicken from becoming dry?
Use a digital thermometer to pull the meat at 160 degrees Fahrenheit. Allow it to rest for ten minutes. This utilizes thermal carryover and lets juices redistribute, ensuring a succulent texture every time you cook.
Is it necessary to wash chicken before cooking?
No, you should never wash raw poultry. It does not remove bacteria; instead, it splashes pathogens across your sink and counters. Use paper towels to pat the surface dry for a better sear and improved safety.
What is the best pan for searing chicken?
A heavy-bottomed stainless steel or cast iron skillet is best. These materials retain heat efficiently, allowing for a consistent Maillard reaction and a superior crust that non-stick pans simply cannot replicate during high-heat cooking.
Can I use frozen chicken for these hacks?
Always thaw chicken completely in the refrigerator before cooking. Cooking from frozen leads to uneven heat distribution, resulting in a tough, overcooked exterior and a potentially raw, unsafe interior. Proper thawing ensures consistent thermal conductivity.