
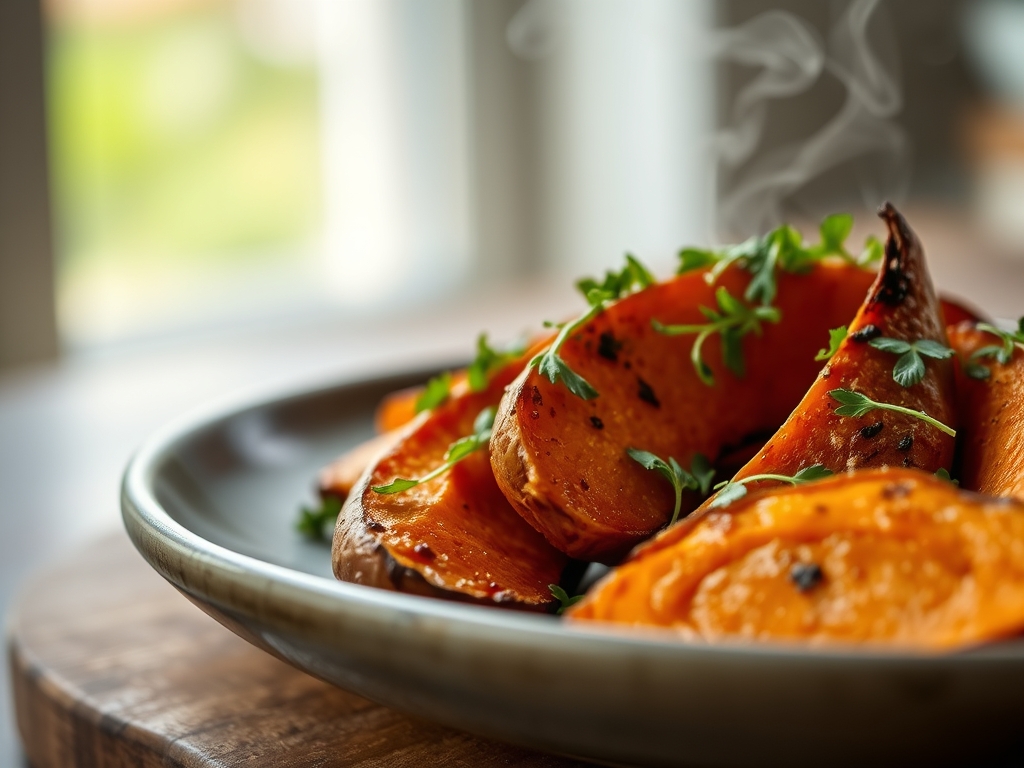
Imagine the sound of a knife slicing through a dense, orange tuber; it is a satisfying, earthy thud that promises a transformation from a humble root into a golden masterpiece. We have all been there, staring at a plate of limp, sad fries that lack structural integrity. If you are hunting for the ultimate sweet potato recipes wedges, you have officially arrived at the intersection of culinary science and comfort food. To achieve that elusive shattered-glass exterior and a pillowy, custard-like interior, we must manipulate starch molecules and moisture levels with surgical precision. This is not just about heat; it is about managing the Maillard reaction to create deep, complex sugars without crossing the line into carbonized bitterness. We are going to harness the power of surface area and thermal conductivity to ensure every single wedge delivers a piquant punch of flavor and a crunch that can be heard across the room. Grab your apron; we are about to turn a simple vegetable into a high-performance snack.
The Gathers:
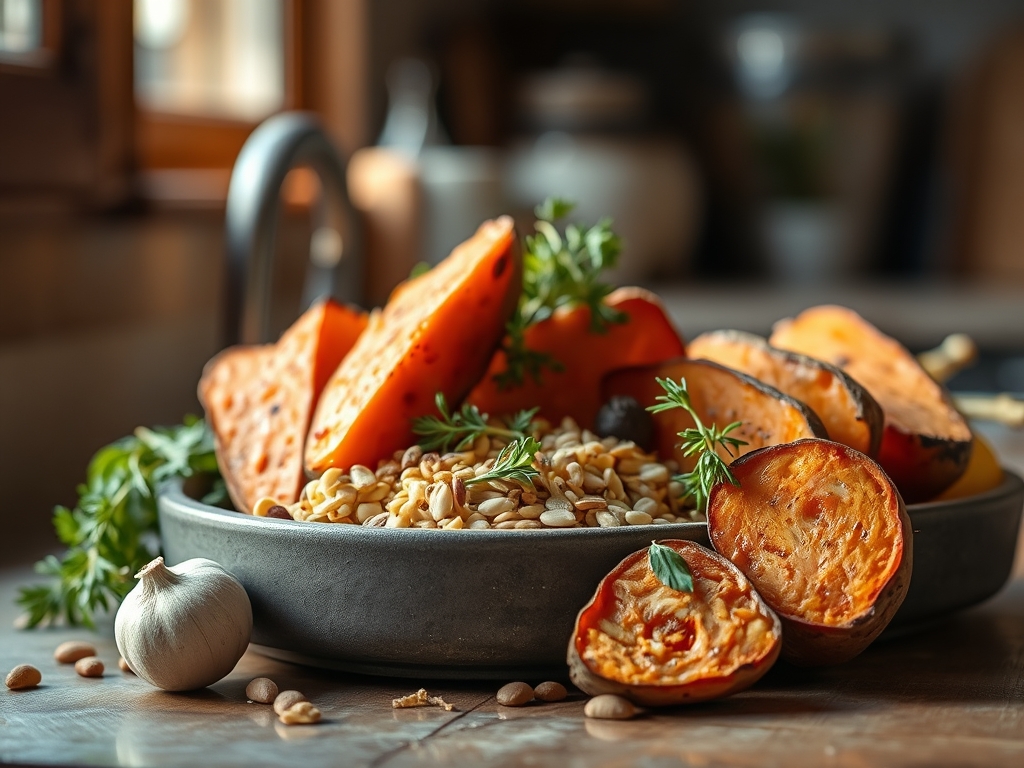
To begin our journey, we must assemble a mise-en-place that reflects both quality and chemistry. Start with three large Beauregard or Jewel sweet potatoes; these varieties possess the ideal sugar-to-starch ratio for roasting. You will need a high-smoke-point lipid, such as avocado oil or clarified butter, to ensure the fat does not break down at high temperatures. For the seasoning matrix, gather kosher salt, smoked paprika, garlic powder, and a touch of cornstarch. The cornstarch is our secret weapon; it creates a microscopic lattice on the surface that traps fat and dehydrates the skin for maximum crispness.
Smart Substitutions: If you are avoiding cornstarch, arrowroot powder or potato starch works beautifully to provide that same viscous coating. For a flavor pivot, swap the paprika for nutritional yeast to add a savory, umami depth that mimics parmesan cheese. Instead of traditional salt, try a pinch of smoked Maldon sea salt to enhance the natural earthiness of the root. Ensure your tools are ready: a sharp chef's knife, a heavy-duty rimmed baking sheet, and a large stainless steel mixing bowl to aerate the wedges during the coating process.
The Clock
Efficiency in the kitchen is all about the Chef's Flow. Expect about 15 minutes of active prep time, which includes washing, drying, and precision slicing. The roasting phase requires 30 to 35 minutes, depending on the calibration of your oven. However, the most critical time block is the five-minute "rest" period after they exit the heat. This allows the internal steam to redistribute, ensuring the exterior remains rigid rather than becoming soggy from residual moisture. Total time from pantry to plate is roughly 55 minutes; a small investment for a lifetime of better snacking.
Masterclass: 8 Hacks for the Ultimate Wedge
1. The Precision Cut
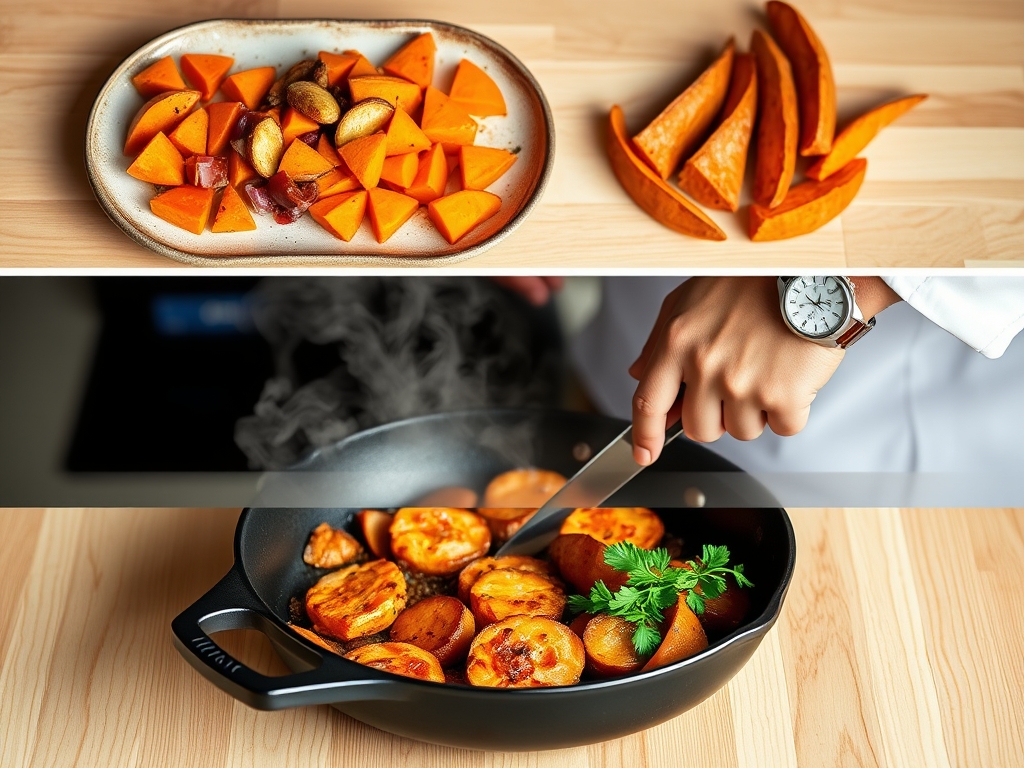
Using a sharp knife and a stable cutting board, slice your potatoes into uniform wedges. Aim for a thickness of three-quarters of an inch. Uniformity is not just for aesthetics; it ensures that every piece reaches the ideal internal temperature at the exact same moment.
Pro Tip: This prevents enzymatic browning and uneven cooking. If pieces vary in size, the smaller ones will carbonize before the larger ones soften.
2. The Cold Water Shock
Submerge your cut wedges in a bowl of ice-cold water for at least 20 minutes. This process draws out excess surface starch, which is the primary culprit behind "gloppy" or soft fries.
Pro Tip: Removing surface starch allows the heat to penetrate the cell walls more effectively, creating a crispier skin through better thermal conductivity.
3. The Bone-Dry Technique
After soaking, use a clean kitchen towel to buff each wedge dry. Moisture is the enemy of the crunch. If the surface is damp, the potato will steam in the oven rather than roast.
Pro Tip: Surface moisture causes a "steaming effect" that prevents the Maillard reaction from occurring until the water has fully evaporated, wasting precious cooking time.
4. The Cornstarch Dusting
Toss your dry wedges in a light coating of cornstarch before adding any oil. This creates a dry "primer" that helps the fat and spices adhere to the smooth skin of the potato.
Pro Tip: The starch acts as a desiccant, absorbing any microscopic droplets of water and turning them into a thin, crispy crust.
5. The Lipid Emulsion
Drizzle your oil over the starched wedges and use your hands to massage it in. You want a thin, even sheen, not a puddle. Every millimeter of the surface area should be coated to ensure even heat distribution.
Pro Tip: Fat acts as a heat transfer medium; without an even coat, you will get "hot spots" where the potato burns and "cold spots" where it remains raw.
6. The Space Program
Arrange the wedges on a preheated baking sheet with at least half an inch of space between them. If they touch, they will trap steam between them, leading to a soggy texture.
Pro Tip: Airflow is essential for convection. Crowding the pan lowers the ambient temperature around the food, preventing the sugars from caramelizing.
7. The Mid-Way Flip
Halfway through the roasting time, use metal tongs to flip each wedge. This ensures that the side in contact with the hot metal sheet does not overcook while the top side remains pale.
Pro Tip: This manages thermal carryover, ensuring the heat is distributed from the outside in, resulting in a uniform golden-brown hue.
8. The Post-Heat Seasoning
While you may have added base spices earlier, save the delicate herbs or extra salt for the moment they exit the oven. The residual oil will help the fresh seasonings stick without burning them.
Pro Tip: High heat can turn delicate spices bitter; adding them at the end preserves their volatile oils and aromatic profile.
The Deep Dive
From a nutritional standpoint, sweet potato recipes wedges are a powerhouse of Beta-carotene and fiber. A standard serving provides over 100 percent of your daily Vitamin A requirements. For those following specific protocols, these are naturally gluten-free. To make them Keto-friendly, reduce the portion size and increase the healthy fats like avocado oil. For a Vegan version, simply ensure your dipping sauce is plant-based, perhaps a silken tofu aioli.
The Fix-It:
- Soggy Wedges: You likely crowded the pan. Next time, use two sheets or roast in batches.
- Burnt Ends: The oven temperature was too high or the wedges were cut too thin. Calibrate with an oven thermometer.
- Bland Flavor: You forgot to salt the wedges while they were still hot. Salt needs heat to penetrate the surface.
Meal Prep: To reheat, avoid the microwave at all costs. Use an air fryer or a heavy-bottomed skillet for three minutes to re-crisp the exterior. This flashes off any absorbed moisture and restores that "day-one" snap.
The Wrap-Up
Mastering sweet potato recipes wedges is a rite of passage for any home cook who values texture and flavor. By understanding the relationship between starch, moisture, and heat, you move beyond following a recipe and start practicing culinary art. Whether you serve these with a spicy harissa dip or a simple garlic aioli, the result will always be a crowd-pleaser. Now, go forth and roast with confidence!
The Kitchen Table
Why are my sweet potato wedges always soft?
Softness usually stems from excess moisture or crowding the pan. Ensure you soak the wedges to remove starch, dry them thoroughly, and leave plenty of space on the baking sheet to allow steam to escape during the roasting process.
Do I need to peel the sweet potatoes?
Peeling is optional, but leaving the skin on provides structural integrity and extra fiber. The skin also crisps up beautifully, adding a rustic texture that complements the soft interior. Just be sure to scrub them well before slicing.
What is the best temperature for roasting?
Aim for 425 degrees Fahrenheit. This high heat is necessary to trigger the Maillard reaction and caramelize the natural sugars quickly, ensuring the outside gets crispy before the inside becomes overcooked or mushy.
Can I use an air fryer for this recipe?
Yes, an air fryer is excellent for wedges. Set it to 400 degrees Fahrenheit and shake the basket every five minutes. The intense convection air circulation often produces an even crispier result than a standard residential oven.