

The scent of bubbling fat and toasted spices hitting a hot skillet is the ultimate siren song for any home cook. We have all been there; staring at a pack of poultry while wondering how to achieve that elusive, shatteringly crisp skin and succulent interior. Finding drumstick chicken recipes easy enough for a Tuesday but fancy enough for a Friday is the holy grail of kitchen mastery.
The humble drumstick is a culinary marvel because it contains a high concentration of connective tissue and fat. Unlike the temperamental breast, which dries out if you blink too long, the drumstick is forgiving. It thrives under heat. When we apply the right techniques, those tough collagen fibers transform into silky gelatin, creating a mouthfeel that is rich, viscous, and deeply satisfying. We are going to move beyond basic roasting and dive into the molecular magic that turns a simple piece of dark meat into a gourmet centerpiece. Grab your favorite apron and a glass of something piquant; we are about to re-engineer your dinner routine with ten transformative hacks that prioritize both flavor and efficiency.
The Gathers:
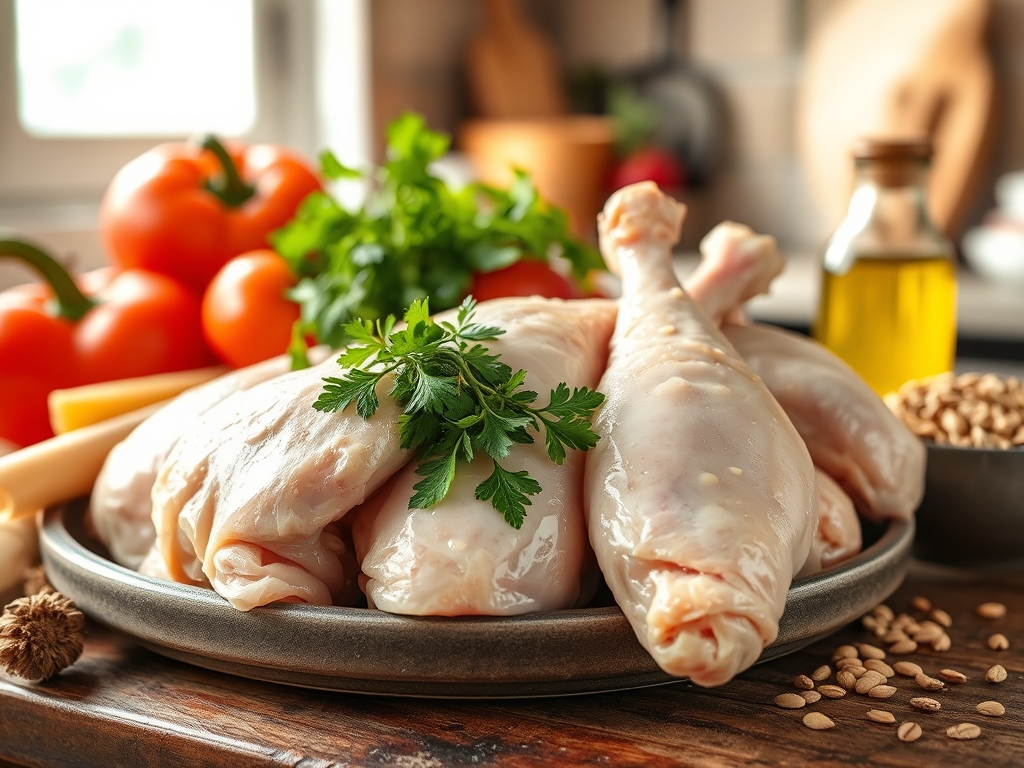
To execute these drumstick chicken recipes easy and efficiently, your mise-en-place must be precise. Start with five pounds of high-quality chicken drumsticks. Look for skin that is translucent and tight; this indicates freshness and a lower water content, which is essential for a proper sear.
Your flavor arsenal should include coarse kosher salt for optimal moisture extraction via osmosis and freshly cracked black pepper. You will need a high-smoke-point fat, such as avocado oil or clarified butter (ghee), to facilitate the Maillard reaction without scorching. For the aromatics, gather whole cloves of garlic, sprigs of woody rosemary, and a bright acid like lemon juice or apple cider vinegar to deglaze the pan.
Smart Substitutions:
If you lack fresh aromatics, a high-quality garlic confit or a concentrated onion powder can provide depth. For those avoiding dairy, replace butter with a neutral coconut oil or schmaltz to maintain that rich, savory profile. If you find yourself without a citrus acid, a splash of dry white wine or even a dash of balsamic vinegar will provide the necessary piquant lift to balance the rendered fats.
The Clock:
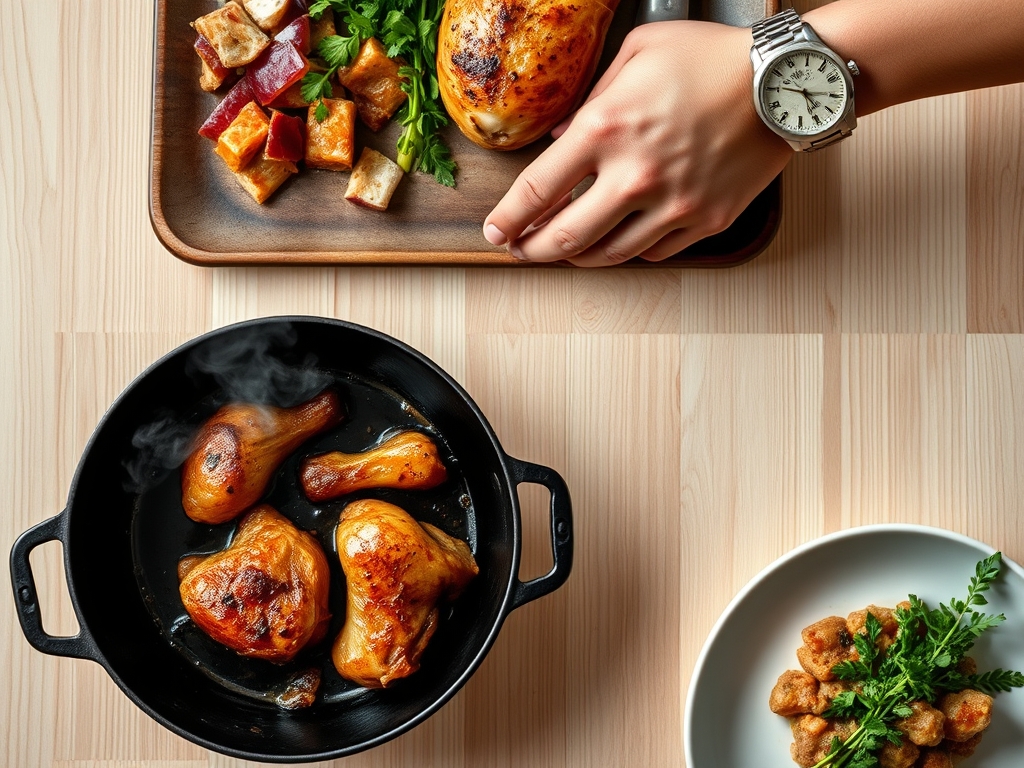
Mastering the "Chef's Flow" is about overlapping tasks to minimize downtime. Your total active prep time should hover around 15 minutes, while the thermal processing takes approximately 35 to 45 minutes depending on your heat source.
Begin by tempering your meat; let the chicken sit at room temperature for 20 minutes. This prevents "thermal shock," where the cold muscle fibers contract violently upon hitting a hot pan, resulting in a tough texture. While the chicken tempers, use a microplane to zest your citrus and a heavy-bottomed skillet to preheat. By the time your pan is shimmering, your chicken is ready for the sear. This synchronized approach ensures that by the time the timer dings, your kitchen is already halfway cleaned.
The Masterclass:
1. The Dry Brine Protocol
Before any heat is applied, pat your drumsticks bone-dry with paper towels. Liberally coat them in kosher salt and let them sit uncovered in the refrigerator for at least an hour.
Pro Tip: This process uses osmosis to draw moisture out, dissolving the salt into a concentrated brine that is then reabsorbed into the muscle. This denatures the proteins, allowing them to hold more moisture during the cooking process.
2. The Skin-Score Technique
Take a sharp paring knife and make two shallow longitudinal slits through the skin and into the thickest part of the meat. Be careful not to hit the bone.
Pro Tip: Scoring increases the surface area exposed to heat. This allows the subcutaneous fat to render out more efficiently, leading to a crispier exterior and faster heat penetration to the core.
3. The High-Smoke-Point Sear
Place your heavy-bottomed skillet over medium-high heat. Add your oil and wait for it to shimmer. Place the drumsticks in the pan using stainless steel tongs, ensuring they do not crowd each other.
Pro Tip: Crowding the pan causes the temperature to drop, leading to steaming rather than searing. A proper sear triggers the Maillard reaction; a chemical reaction between amino acids and reducing sugars that creates hundreds of different flavor compounds.
4. The Aromatic Infusion
Once the chicken has developed a golden-brown crust, toss in smashed garlic cloves and woody herbs. Use a spoon to baste the hot, flavored oil over the skin.
Pro Tip: Fat is a highly efficient flavor carrier. By infusing the rendering chicken fat with volatile oils from the herbs, you are layering flavor into every crevice of the meat.
5. The Low and Slow Finish
Transfer the skillet to a 375-degree oven or reduce the stovetop heat and cover. We are looking for an internal temperature of 175 degrees Fahrenheit for drumsticks.
Pro Tip: Unlike chicken breasts, which are done at 165 degrees, drumsticks benefit from a higher internal temperature. This extra heat is required to fully break down the tough collagen into silky gelatin.
6. The Acidic Deglaze
Once the chicken is removed, the pan will be covered in "fond" (the brown bits). Pour in a splash of stock or wine and scrape the bottom with a wooden spoon or bench scraper.
Pro Tip: Deglazing captures the concentrated flavor of the Maillard reaction. Adding an acid at this stage balances the richness of the rendered fats, creating a complex pan sauce.
7. The Resting Phase
Transfer the chicken to a warm plate and tent loosely with foil for at least five to ten minutes before serving.
Pro Tip: This allows for thermal carryover, where the internal temperature continues to rise slightly. More importantly, it allows the muscle fibers to relax and reabsorb the juices that were pushed to the center during cooking.
8. The Emulsified Glaze
Whisk a cold knob of butter or a teaspoon of Dijon mustard into your deglazed pan drippings until the sauce becomes glossy and thick.
Pro Tip: This is the science of emulsification. You are binding fat and water-based liquids into a stable, viscous coating that clings to the meat perfectly.
9. The Texture Contrast
Top your finished dish with something crunchy, like toasted panko or crushed nuts, and something fresh, like minced chives.
Pro Tip: Sensory perception is heightened by contrast. The interplay between the soft, succulent meat and a crisp topping creates a more engaging eating experience.
10. The Carryover Check
Always use a digital scale or an instant-read thermometer to verify the final temperature.
Pro Tip: Precision is the difference between a good cook and a great one. Relying on visual cues alone can be deceptive due to the varying thickness of the bone and meat.
The Deep Dive:
When we look at the macro nutrition of these drumstick chicken recipes easy versions, we see a profile rich in protein and healthy fats. A standard drumstick provides roughly 12 grams of protein and 9 grams of fat. Because we are focusing on rendering the fat rather than adding heavy breading, the caloric density remains manageable for most dietary goals.
Dietary Swaps:
For Keto enthusiasts, this recipe is naturally compliant; just ensure your deglazing liquid is low-carb (stick to dry wines or broth). For a Gluten-Free version, ensure your stock is certified GF and avoid any flour-based thickeners for the sauce. If you are looking for a vegan alternative, while the techniques for rendering fat won't apply, you can use the "Aromatic Infusion" and "Acidic Deglaze" steps on thick-cut cauliflower steaks or oyster mushrooms to achieve a similar depth of flavor.
The Fix-It:
- Soggy Skin: This usually happens if the meat was too wet or the pan wasn't hot enough. Fix it by placing the chicken under the broiler for 120 seconds.
- Raw Near the Bone: If the exterior is dark but the interior is pink, your heat was too high. Fix it by lowering the temperature and covering the pan to create a mini-oven effect.
- Bland Meat: This is a failure of seasoning. Fix it by aggressively seasoning your pan sauce and letting the chicken toss in it for two minutes before serving.
Meal Prep Science:
To maintain "day-one" quality when reheating, avoid the microwave. The microwave agitates water molecules, which can make the skin rubbery and the meat "steamed." Instead, reheat in an air fryer or oven at 350 degrees. This re-activates the fats in the skin, restoring that crucial crunch.
The Wrap-Up:
There you have it; a masterclass in turning a humble grocery staple into a culinary triumph. By understanding the physics of heat and the chemistry of flavor, you have moved beyond following a list of instructions to truly commanding your kitchen. These drumstick chicken recipes easy techniques are now part of your permanent repertoire. Remember, cooking is as much about the "why" as it is the "how." Now, go forth, sear with confidence, and enjoy the delicious fruits of your scientific labor!
The Kitchen Table:
How do I get the skin extra crispy?
The secret is dryness. Use a dry brine of salt and let the chicken air-dry in the fridge for several hours. This removes surface moisture, allowing the skin to fry in its own rendered fat immediately upon hitting the pan.
Can I use frozen drumsticks for these recipes?
Yes, but you must thaw them completely in the refrigerator first. Pat them extremely dry to remove excess ice crystals, as moisture is the enemy of the Maillard reaction and will cause the chicken to steam rather than sear.
What is the best oil for frying drumsticks?
Choose an oil with a high smoke point, such as avocado, grapeseed, or refined coconut oil. These fats can withstand the high temperatures necessary for a perfect golden crust without breaking down or creating bitter, scorched flavors in your dish.
How long can I store cooked drumsticks?
Cooked drumsticks stay fresh in an airtight container for three to four days. For the best texture, reheat them in an oven or air fryer to crisp the skin back up, rather than using a microwave which results in sogginess.