
Crack open a tin and you are met with a sight that is, admittedly, less than glamorous. But beneath that gelatinous layer lies a secret weapon for the modern kitchen. Mastering canned roast beef recipes is about more than just convenience; it is about harnessing pre-tenderized protein to create meals that taste like they spent eight hours in a slow cooker.
The magic of canned beef is the result of commercial canning processes that act as a high-pressure braise. Because the meat is cooked inside the sealed vessel, every drop of moisture and collagen is retained within the fibers. When you understand how to manipulate these proteins through high-heat searing and acid-based deglazing, you transform a pantry staple into a gourmet centerpiece. Whether you are craving a piquant stroganoff or a crispy hash, these six hacks will turn your kitchen into a high-end bistro without the long-haul wait times.
The Gathers:
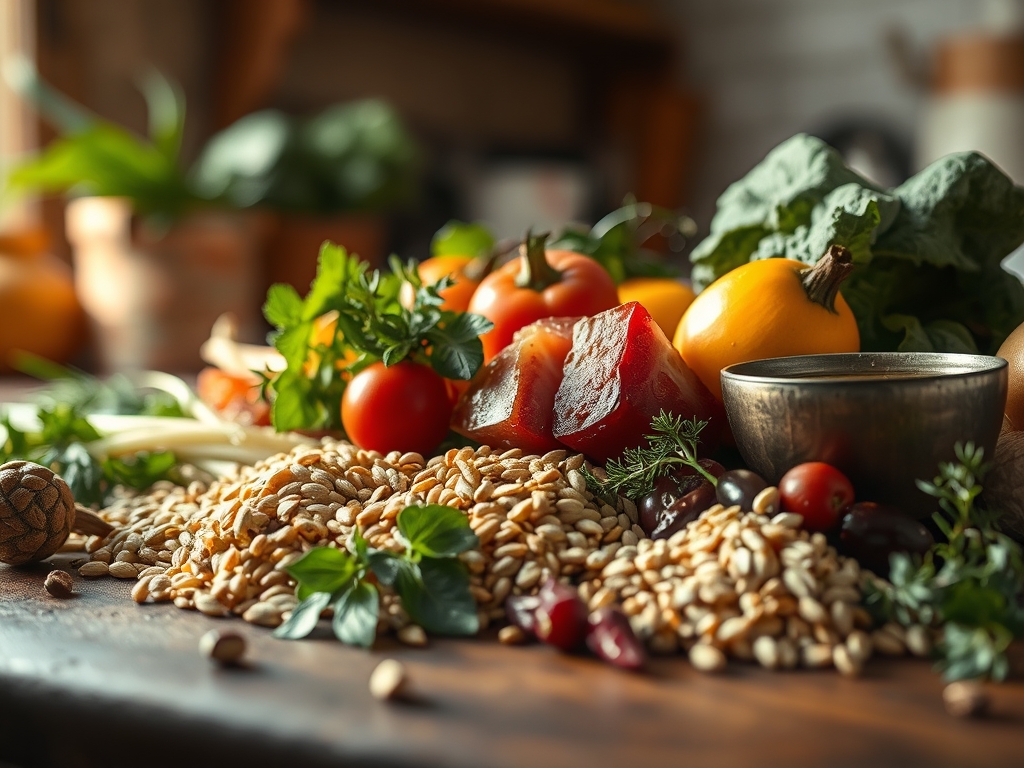
To execute these canned roast beef recipes with professional precision, your mise-en-place must be impeccable. You are not just opening a can; you are building a flavor profile. Start with high-quality canned beef in natural juices. The liquid inside is liquid gold; it is a viscous beef stock rich in gelatin that will provide body to your sauces.
You will need aromatic foundations: yellow onions for their high sugar content, garlic cloves to be crushed with a heavy-bottomed skillet, and fresh herbs like rosemary or thyme to infuse the fats. For the "Smart Substitutions," if you find the canned beef too salty, balance the salinity with an acid like apple cider vinegar or a splash of dry red wine. If you are aiming for a lighter profile, swap the heavy cream in sauces for a silken tofu puree or a dollop of Greek yogurt to maintain that creamy mouthfeel without the saturated fat. Always have a microplane ready for zesting citrus or grating fresh horseradish to provide a sharp, clean finish to the heavy protein.
The Clock:
Efficiency in the kitchen is governed by what professionals call "Chef's Flow." The beauty of canned roast beef recipes is that the primary protein is already fully cooked, meaning your "active" time is focused entirely on texture and flavor development.
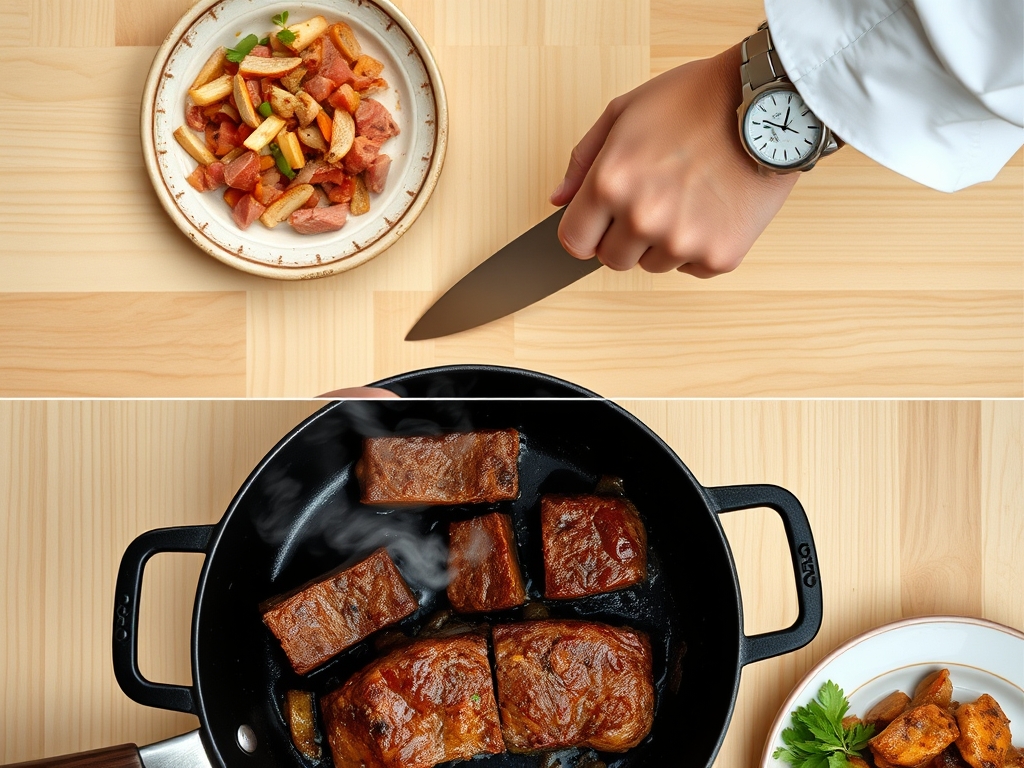
Total prep time is usually under ten minutes, involving simple knife work with a sharp chef's knife or a bench scraper to organize your aromatics. The cooking time ranges from five to fifteen minutes. The goal is never to "cook" the meat further, as that leads to mushy fibers; instead, you are aiming for a quick Maillard reaction on the surface or a rapid reduction of the surrounding sauce. By synchronizing your starch (like boiling pasta or toasting bread) with the five-minute sear of the beef, you ensure that every component reaches the plate at the peak of its thermal cycle.
The Masterclass:
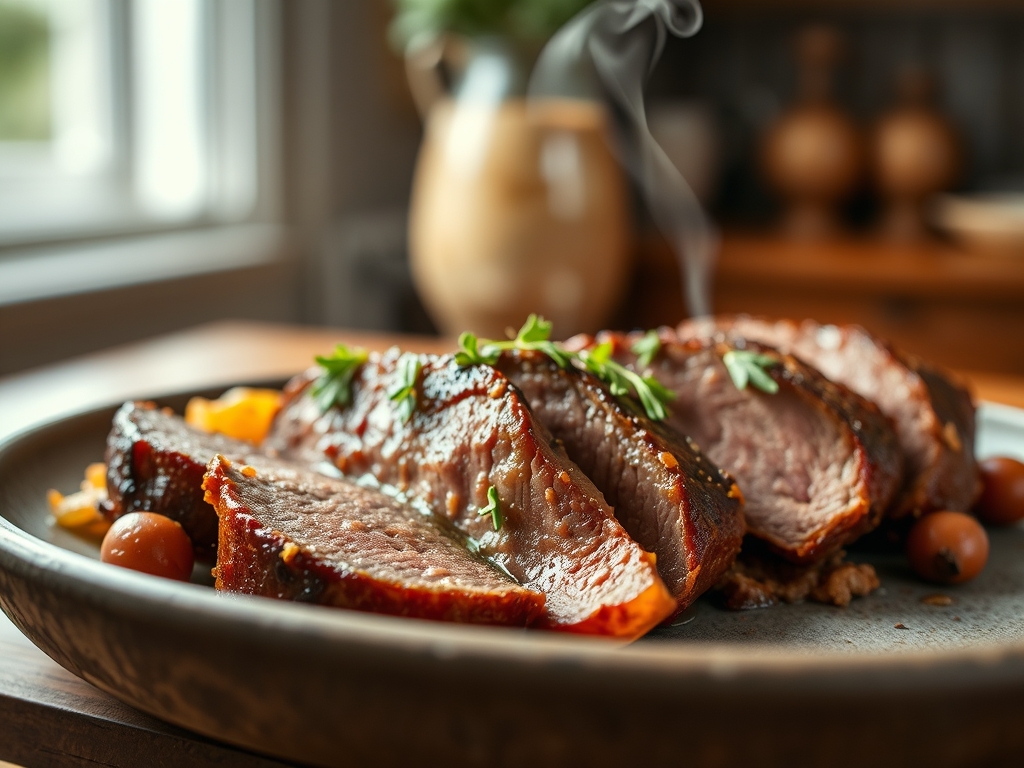
1. The High-Heat Sear
Drain the beef, but save the liquid. Pat the meat dry with paper towels to remove surface moisture. Heat a heavy-bottomed skillet until it wisps with smoke, then add a high-smoke-point oil. Sear the beef chunks without crowding the pan until a deep brown crust forms.
Pro Tip: This relies on the Maillard reaction. By removing surface water, you allow the temperature to exceed 300 degrees Fahrenheit, which creates complex flavor compounds that canned meat naturally lacks.
2. Deglazing for Depth
Once the beef is seared and removed, the bottom of your pan will be covered in "fond" (browned bits). Pour in a splash of red wine or beef stock and use a wooden spoon to scrape the bottom.
Pro Tip: This is a chemical extraction process. The alcohol or water acts as a solvent, dissolving the caramelized proteins and incorporating them into a viscous sauce that coats the meat perfectly.
3. The Emulsified Pan Sauce
Lower the heat and whisk in a cold pat of butter or a spoonful of heavy cream into your deglazed liquid. Use a saucier if available for better whisking angles.
Pro Tip: This creates a stable emulsion. The fats bind with the gelatin from the canned beef juices, resulting in a glossy, professional finish that clings to the palate.
4. Aerating the Aromatics
Add your garlic, shallots, or herbs only in the final two minutes of cooking. Use tongs to toss the beef through the aromatics so they soften without burning.
Pro Tip: Volatile aromatics are heat-sensitive. Cooking them too long destroys the delicate essential oils; a short "bloom" in hot fat maximizes their olfactory impact.
5. Acid Balancing
Just before serving, use your microplane to add a touch of lemon zest or a teaspoon of capers.
Pro Tip: Acid acts as a flavor brightener by stimulating the salivary glands. This offsets the richness of the beef and prevents the dish from tasting "flat" or overly metallic.
6. The Resting Phase
Even though the meat is pre-cooked, let the finished dish sit for three minutes before plating.
Pro Tip: This allows for thermal carryover to stabilize. The fibers slightly relax and reabsorb the sauce, ensuring the meat is succulent rather than stringy when it hits the tongue.
The Deep Dive:
When it comes to nutrition, canned roast beef is a protein powerhouse, typically offering 15 to 20 grams of protein per serving. However, it can be high in sodium. To manage this, always rinse the beef if you are on a strict low-sodium diet, though you will lose some flavor. For Keto enthusiasts, this is a dream ingredient; it is zero-carb and pairs beautifully with high-fat marrow butters. For a Vegan swap, use canned young jackfruit, which mimics the stringy texture of roast beef, though you will need to add umami via liquid aminos or mushroom powder.
"The Fix-It" section: If your beef is too salty, add a peeled potato to the sauce to absorb excess ions, then discard the potato. If the texture is too soft, toss the chunks in cornstarch before searing to create a "shell." If the sauce is too thin, use a digital scale to measure out a 1:1 ratio of flour and butter for a quick roux to thicken the liquid. For meal prep, reheat the beef in a covered dish with a tablespoon of water to create a steam chamber; this prevents the protein from becoming "rubbery" in the microwave.
The Wrap-Up:
You now possess the technical blueprint to turn a humble tin into a culinary triumph. Canned roast beef recipes are the ultimate "low effort, high reward" hack for the busy, flavor-obsessed cook. By focusing on the science of the sear and the precision of the pan sauce, you bridge the gap between "emergency food" and "executive chef." Now, grab your saucier, fire up the range, and show that pantry staple some respect.
The Kitchen Table:
Can I use the liquid inside the can?
Yes; that liquid is a concentrated beef stock rich in gelatin. It provides a luxurious mouthfeel to sauces. If it is too salty, dilute it with a splash of water or unsalted broth before reducing it in your skillet.
How do I stop the beef from falling apart?
Avoid over-stirring. Use tongs to gently turn the pieces during the searing process. Since the meat is already tender from the canning process, excessive mechanical agitation will break the muscle fibers into a mash rather than distinct chunks.
Is canned roast beef healthy?
It is an excellent source of bioavailable protein and iron. To optimize health benefits, pair it with high-fiber vegetables and watch the added salt. It is a shelf-stable way to ensure you always have high-quality macros on hand.
What is the best way to store leftovers?
Store in an airtight glass container for up to three days. When reheating, add a splash of liquid and cover tightly. This maintains the moisture levels and prevents the proteins from denaturing further, which causes a "leftover" metallic taste.