
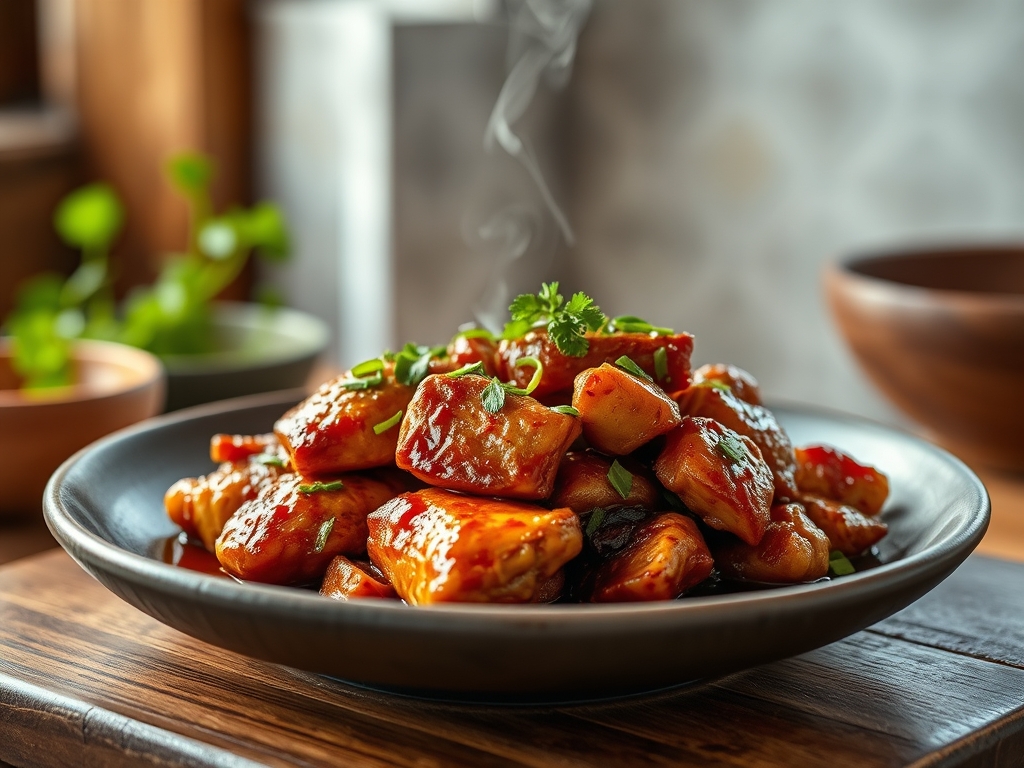
Picture the scent of sugar caramelizing against high heat; it is that intoxicating mix of toasted soy and ginger that hits the back of your throat before you even take a bite. We are talking about that glossy, mahogany sheen that defines the best teriyaki chicken recipes easy enough for a Tuesday but sophisticated enough for a dinner party. It is the ultimate balance of salty, sweet, and savory.
The secret to mastering this dish lies in the chemistry of the glaze. When you combine fermented soy sauce with sugar and heat, you trigger the Maillard reaction; this is the chemical process where amino acids and reducing sugars transform into hundreds of different flavor compounds. It is not just cooking; it is alchemy in a heavy-bottomed skillet. By the time the sauce reduces to a viscous coating, your kitchen will smell like a professional izakaya.
The Gathers:
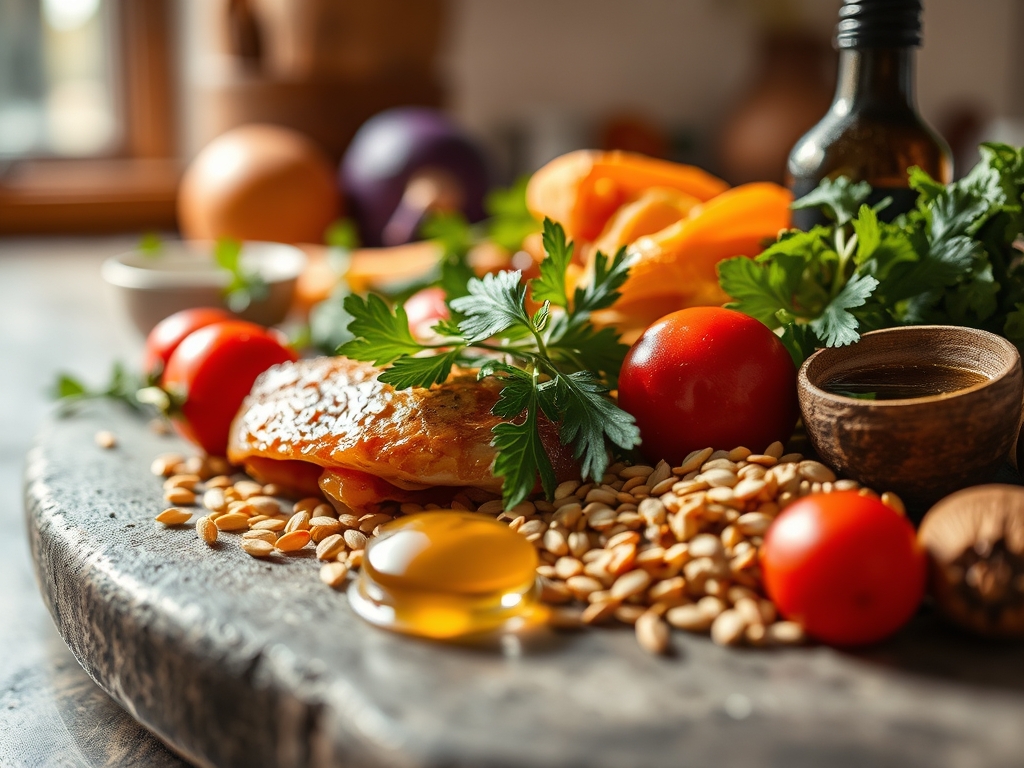
Before we ignite the burner, we must respect the mise-en-place. To achieve the perfect texture, use a digital scale for your liquids to ensure precision. You will need high-quality chicken thighs; the dark meat contains more connective tissue and fat, which will render beautifully and stay succulent under high heat. For the aromatics, reach for a microplane to grate fresh ginger and garlic into a fine paste. This increases the surface area, allowing the essential oils to infuse the sauce instantly without leaving chunky, bitter bits in your glaze.
Your pantry staples are the backbone here. You need tamari or dark soy sauce for that deep umami base, mirin for a piquant acidity and shine, and honey or brown sugar to provide the necessary carbohydrates for caramelization. If you want a "Smart Substitution," swap the mirin for dry sherry with a pinch of extra sugar; the flavor profile remains remarkably similar. For a kick, a splash of rice vinegar can aerate the heavier notes of the soy, cutting through the richness of the rendered chicken fat.
The Clock
Efficiency in the kitchen is all about "Chef's Flow." This recipe demands a total of 25 minutes; 10 minutes for prep and 15 minutes for active cooking. While the chicken sears, you should be whisking your sauce components in a small saucier. Never wait for the chicken to finish before starting your sauce slurry. By synchronizing these tasks, you ensure the meat does not sit and lose its internal temperature while you faff about with measuring spoons. The goal is to hit that perfect window where the sauce thickens just as the chicken reaches its safe internal temperature of 165 degrees Fahrenheit.
The Masterclass
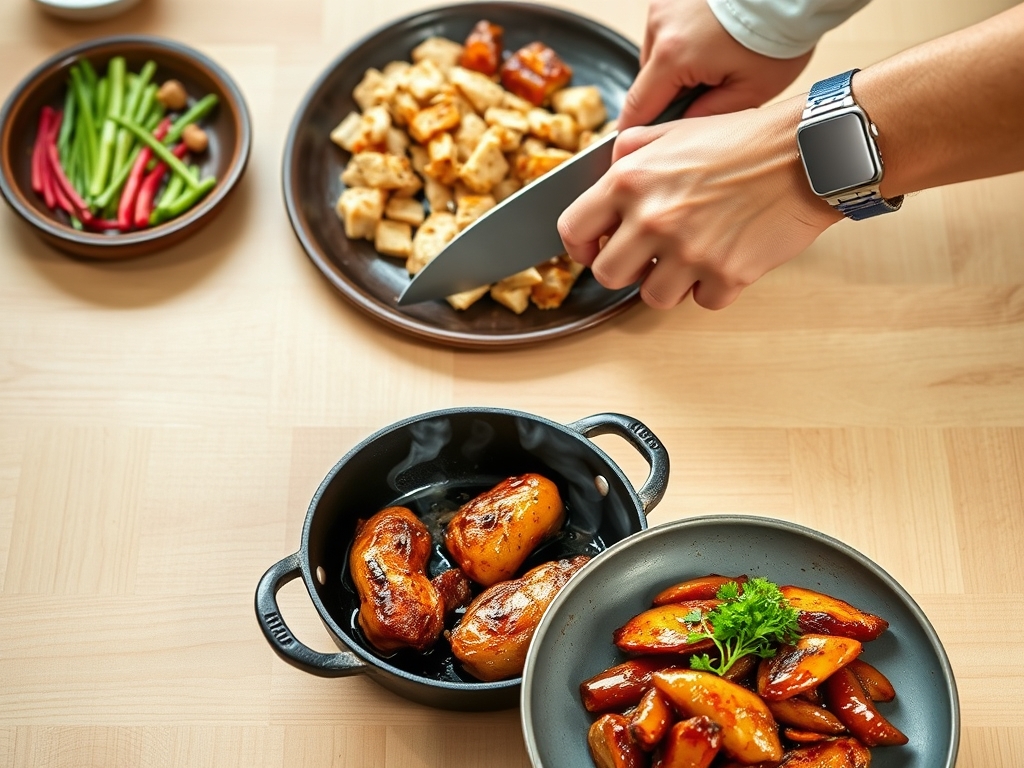
1. The Sear and Render
Pat your chicken dry with paper towels. Moisture is the enemy of the crust. Place the chicken skin-side down (or fat-side down) in a cold skillet, then turn the heat to medium-high. This allows the fat to render slowly, resulting in a crispier exterior. Use stainless steel tongs to press the meat down for maximum surface contact.
Pro Tip: This technique utilizes conductive heat transfer. By starting with a dry surface, you prevent the meat from steaming, ensuring the proteins undergo enzymatic browning rather than just boiling in their own juices.
2. Deglaze and Infuse
Once the chicken is golden, remove it from the pan and pour off all but a tablespoon of the fat. Toss in your grated ginger and garlic. Use a wooden spoon or bench scraper to move the aromatics constantly so they do not burn. After 30 seconds, pour in your liquid base to deglaze the pan, scraping up those flavorful brown bits known as "fond."
Pro Tip: The fond contains concentrated flavor molecules. When you introduce liquid, you are performing a solvent extraction, pulling those deep, savory notes back into your sauce.
3. The Reduction Phase
Return the chicken to the pan and pour the rest of the sauce over it. Increase the heat to bring the liquid to a vigorous simmer. The water content will evaporate, leaving behind a concentrated, viscous syrup. Flip the chicken frequently to ensure every millimeter is coated in the darkening glaze.
Pro Tip: Watch for the bubble size. Small, tight bubbles indicate the water is almost gone and the sugars are beginning to concentrate. This is the stage of hygroscopic thickening, where the sugar molecules bind the remaining moisture into a thick glaze.
4. The Rest and Slice
Remove the chicken from the heat when the sauce coats the back of a spoon. Transfer the meat to a cutting board and let it rest for five minutes before slicing. This allows the muscle fibers to relax and reabsorb the internal juices.
Pro Tip: This prevents moisture loss via thermal carryover. If you slice too soon, the internal pressure will force the juices out, leaving you with dry meat despite a perfect sauce.
The Deep Dive
From a macro nutrition perspective, this dish is a protein powerhouse. A standard serving provides roughly 35 grams of protein. To manage the glycemic load, you can swap the honey for a monk fruit sweetener if you are following a Keto protocol. For my Gluten-Free friends, simply ensure you are using certified GF tamari, as standard soy sauce contains fermented wheat.
If you find yourself in a "Kitchen Crisis," do not panic. If the sauce is too salty, add a teaspoon of rice vinegar or lime juice; the acid masks the sodium perception. If the sauce is too thin, whisk a teaspoon of cornstarch with cold water to create a slurry and stir it into the boiling liquid for an instant colloidal suspension. If the chicken is sticking, you likely tried to flip it too early; wait for the proteins to naturally release from the pan.
For meal prep enthusiasts, reheating is a science. Avoid the microwave if possible, as it vibrates water molecules too violently, toughening the protein. Instead, use a small pan with a splash of water and a lid. This creates a steam-saturated environment that thins the glaze back to its original consistency without overcooking the meat.
The Wrap-Up
There you have it; the definitive guide to teriyaki chicken recipes easy enough to memorize but technical enough to impress any foodie. By focusing on the science of the sear and the precision of the reduction, you have elevated a simple weeknight meal into a culinary staple. Grab your tongs, fire up that skillet, and enjoy the glorious, sticky rewards of your labor!
The Kitchen Table
Can I use chicken breast instead of thighs?
Yes, but reduce the cook time. Breasts lack the fat and connective tissue of thighs, making them prone to drying out. Use a meat thermometer to pull them at exactly 165 degrees Fahrenheit for the best results.
How do I make the sauce extra shiny?
The secret is the "emulsion finish." Whisk in a single pat of cold, unsalted butter right at the end after turning off the heat. This creates a glossy, professional sheen and a richer mouthfeel.
What is the best way to store leftovers?
Store in an airtight glass container for up to four days. Glass is non-reactive and won't absorb the strong garlic and ginger odors, ensuring your fridge stays fresh and the chicken retains its flavor profile.
Why is my ginger flavor too subtle?
You likely cooked it too long. Volatile aromatic compounds in ginger dissipate with extended heat. For a sharper bite, add half your ginger at the start and the remaining half right before the sauce finishes reducing.
Can I make this in a slow cooker?
You can, but you will miss the Maillard reaction. To compensate, sear the chicken in a pan first, then transfer to the cooker. You must reduce the sauce on the stovetop afterward to achieve that signature thick viscosity.