

Imagine the scent of rendering schmaltz and toasted rosemary wafting through your kitchen as the skin turns a deep, mahogany gold. Mastering whole oven chicken recipes is more than a culinary milestone; it is the ultimate flex of domestic competence. When that bird hits the table, glistening under the light with a crackling exterior and steam rising from the joints, you are not just serving dinner. You are serving a masterclass in thermodynamics and lipid chemistry. There is something primal about a perfectly roasted bird that commands respect from every guest. It is the centerpiece of a Sunday tradition, the anchor of a healthy meal prep routine, and the most cost-effective way to feed a crowd without sacrificing elegance. Whether you are aiming for a classic French rotisserie style or a spicy, citrus-infused variation, the foundation remains the same. It is all about managing moisture and heat to achieve that elusive balance of succulent meat and glass-like skin. Let us dive into the technical details that separate a dry, grey bird from a legendary feast.
The Gathers:
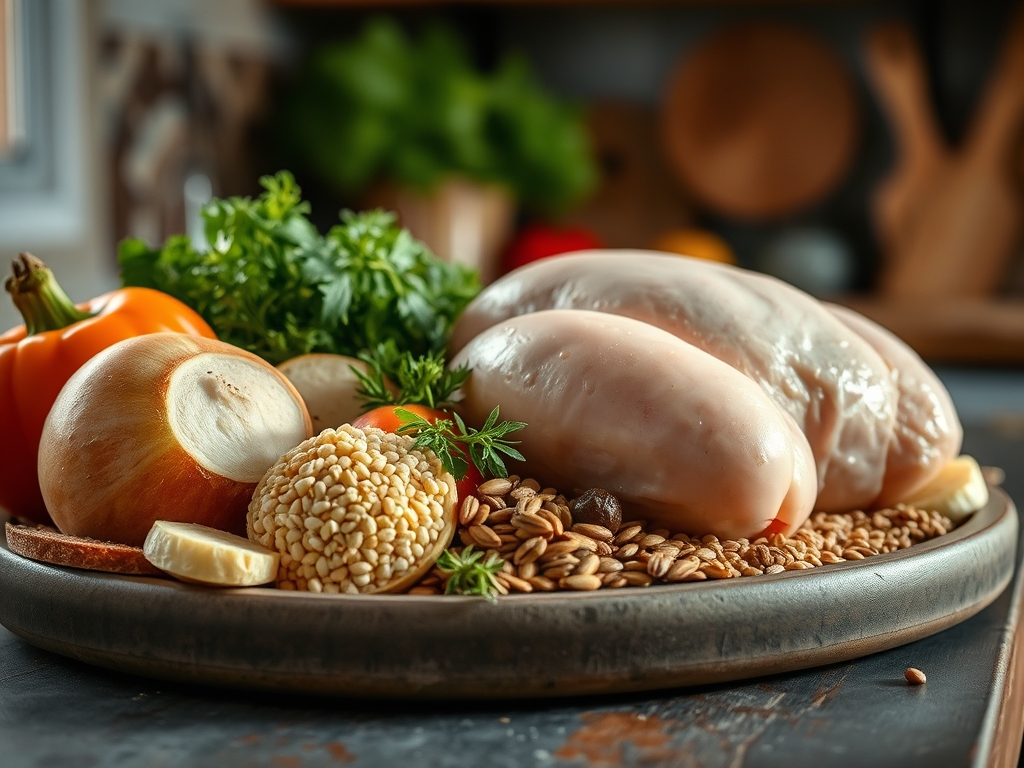
Setting your station is the first step toward a successful roast. You will need a four to five pound bird, preferably air-chilled to ensure the skin is not waterlogged. For the aromatics, gather a head of garlic sliced crosswise to expose the cloves; a bundle of woody herbs like thyme, rosemary, and sage; and two lemons for a piquant acidity. Your fats are crucial. I recommend high-quality unsalted butter for flavor and a high-smoke-point oil like avocado oil to facilitate the Maillard reaction without burning.
Use a digital scale to weigh your salt. Aim for approximately one percent of the bird's weight in kosher salt to ensure deep seasoning. A microplane is essential for zesting the lemons directly into your softened butter, capturing the volatile oils before they evaporate. If you find yourself missing an ingredient, do not panic. Smart Substitutions are your best friend. Swap butter for ghee if you want a nuttier, lactose-free profile. If fresh herbs are scarce, use a teaspoon of dried herbes de Provence mixed with oil to rehydrate the botanicals. For those avoiding citrus, a splash of dry white wine or apple cider vinegar in the roasting pan provides that necessary acidic brightness to cut through the viscous fat.
The Clock
Efficiency in the kitchen relies on what I call the Chef's Flow. The total active prep time is roughly twenty minutes, but the bird requires a "rest" before it ever touches the heat. Plan for sixty to ninety minutes of roasting time, depending on the weight and your oven's calibration.
The flow begins with tempering the meat. Take the chicken out of the refrigerator forty-five minutes before cooking. Cold meat causes the muscle fibers to seize when they hit the heat, resulting in a tough texture. While the bird tempers, preheat your oven to 425 degrees Fahrenheit. This high initial heat is non-negotiable for rendering the subcutaneous fat. Once the bird is in, your job is largely passive, but the final rest is the most critical time block. You must allow at least fifteen minutes for the internal juices to redistribute. If you carve too early, the liquid gold runs out onto the board, leaving the breast meat dry and lackluster.
The Masterclass
1. The Prep and Pat Down
Start by removing the giblets and drying the bird inside and out with paper towels. Moisture is the enemy of crispiness. Use a bench scraper to clear any debris from your workspace, ensuring a sterile environment.
Pro Tip: This process utilizes evaporative cooling. If the skin is wet, the oven's energy is wasted turning water into steam rather than browning the skin. A bone-dry bird starts searing the moment it enters the heat.
2. The Seasoning Layer
Generously salt the cavity and the skin. Use your fingers to gently separate the skin from the breast meat, creating a pocket. Slide your herb-infused butter into this space, spreading it evenly.
Pro Tip: This is a form of subcutaneous basting. As the butter melts, it protects the lean breast meat from overcooking while the fats infuse the muscle fibers with flavor.
3. Trussing for Uniformity
Use butcher's twine to tie the legs together and tuck the wings under the body. This creates a compact shape, which prevents the extremities from burning before the core reaches the safe temperature.
Pro Tip: Trussing reduces the surface-area-to-volume ratio. This ensures thermal equilibrium, meaning the dark meat and white meat finish cooking at roughly the same time despite their different fat contents.
4. The High-Heat Blast
Place the bird on a rack inside a heavy-bottomed skillet or roasting pan. Roast at 425 degrees for the first twenty minutes. This aggressive heat triggers the Maillard reaction, the chemical bridge between amino acids and reducing sugars that creates savory complexity.
Pro Tip: The high heat causes the fat to render quickly. As the fat liquefies, it fries the skin from the inside out, creating that signature crunch.
5. The Temperature Transition
Lower the oven to 375 degrees to finish the cooking process. This prevents the exterior from charring while the heat slowly migrates to the center of the bird. Use tongs to rotate the pan halfway through for even browning.
Pro Tip: Slowing the heat transfer prevents the outer layers of the meat from becoming "grainy" due to protein over-coagulation.
6. The Internal Check
Use a digital thermometer to check the thickest part of the thigh. You are looking for 160 degrees Fahrenheit. The temperature will continue to rise once the bird is removed from the oven.
Pro Tip: This is called thermal carryover. The residual heat on the surface continues to cook the center, usually adding another five degrees, bringing you to the FDA-recommended 165 degrees without drying it out.
7. The Resting Period
Transfer the chicken to a warm platter. Do not tent it tightly with foil, as the trapped steam will soften the skin you worked so hard to crisp. Let it sit for fifteen to twenty minutes.
Pro Tip: Resting allows the viscosity of the juices to increase as they cool slightly. This ensures the moisture stays locked within the cellular structure of the meat.
8. The Pan Sauce Finale
While the bird rests, place your roasting pan on the stovetop. Use a saucier or the pan itself to deglaze the brown bits (fond) with a splash of wine or stock. Whisk in a knob of cold butter to create a glossy emulsion.
Pro Tip: Emulsification binds the fats and liquids into a cohesive sauce. The acidity of the wine balances the richness of the rendered chicken fat.
The Deep Dive
From a nutritional standpoint, a whole roast chicken is a powerhouse. It is high in bioavailable protein and essential minerals like selenium and phosphorus. For those following a Keto lifestyle, the skin provides healthy fats that keep you satiated. If you are Gluten-Free, this is naturally your safest bet for a gourmet meal. For a Vegan alternative, use the same roasting techniques and aromatics on a whole head of cauliflower or a large "steak" of celery root, basting with olive oil instead of butter.
Even the best chefs hit snags. If your skin is pale, your oven temperature might be running low; use an oven thermometer to verify. If the meat is tough, you likely skipped the tempering or resting phases. If the skin is burning too fast, simply shield the breast with a small piece of loose foil.
For meal prep, the science of reheating is vital. To maintain "day-one" quality, reheat slices in a covered pan with a tablespoon of water or stock. This creates a small steam chamber that rehydrates the proteins without overcooking them. Avoid the microwave, which vibrates water molecules so violently they escape as steam, leaving your chicken rubbery.
The Wrap-Up
There is nothing quite like the satisfaction of pulling a perfect roast from the oven. It is a dish that feels like a hug, yet carries the technical weight of a professional kitchen. By focusing on moisture control, temperature management, and the chemistry of fats, you have elevated a simple bird into a culinary event. Now, grab your carving knife, gather your favorite people, and enjoy the fruits of your scientific labor. You have earned every crispy, juicy bite.
The Kitchen Table
How do I get the skin extra crispy?
Dry the skin thoroughly and salt it twenty-four hours in advance. This process, known as a dry brine, uses osmosis to draw out moisture and break down protein structures, resulting in a glass-like, shattered-crisp texture after roasting.
Can I roast a chicken from frozen?
It is not recommended. The exterior will overcook and dry out long before the interior reaches a safe temperature. Always thaw your chicken completely in the refrigerator to ensure even heat distribution and food safety throughout the roasting process.
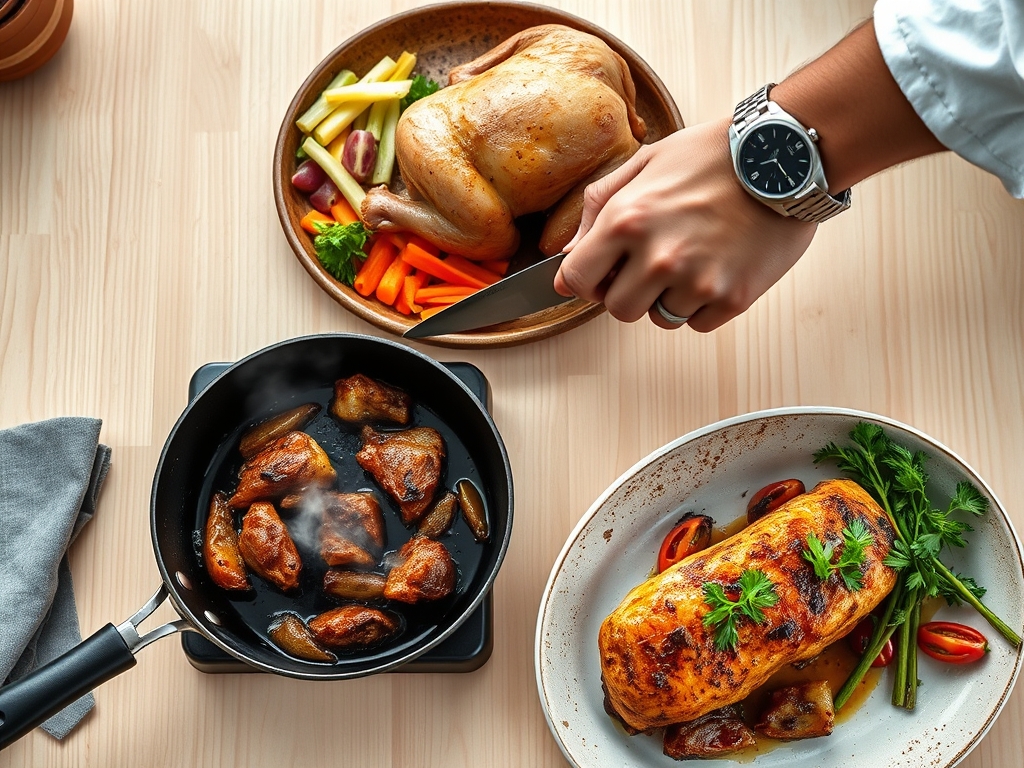
What is the best way to carve a whole chicken?
Remove the legs and wings first by slicing through the joints. Then, cut along the breastbone to remove each breast half. Slicing against the grain of the meat ensures a tender mouthfeel and a professional, clean presentation on the plate.
Why is my roasted chicken pink near the bone?
Pinkness near the bone is often due to myoglobin, a protein that stays pink even when cooked to 165 degrees. As long as your digital thermometer reads a safe internal temperature, the chicken is perfectly safe and succulent to eat.