

Imagine the scent of bubbling cream and golden starch wafting through a house on a Sunday afternoon. It is the ultimate comfort signal. When you are craving that specific, velvety nostalgia, mastering betty crocker scalloped potato recipes is your ticket to culinary excellence. We are moving beyond the box and into a world of sophisticated, scientific flavor layering.
This is not just about rehydrating spuds; it is about managing moisture and heat to create a masterpiece. We are looking for that perfect balance of a tender interior and a crisp, lacquered crust. Whether you are hosting a holiday feast or just need a Tuesday night win, these recipes provide a reliable foundation for endless creative variations. We will explore how to elevate these classics using professional techniques that transform a pantry staple into a five star side dish. Grab your apron and your favorite heavy bottomed skillet because we are about to turn a simple box of potatoes into a gourmet experience that will have everyone asking for your secret.
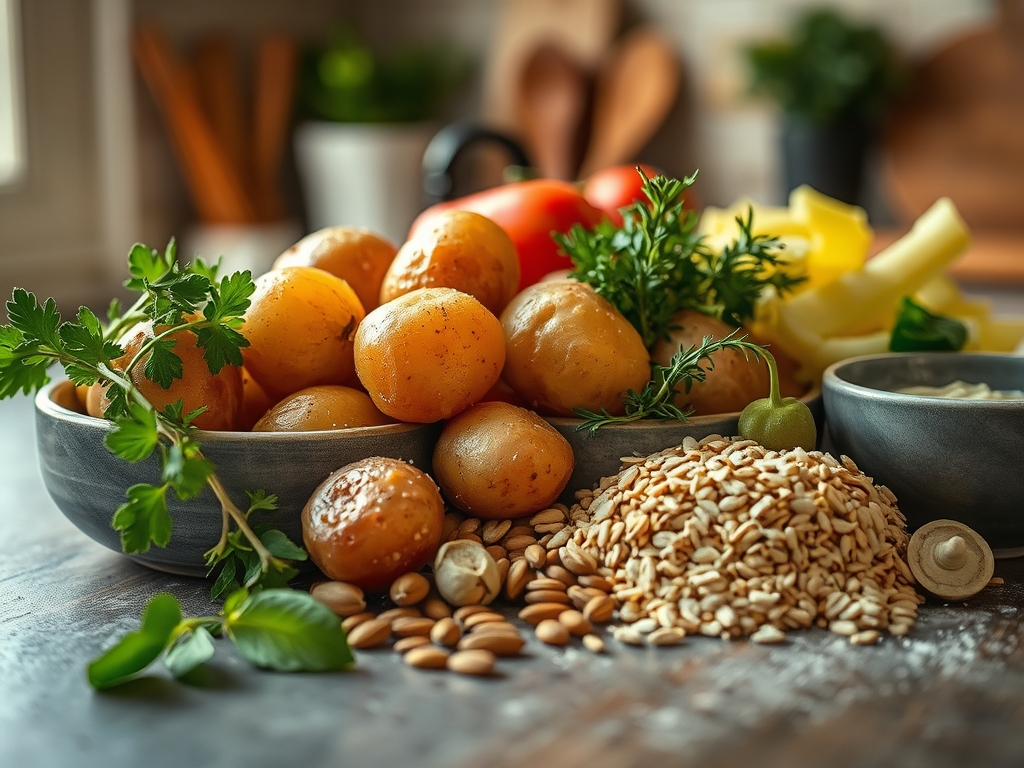
The Gathers:
To begin your journey into betty crocker scalloped potato recipes, your mise en place must be precise. Start with your base: the dehydrated potato slices and the signature sauce mix. To elevate the texture, you will need high quality fats. I recommend using European style butter with a high butterfat content to ensure a viscous and rich mouthfeel. For the liquid component, whole milk is standard, but substituting a portion with heavy cream will significantly increase the silkiness of the final product.
You should also have aromatics ready to infuse into the sauce. Freshly cracked black pepper, a pinch of nutmeg to highlight the dairy, and perhaps some minced shallots or garlic. If you want to add a piquant edge, keep a block of sharp cheddar or Gruyere nearby to grate with a microplane.
Smart Substitutions: If you find yourself short on milk, a combination of chicken stock and a splash of heavy cream creates a savory depth that is unmatched. For those looking to lighten the dish without losing the soul of the recipe, unsweetened almond milk works surprisingly well when paired with a tablespoon of nutritional yeast to maintain that "cheesy" profile. Always use a digital scale if you are adding extra ingredients to ensure you do not throw off the hydration ratio of the starch.
The Clock: Timing and Chef's Flow
Efficiency in the kitchen is about the "Chef's Flow." For these betty crocker scalloped potato recipes, expect a total commitment of about 45 to 60 minutes. The active prep time is a mere 10 minutes; this involves boiling your water and whisking your sauce components. The remaining time is dedicated to the oven, where the Maillard reaction takes place on the surface of the dish.
The flow is simple: Preheat while you gather. Whisk while the water reaches a boil. Layer your potatoes with precision using a bench scraper to move large piles of slices cleanly into your baking dish. While the potatoes bake, use that 35 minute window to prepare your protein or a crisp green salad. This ensures everything hits the table at the exact moment the potatoes have finished their crucial resting period.
The Masterclass
1. Hydrate and Whisk
Start by combining your boiling water, milk, and butter in a saucier. Slowly whisk in the sauce mix to avoid clumping. You want to aerate the mixture slightly to ensure a light, even consistency.
Pro Tip: This step utilizes gelatinization. As the starch in the mix hits the hot liquid, the granules swell and burst, thickening the sauce into a stable emulsion that coats every slice.
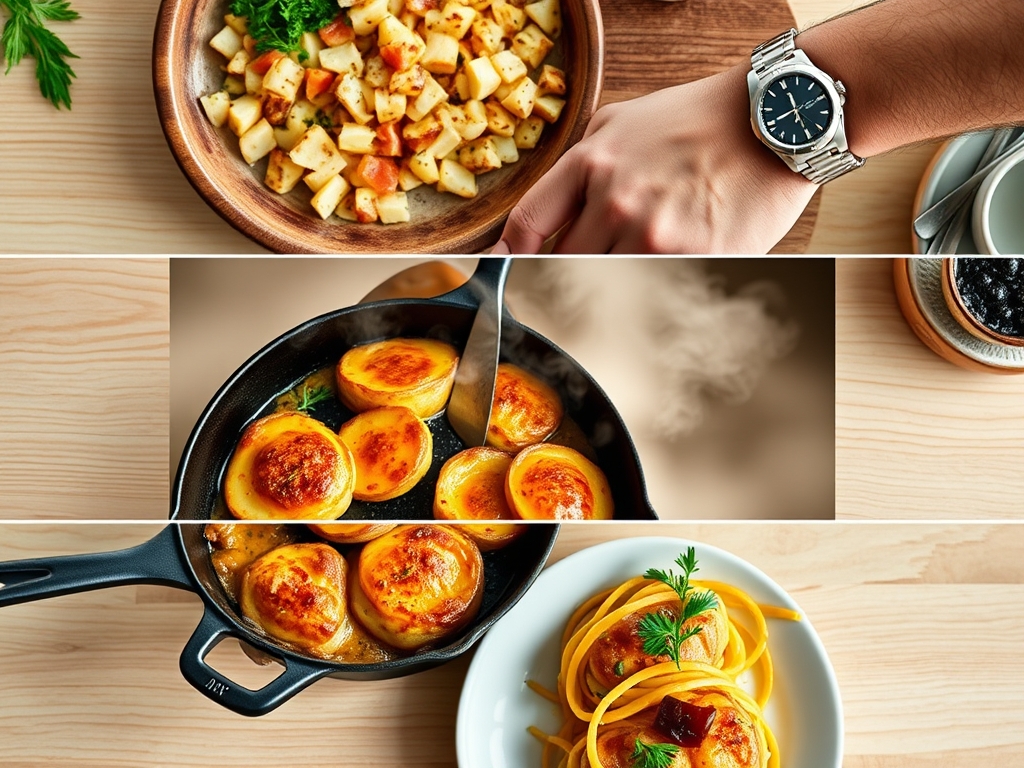
2. The Layering Logic
Arrange your potato slices in an even layer in a buttered baking dish. Do not just dump them in; shingle them slightly to ensure the sauce can penetrate every crevice. Pour the liquid mixture over the top, ensuring all potatoes are submerged.
Pro Tip: Proper layering prevents "stacking," where potatoes stick together and stay raw in the middle. This ensures even thermal conductivity throughout the entire dish.
3. The First Bake
Place the dish in a 400 degree Fahrenheit oven. This high heat is necessary to kickstart the rehydration process and begin the evaporation of excess water, which concentrates the flavors.
Pro Tip: Covering the dish with foil for the first 15 minutes traps steam. This prevents enzymatic browning from turning the potatoes grey before they have a chance to cook through.
4. The Crust Development
Remove the foil for the final 10 to 15 minutes. This is when you add any extra cheese or breadcrumbs. The dry heat of the oven will now target the surface, creating a golden, bubbling top.
Pro Tip: This is the Maillard reaction in action. The proteins in the dairy and the sugars in the potatoes react under high heat to create hundreds of new flavor compounds.
5. The Rest and Set
Once the potatoes are fork tender and the top is golden, remove them from the oven. Let the dish sit for at least 5 to 10 minutes before serving.
Pro Tip: This stage allows for thermal carryover. The internal temperature continues to rise slightly, and the starches "set," preventing the sauce from being too runny when you scoop it out.
The Deep Dive
Macro Nutrition: A standard serving of these potatoes provides a solid hit of carbohydrates for energy, along with calcium from the dairy. To boost the protein, consider folding in diced ham or serving alongside a lean roast.
Dietary Swaps:
- Vegan: Use coconut milk and a vegan butter substitute. The natural fats in coconut milk mimic the richness of heavy cream beautifully.
- Keto: While potatoes are high in carbs, you can "stretch" the dish by mixing the potato slices with thinly sliced cauliflower or daikon radish.
- Gluten Free: Most Betty Crocker mixes are clearly labeled, but always double check the thickeners used in the sauce packet.
The Fix-It: Common Pitfalls
- Curdled Sauce: This happens if the heat is too high or the milk is too cold. Fix it by ensuring your liquids are room temperature before mixing.
- Crunchy Potatoes: Usually a result of old potatoes or not enough liquid. If they are still hard near the end, add a splash of warm milk and cover with foil to steam them soft.
- Greasy Top: This occurs if too much butter is added. Blot the surface gently with a paper towel and sprinkle a little extra dry cheese to absorb the excess oil.
Meal Prep and Reheating: To maintain "day one" quality, reheat leftovers in the oven rather than the microwave. Add a teaspoon of milk to the portion to rehydrate the starches and cover with foil to prevent drying out. This restores the viscous texture of the sauce.
The Wrap-Up
Mastering betty crocker scalloped potato recipes is about more than following box instructions; it is about applying professional culinary science to a beloved classic. By understanding how starch hydrates and how heat creates flavor, you turn a simple side dish into a showstopper. Whether you are using a saucier to perfect your emulsion or a microplane to add that final touch of zest, these tips ensure a perfect result every time. Go ahead and get creative with your additions; your kitchen is your laboratory!
The Kitchen Table
How do I prevent my scalloped potatoes from being watery?
Ensure you measure your liquid precisely using a digital scale. Allow the dish to rest for ten minutes after baking; this allows the starches to fully absorb the liquid and set into a thick, creamy sauce.
Can I make these potatoes ahead of time?
Yes. Bake them fully, let them cool, and refrigerate. When ready to serve, add a splash of milk and reheat in the oven at 350 degrees until bubbling. This preserves the original texture and prevents the sauce from breaking.
What is the best cheese to add to the mix?
Gruyere or sharp cheddar are ideal. They have the perfect fat content to melt smoothly into the sauce without becoming stringy. Use a microplane for a fine shred that integrates perfectly with the rehydrated potato slices.
Why did my milk sauce curdle in the oven?
Curdling usually happens when the acid in the potatoes reacts with cold dairy at high heat. To prevent this, ensure your milk is at least room temperature and avoid adding highly acidic ingredients like lemon juice too early.