
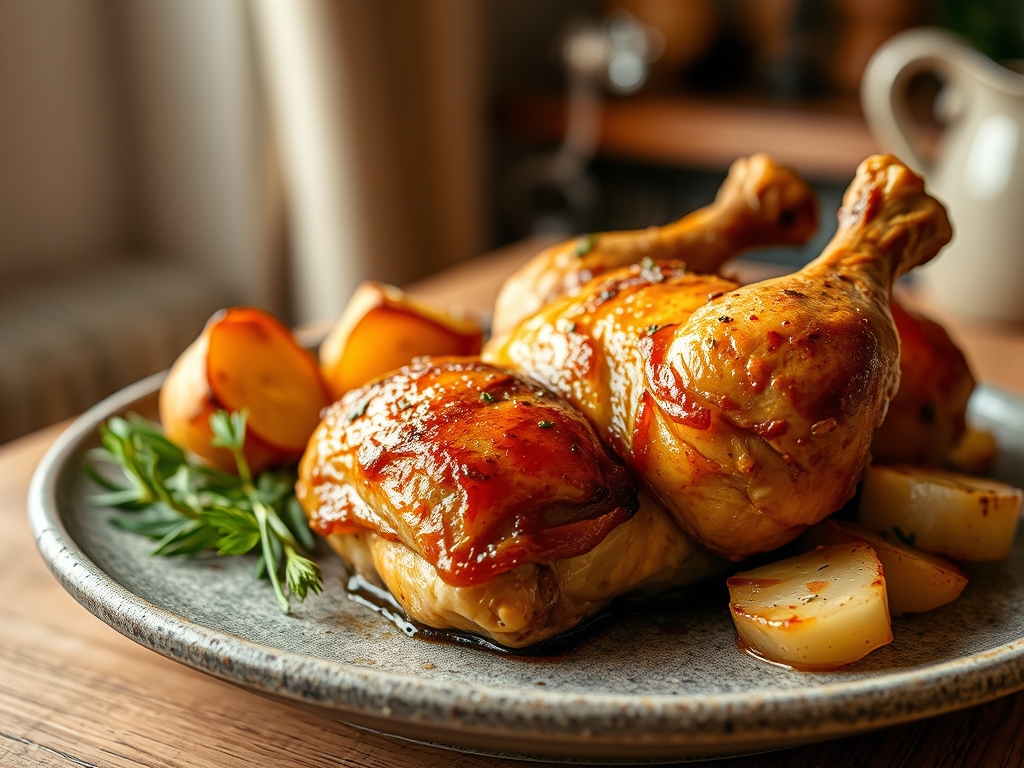
Imagine the sound of a knife dragging across a golden, blistered bird; that specific, high-frequency crackle is the hallmark of culinary success. When you master roast chicken and potato recipes, you are not just making dinner; you are performing a complex series of chemical transformations that turn humble starch and protein into a sensory masterpiece. The air in your kitchen should feel heavy with the scent of rendered schmaltz and toasted rosemary.
The secret to this perfection lies in the relationship between the bird and the tuber. As the chicken roasts, its fat liquefies and bastes the potatoes below, infusing them with a deep, savory richness that no butter or oil can replicate alone. This is the ultimate comfort food, refined by science and executed with the precision of a professional kitchen. We are aiming for skin so thin and crisp it shatters like glass, paired with potatoes that possess a glass-like exterior and a center as fluffy as a cloud.
To achieve this, we must respect the physics of heat. We are looking for the Maillard reaction to work its magic on the skin while ensuring the internal juices remain trapped within the muscle fibers. It is a delicate balance of moisture control and temperature management. Grab your favorite apron and clear your workspace; we are about to elevate your Sunday roast into a technical triumph that tastes like pure, unadulterated home.

The Gathers:
To begin, we must assemble our mise-en-place with the scrutiny of a chemist. You will need one four-pound organic chicken; smaller birds often have a better skin-to-meat ratio for maximum crunch. For the potatoes, select a high-starch variety like Yukon Gold or Russet. Their high amylose content ensures that the interior becomes creamy while the exterior undergoes significant enzymatic browning.
You will also need four ounces of unsalted butter, softened to a viscous paste, and a handful of hardy aromatics: sprigs of woody rosemary, thyme, and a whole head of garlic. A tablespoon of Diamond Crystal kosher salt is essential; its hollow flake shape allows for better surface coverage and more controlled seasoning than dense table salt. Finally, have a bottle of dry white wine or high-quality chicken stock ready to deglaze the pan later.
Smart Substitutions:
If you are looking for a piquant twist, swap the rosemary for preserved lemon and oregano. For those avoiding dairy, duck fat or high-smoke-point avocado oil can replace the butter, offering an even more intense crunch due to their superior fatty acid profiles. If you lack Yukon Golds, red-skinned potatoes work in a pinch, though their waxy texture will result in a firmer, less fluffy bite.
The Clock
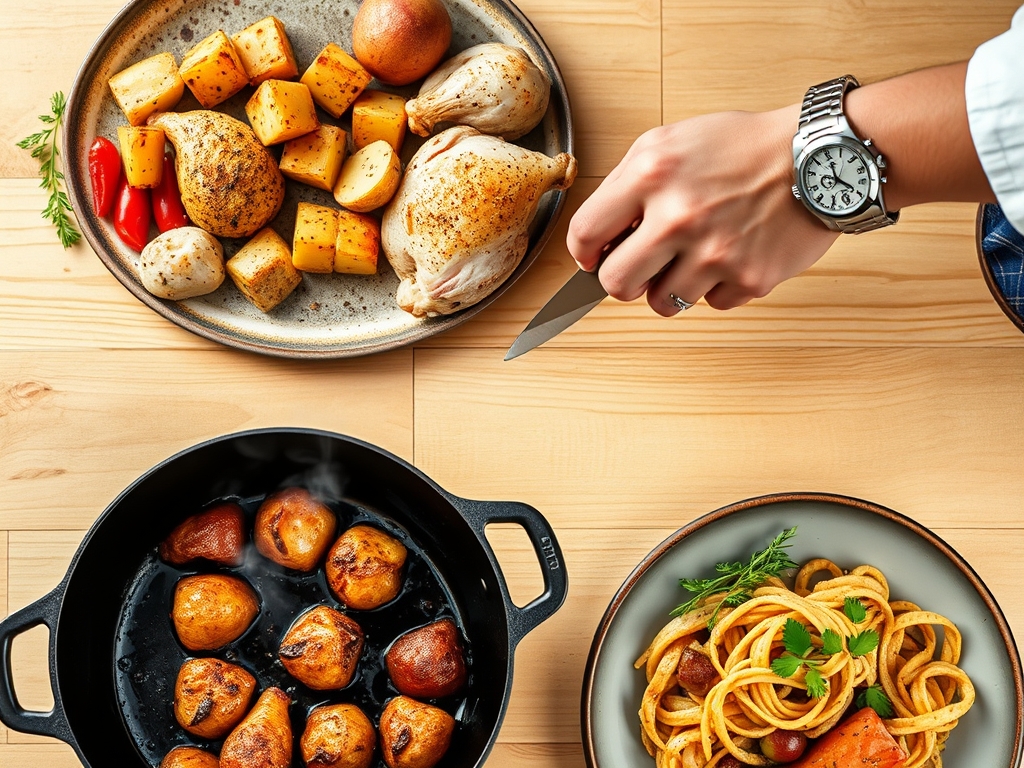
Efficiency in the kitchen is about understanding the Chef's Flow. This process takes approximately 1 hour and 45 minutes from start to finish. Your active prep time is a focused 20 minutes, where you will butterfly the bird and prep the tubers. The remaining time is dedicated to the roasting process and the crucial resting phase.
The "Flow" dictates that you preheat your oven to 425 degrees Fahrenheit before you even touch the chicken. This ensures the dry heat immediately begins to evaporate surface moisture. While the oven climbs, you prep. While the chicken roasts, you clean. By the time the bird is resting on the board, your kitchen is spotless, and you are ready to carve.
1. The Spatchcock Maneuver
Using heavy-duty kitchen shears, remove the backbone of the chicken. Lay the bird flat and press down firmly on the breastbone until you hear a crack. This increases the surface area exposed to the heat, ensuring the dark and white meat cook at a more uniform rate.
Pro Tip: This technique utilizes geometric heat distribution. By flattening the bird, you eliminate the hollow cavity, allowing heat to hit the meat from both sides simultaneously, which reduces cooking time by thirty percent.
2. The Desiccation Phase
Pat the skin extremely dry with paper towels. Use a microplane to zest lemon over the skin, then rub a generous amount of salt and softened butter both over and under the skin. This creates a barrier that helps the skin fry in its own fat.
Pro Tip: This is known as surface dehydration. Salt draws moisture out of the skin through osmosis, which is essential because water is the enemy of crispness. You cannot achieve the Maillard reaction until the surface water has evaporated.
3. The Potato Parboil
Peel and cut your potatoes into uniform two-inch chunks. Place them in a pot of cold, salted water and bring to a boil. Cook only until the edges are soft but the centers are still firm. Drain them and give the pot a vigorous shake to roughen the edges.
Pro Tip: Shaking the potatoes creates a starchy "slurry" on the surface. This increased surface area leads to a thicker, crunchier crust once the starch granules undergo gelatinization and then fry in the chicken fat.
4. The High-Heat Blast
Place the potatoes in a heavy-bottomed skillet or roasting pan and nestle the chicken on top. Slide the pan into the center of the oven. The high heat will immediately begin to render the subcutaneous fat, which will drip down and coat the potatoes.
Pro Tip: Using a heavy-bottomed skillet (like cast iron) provides high thermal mass. This means the pan won't drop in temperature when you add the food, ensuring the bottoms of the potatoes sear immediately rather than steaming.
5. The Aromatherapy Infusion
Halfway through the roasting process, toss in your smashed garlic cloves and herb sprigs. Use tongs to rotate the potatoes, ensuring every side is submerged in the shimmering golden fat.
Pro Tip: This is a late-stage infusion. Adding aromatics too early would cause them to burn and turn bitter. Adding them now allows their essential oils to dissolve into the fat, flavoring the entire dish without scorching.
6. The Thermal Equilibrium
Remove the chicken when a digital thermometer reads 160 degrees Fahrenheit in the thickest part of the breast. Move the bird to a wooden cutting board and let it rest uncovered for at least 15 minutes.
Pro Tip: This accounts for thermal carryover. The internal temperature will continue to rise to the safe 165 degrees while the muscle fibers relax, allowing the juices to redistribute rather than spilling out when carved.
7. The Pan Sauce Finish
While the meat rests, place the roasting pan on the stovetop over medium heat. Add a splash of wine to deglaze, scraping up the brown bits (the fond). Use a saucier if you prefer a smoother gravy, whisking in a knob of cold butter to emulsify the sauce.
Pro Tip: The fond contains concentrated amino acids and sugars. By deglazing, you are capturing the results of the Maillard reaction in liquid form, creating a sauce with incredible depth of flavor.
The Deep Dive
From a nutritional standpoint, this dish is a powerhouse of bioavailable protein and complex carbohydrates. A standard serving provides roughly 35 grams of protein and a significant dose of Vitamin B6 and Potassium. To make this Keto-friendly, simply swap the potatoes for cauliflower florets or radishes, which mimic the texture of potatoes when roasted. For a Vegan alternative, use thick "steaks" of cauliflower and vegan butter, though you will miss the specific collagen-rich mouthfeel of the chicken.
If you encounter pitfalls, don't panic. If your skin isn't browning, your oven temperature might be inaccurate; use an oven thermometer to verify. If the potatoes are sticking, you likely didn't use enough fat or tried to flip them before a crust had formed. If the meat is dry, you skipped the resting phase.
For meal prep, the science of reheating is key. To maintain "day-one" quality, avoid the microwave, which turns the skin rubbery through rapid molecular friction. Instead, reheat in a 350-degree oven or an air fryer to re-crisp the skin and keep the potatoes internal structure intact.
The Wrap-Up
Mastering roast chicken and potato recipes is a rite of passage for any home cook. It is the perfect marriage of technical skill and soulful comfort. By focusing on moisture control, fat rendering, and the magic of the Maillard reaction, you transform basic ingredients into a gold-standard meal. There is nothing quite like the pride of pulling a perfectly bronzed tray out of the oven and hearing that first crunch. Now, pour yourself a glass of that leftover wine and enjoy the fruits of your scientific labor.
The Kitchen Table
Why is my chicken skin rubbery?
Rubbery skin is usually caused by trapped moisture. To fix this, ensure the skin is bone-dry before cooking and avoid crowding the pan. High heat is necessary to render the fat and evaporate water simultaneously for that perfect crunch.
Can I roast the potatoes and chicken separately?
You can, but you will lose the flavor synergy. Roasting them together allows the potatoes to absorb the rendered chicken fat. If you must separate them, toss the potatoes in melted schmaltz or duck fat to replicate the flavor profile.
What is the best potato for roasting?
Yukon Golds are the gold standard. They possess a medium starch content that allows for a creamy interior while still developing a rugged, crispy exterior. Russets are a close second for those who prefer a fluffier, more floury bite.
How do I know when the chicken is done without a thermometer?
Pierce the thigh with a skewer; the juices should run completely clear, not pink. Additionally, the drumstick should move easily in its socket. However, using a digital scale and thermometer is the only way to guarantee absolute precision and safety.