
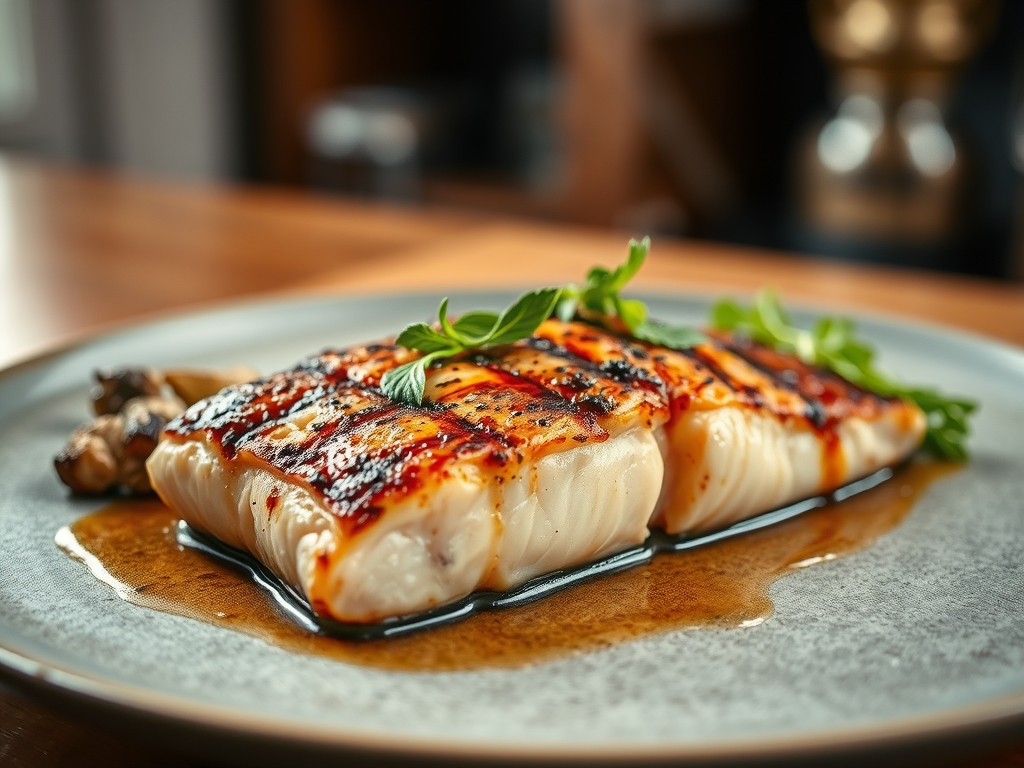
Imagine the scent of a Pacific Northwest forest colliding with a high-heat kitchen. That deep, resinous perfume of toasted wood meeting the fatty, buttery richness of a fresh fillet is the hallmark of cedar plank grilled salmon recipes. It is a technique that transcends simple cooking; it is a thermal marriage between ancient preservation methods and modern culinary precision.
When you lay a cold piece of fish onto a water-saturated board, you are not just grilling. You are creating a micro-environment of steam and smoke that protects the delicate proteins from the aggressive heat of the coals. The result is a texture that is impossibly silken, infused with the piquant notes of cedar oil and a subtle, smoky finish that a standard grill grate simply cannot replicate. We are aiming for that perfect point where the fat has rendered into a translucent lacquer, yet the center remains a vibrant, pearlescent pink. Let us dive into the mechanics of making this masterpiece happen in your own backyard.
The Gathers:
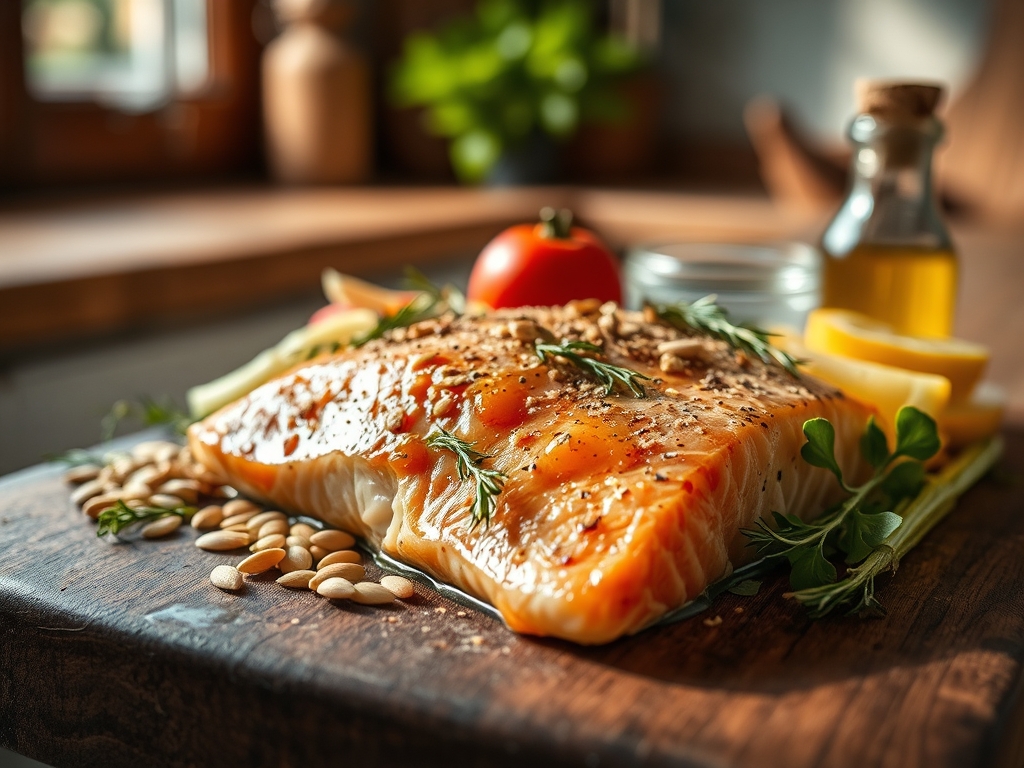
To execute this properly, your mise-en-place must be as disciplined as a laboratory bench. Start with a center-cut side of salmon, ideally weighing around two pounds. You want a uniform thickness to ensure an even thermal gradient across the entire muscle. Your cedar planks must be untreated and food-grade; do not grab a shingle from the hardware store.
For the flavor profile, you will need coarse kosher salt for osmotic seasoning and freshly cracked black pepper. A viscous glaze is essential for the Maillard reaction. Gather high-quality maple syrup, Dijon mustard for its emulsifying properties, and a splash of apple cider vinegar to provide a bright, acidic counterpoint to the heavy fats. Use a microplane to zest a fresh lemon and grate a clove of garlic into a paste.
Smart Substitutions: If you are out of maple syrup, a dark agave or honey works well, though the caramelization temperature will shift slightly. No cedar? Alder planks offer a more delicate, sweet smoke, while hickory provides a bold, aggressive profile. For the mustard, a stone-ground variety can add a rustic texture if you prefer a less homogenous glaze.
The Clock:
Efficiency in the kitchen is about managing the "Chef's Flow." This recipe requires a total of about 2 hours, though active labor is minimal. Your primary time investment is the hydration phase. You must soak the planks for at least 60 to 90 minutes. This is non-negotiable; a dry plank is a fire hazard and will provide zero steam.
The prep work takes 15 minutes to whisk the glaze and portion the fish. The actual cook time ranges from 18 to 25 minutes, depending on the ambient temperature and the thickness of the fillet. Finally, allow for a 5-minute rest period. This allows the internal moisture to redistribute, preventing the juices from rushing out the moment you slide your bench scraper or spatula under the skin.
The Masterclass:
1. The Hydration Protocol
Submerge your cedar planks in a clean sink or a large roasting pan filled with salted water. Weigh them down with a heavy-bottomed skillet to ensure they stay fully underwater. This saturation allows the wood to release steam during the cook, which gently poaches the bottom of the fish while the top roasts.
Pro Tip: This is about latent heat of vaporization. The water trapped in the wood fibers absorbs heat and turns into steam at 212 degrees Fahrenheit, creating a thermal buffer that prevents the bottom of your fish from scorching before the top is done.
2. Surface Preparation
Pat the salmon bone-dry with paper towels. Any surface moisture will prevent the glaze from adhering and will inhibit the development of flavor. Apply a light coating of neutral oil, then season generously with salt. Let it sit for ten minutes to allow the salt to penetrate the protein structure via osmosis.
Pro Tip: Salt alters the protein denaturation process. By dry-brining for just a few minutes, you help the muscle fibers retain more moisture during the high-heat exposure of the grill.
3. The Glaze Emulsification
In a small saucier or bowl, combine your maple syrup, mustard, and aromatics. Use a whisk to vigorously aerate and combine the ingredients until they form a stable emulsion. The mustard acts as the bridge between the water-based syrup and the oils in the fish.
Pro Tip: The sugars in the glaze are essential for the Maillard reaction. This chemical reaction between amino acids and reducing sugars creates hundreds of different flavor compounds that we perceive as savory and "roasted."
4. Tempering the Plank
Place the wet plank directly on the grill grates over medium-high heat (about 400 degrees Fahrenheit) for 3 to 5 minutes. Close the lid. Wait until you hear a slight crackling sound and see thin wisps of white smoke. Flip the plank over.
Pro Tip: This is called thermal priming. By heating the wood before adding the fish, you jump-start the release of essential oils like plicatic acid, which provides that signature cedar aroma.
5. The Seating
Carefully place the salmon on the charred side of the plank using long-handled tongs. Brush a thick layer of your glaze over the top. Close the grill lid immediately to trap the smoke and maintain a consistent convection environment.
Pro Tip: Cooking with the lid down creates a convection oven effect. The hot air circulates around the fish, cooking it from the top down while the plank cooks it from the bottom up.
6. Monitoring the Internal Gradient
Avoid the temptation to peek. Every time you open the lid, you lose significant heat and smoke density. After 15 minutes, use a digital scale or, more appropriately, a high-quality instant-read thermometer to check the thickest part of the fillet. You are looking for 130 to 135 degrees Fahrenheit.
Pro Tip: Thermal carryover is real. The internal temperature will continue to rise by 3 to 5 degrees after you remove the fish from the heat. Pulling it at 135 ensures a final temperature of 140, which is the sweet spot for flakey yet moist salmon.
7. The Final Glaze
During the last two minutes of cooking, apply one final layer of glaze. This creates a tacky, glossy finish that looks beautiful under the light and provides a concentrated burst of flavor.
Pro Tip: This final application avoids sugar carbonization. Adding too much sugar too early can lead to a bitter, burnt crust. This late-stage addition ensures the glaze stays vibrant and sweet.
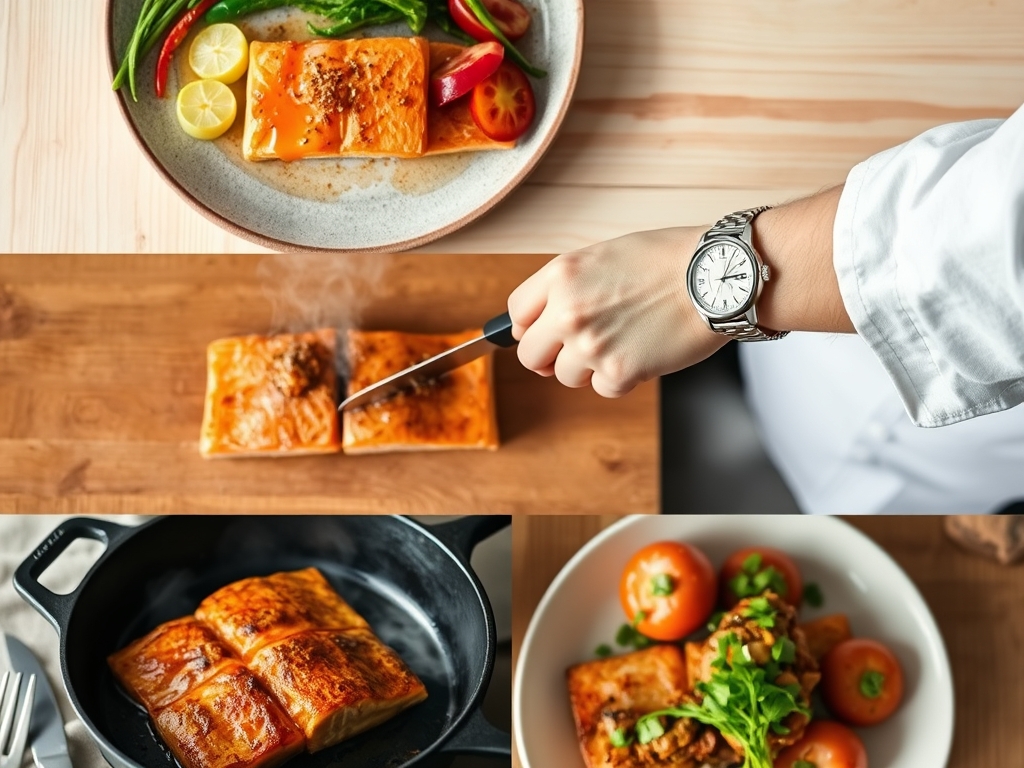
8. The Rest and Release
Slide the entire plank onto a heat-safe tray. Let the salmon rest for five minutes. Use a bench scraper to gently separate the skin from the wood. The fish should slide off effortlessly, leaving the skin behind if you prefer, or taking the crispy skin with it.
Pro Tip: Resting allows the viscous cellular fluids to thicken. If you cut into the salmon immediately, the pressure from the contracted muscle fibers will push the juices out, leaving the meat dry.
The Deep Dive:
From a macro perspective, salmon is a nutritional powerhouse, loaded with Omega-3 fatty acids and high-quality protein. A 6-ounce serving generally contains about 350 calories, 20 grams of fat, and 38 grams of protein.
Dietary Swaps: To make this Keto-friendly, swap the maple syrup for a monk fruit-based sweetener or simply use a lemon-herb butter rub. For a vegan alternative, this same cedar-plank method works beautifully with thick slabs of cauliflower or firm tofu, though the cook time will decrease to about 12 minutes. This recipe is naturally Gluten-Free, provided your mustard is certified.
The Fix-It:
- The Plank Catches Fire: This means you didn't soak it long enough or your grill is too hot. Keep a spray bottle of water handy to douse flames without extinguishing the coals.
- White Gunk on Top: This is albumin, a protein that leaches out when salmon is cooked too fast or too hot. Lower your heat and ensure you didn't skip the salt-brining step.
- Fish Sticks to Wood: This usually happens if the plank wasn't pre-heated or if the fish was too wet. Ensure the plank is smoking before the fish hits the wood.
Meal Prep: To reheat cedar-plank salmon while maintaining "day-one" quality, avoid the microwave. Use a low-temperature oven (275 degrees) with a splash of water in the pan, covered tightly with foil. This gently steams the fish back to life without tightening the proteins into a rubbery mess.
The Wrap-Up:
Mastering cedar plank grilled salmon recipes is like learning a secret handshake in the culinary world. It shows you understand the balance of heat, moisture, and aromatics. Once you pull that charred, fragrant board off the grill and see the glisten of the maple-mustard lacquer, you will never want to go back to basic pan-searing. It is a rustic, impressive, and scientifically sound way to treat one of the ocean's finest ingredients. Now, grab your tongs, fire up the coals, and let the cedar do the heavy lifting.
The Kitchen Table:
How long should I soak the cedar plank?
Soak your cedar plank for at least 60 to 90 minutes in warm, salted water. This ensures the wood is fully saturated, which prevents it from catching fire and creates the necessary steam to keep the salmon moist during grilling.
Can I reuse a cedar plank?
If the plank is not heavily charred or cracked, you can scrub it with hot water (no soap) and reuse it once. However, for the best flavor and safety, using a fresh plank for each session is highly recommended.
Why did my salmon develop white spots?
Those white spots are albumin, a protein that squeezed out of the muscle fibers. This usually happens if the heat is too high or the fish is overcooked. Brining the salmon with salt beforehand can significantly reduce albumin release.
What is the best temperature for grilled salmon?
For the perfect texture, aim for an internal temperature of 130 to 135 degrees Fahrenheit when you remove it from the grill. Carryover cooking will bring it to a final, safe, and delicious 140 to 145 degrees.