
Picture the scent of a heavy bottomed skillet hitting its smoke point as a marbled ribeye meets the heat. That immediate, aggressive hiss is the sound of the Maillard reaction beginning its work; amino acids and reducing sugars are dancing to create hundreds of distinct flavor compounds. Finding reliable beef recipes for busy weeknights or high stakes dinner parties is about more than just heat. It is about understanding the molecular transformation of collagen into gelatin and the precise moment when fat begins to render into a silky, translucent liquid. Whether you are searing a steak or braising a chuck roast, the goal is always the same: maximum crust and internal tenderness.
The magic of beef lies in its versatility. It can be the star of a rugged, piquant chili or the delicate center of a refined carpaccio. Most home cooks struggle with consistency because they treat every cut the same. However, by mastering a few fundamental techniques, you can turn even the cheapest cuts into restaurant quality meals. We are going to explore nine distinct ways to elevate your kitchen game, focusing on the chemistry that makes beef the undisputed king of the dinner table. Grab your digital scale and your sharpest chef knife; we are about to turn your kitchen into a high performance laboratory of flavor.
The Gathers:
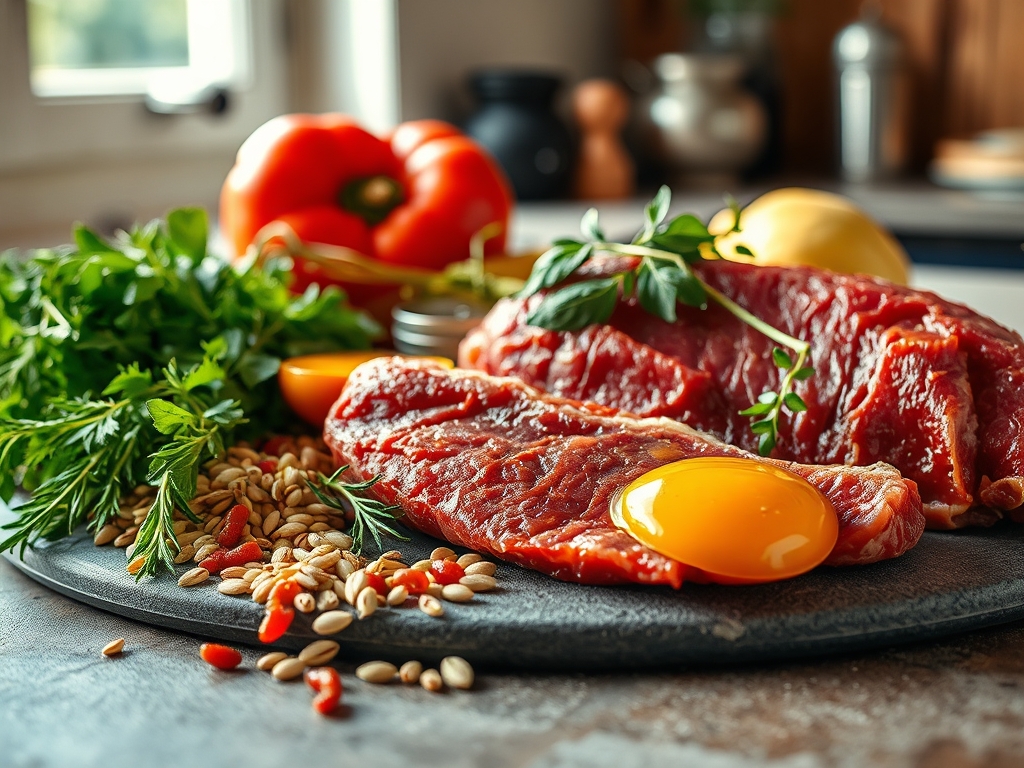
To execute these beef recipes for your repertoire, your mise-en-place must be clinical. Start with your proteins: look for heavy intramuscular marbling, which indicates a higher concentration of monounsaturated fats that will liquefy during cooking. You will need a high smoke point oil, such as avocado or grapeseed oil, to ensure you do not reach the flash point before the crust forms. Aromatics are non-negotiable. Gather fresh thyme, rosemary, and several heads of garlic. The volatile oils in these herbs will infuse into the rendered fat, creating a fragrant baste.
Smart Substitutions: If you cannot find a specific cut, remember the rule of thumb for muscle groups. Swap ribeye for a New York strip if you want a tighter grain; use brisket in place of short ribs if you are prepared for a longer braise. For a lower sodium profile, replace standard beef stock with a bone broth fortified with a splash of coconut aminos. If you are out of butter for basting, a high quality tallow provides a deeper, more visceral beef flavor while maintaining a higher thermal threshold.
The Clock
Efficiency in the kitchen is governed by what I call the Chef's Flow. This is the art of overlapping tasks so that no heat is wasted. For these beef recipes for every occasion, expect a preparation window of twenty minutes and active cooking times ranging from six minutes for a sear to four hours for a slow braise. The key is the rest period. A common mistake is skipping the ten minute rest, which allows muscle fibers to relax and reabsorb moisture.
Always start by tempering your meat. Taking the beef out of the refrigerator forty five minutes before cooking ensures that the center reaches the target temperature without the exterior becoming overcooked and fibrous. While the meat tempers, use your bench scraper to clear your workspace and prep your garnishes. This synchronicity ensures that by the time the meat has finished its carryover cooking, your sides are plated and the sauce is perfectly emulsified.
The Masterclass
1. The Perfect Sear
Start by patting the beef bone-dry with paper towels. Moisture is the enemy of the crust; any surface water will turn to steam and prevent the temperature from rising above 212 degrees Fahrenheit. Place the meat in a preheated cast iron skillet.
Pro Tip: This process is called the Maillard reaction. By keeping the surface dry, you allow the temperature to reach 300 degrees, where complex sugars caramelize into a savory crust.
2. Deglazing the Fond
After removing the meat, you will see brown bits stuck to the bottom of the pan. This is called fond. Pour in a piquant liquid like red wine or stock and use a wooden spoon to scrape it up.
Pro Tip: This is chemical extraction. The alcohol or acid in the liquid acts as a solvent, dissolving flavor molecules that are not water soluble, creating a deeply viscous sauce.
3. The Butter Baste
Once the beef is nearly finished, add cold butter, smashed garlic, and thyme to the pan. Use a large spoon to continuously douse the meat in the foaming fat.
Pro Tip: This is convection cooking. The hot fat transfers heat more efficiently than air, while the milk solids in the butter undergo further browning to add a nutty aroma.
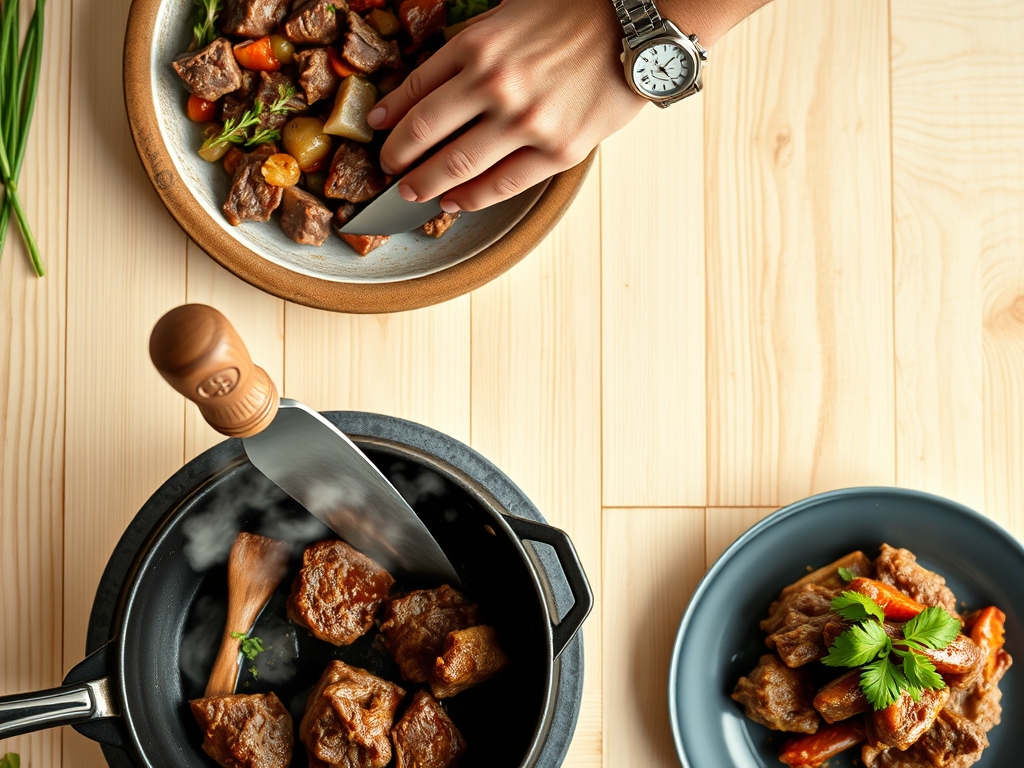
4. Low and Slow Braising
For tougher cuts, submerge them halfway in a flavorful liquid and keep the temperature around 300 degrees in a heavy dutch oven.
Pro Tip: This is the science of collagen conversion. At sustained temperatures between 160 and 180 degrees, tough connective tissue breaks down into gelatin, providing a rich, lip-smacking mouthfeel.
5. Precision Slicing
Always use a sharp carving knife to slice against the grain. Look for the direction the muscle fibers are running and cut perpendicular to them.
Pro Tip: This is mechanical tenderization. By shortening the muscle fibers with a knife, you reduce the amount of work your teeth have to do, making the meat feel significantly more tender.
6. Emulsifying the Pan Sauce
Whisk cold cubes of butter into your reduced deglazing liquid off the heat. Use a saucier for better whisking angles.
Pro Tip: This creates a fat-in-water emulsion. The cold butter incorporates slowly, preventing the sauce from breaking and ensuring a glossy, velvet-like texture.
7. Resting for Moisture Retention
Transfer the cooked beef to a warm cutting board and tent it loosely with foil. Do not wrap it tightly or the crust will soften.
Pro Tip: This manages thermal carryover. The internal temperature will rise by 5 to 10 degrees while the internal juices redistribute, preventing them from spilling out when you slice.
8. Aerating the Marinade
When using an acidic marinade, use a whisk or blender to aerate the mixture before adding the beef.
Pro Tip: Aeration helps the enzymes in ingredients like pineapple or papaya break down surface proteins more evenly, preventing the meat from becoming mushy.
9. Seasoning with Geometry
Apply kosher salt from at least twelve inches above the meat. This ensures an even distribution of crystals across the entire surface.
Pro Tip: Salt acts as a denaturant. It unwinds protein strands, allowing them to hold onto more water during the cooking process, resulting in a juicier final product.
The Deep Dive
From a macro perspective, beef is a nutritional powerhouse, providing high concentrations of heme iron, B12, and zinc. For those following a Keto lifestyle, the high fat to protein ratio in cuts like ribeye is ideal. If you are adapting these beef recipes for a gluten free guest, ensure your stock is certified and use tamari instead of soy sauce. For a vegan swap, king oyster mushrooms or seitan can mimic the fibrous texture of beef, though you will need to add liquid smoke to replicate the depth of char.
The Fix-It: If your meat is grey and tasteless, your pan was not hot enough. Next time, wait for the oil to shimmer and wisps of smoke to appear. If your sauce is too salty, do not add water; add a splash of acid like lemon juice or vinegar to balance the palate. If the meat is tough, it likely did not reach the temperature required for collagen breakdown; return it to the heat with more liquid. For meal prep, reheat beef in a low oven at 250 degrees with a splash of water to prevent the proteins from tightening and becoming rubbery.
The Wrap-Up
Mastering beef recipes for your home kitchen is a journey through heat, chemistry, and patience. By focusing on the Maillard reaction, respecting the rest period, and understanding the anatomy of different cuts, you transform from a cook into a culinary scientist. Remember that the best tools, like a heavy skillet and a reliable thermometer, are your best friends in this process. Now, go forth and sear with confidence; your kitchen table is waiting for its next masterpiece.
The Kitchen Table
How do I get a restaurant style crust on my steak?
Ensure the surface of the meat is bone-dry and your pan is screaming hot. Use a high smoke point oil and avoid crowding the pan, which drops the temperature and causes the meat to steam instead of sear.
Why is my beef always tough after slow cooking?
You likely did not cook it long enough or at a high enough temperature to break down the collagen. Connective tissue requires sustained heat between 160 and 180 degrees Fahrenheit to transform into tender, silky gelatin.
What is the best way to reheat leftover beef?
Avoid the microwave, which vibrates water molecules and toughens proteins. Instead, place the beef in a covered dish with a tablespoon of water or stock and warm it in a 250 degree oven until just heated through.
Can I use frozen beef for these recipes?
Yes, but thaw it completely in the refrigerator first. Cooking from frozen leads to uneven heat distribution, leaving the outside overcooked while the center remains raw. Always pat dry after thawing to remove excess moisture.