
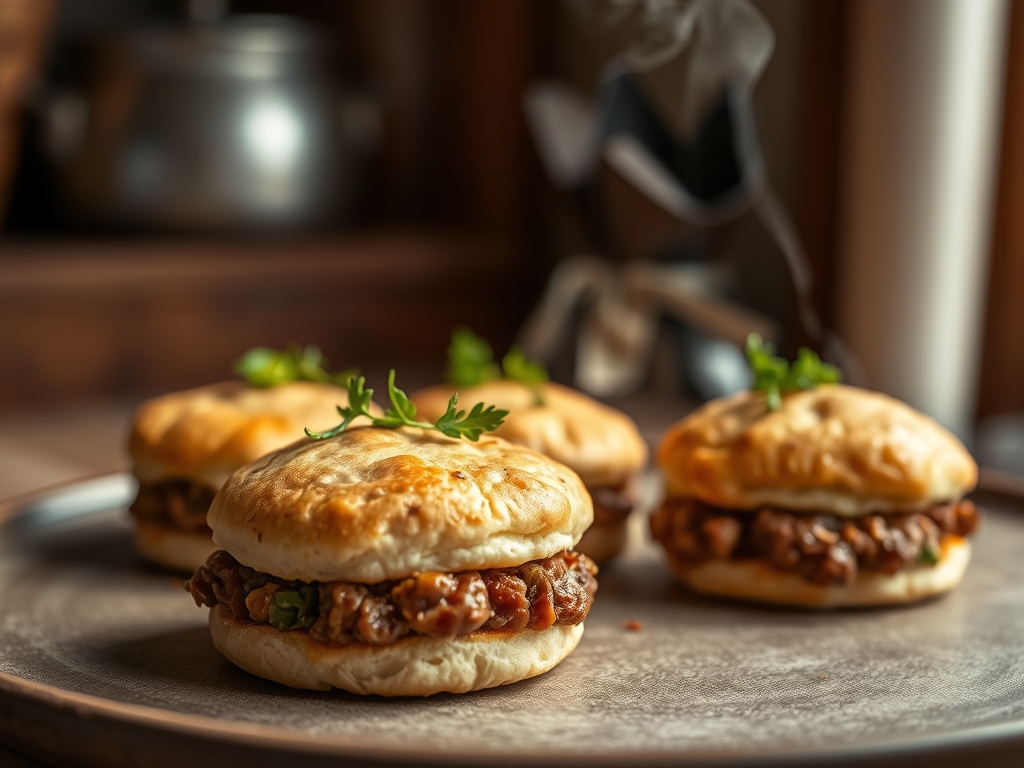
Imagine the scent of rendered fat hitting a hot skillet; it is the olfactory equivalent of a warm hug. When you combine the savory, mineral depth of seared meat with the buttery, laminated layers of a golden crust, you unlock the ultimate comfort food. Mastering ground beef recipes biscuits requires more than just a pan; it requires an understanding of how textures collide to create a perfect bite. We are diving into seven variations of this classic pairing, ranging from spicy taco bakes to sophisticated mushroom and thyme infusions. This is where high-end culinary science meets the cozy reality of a Tuesday night dinner. We are going to transform humble ingredients into a centerpiece that looks like a magazine cover and tastes like a five-star brasserie.
The Gathers:
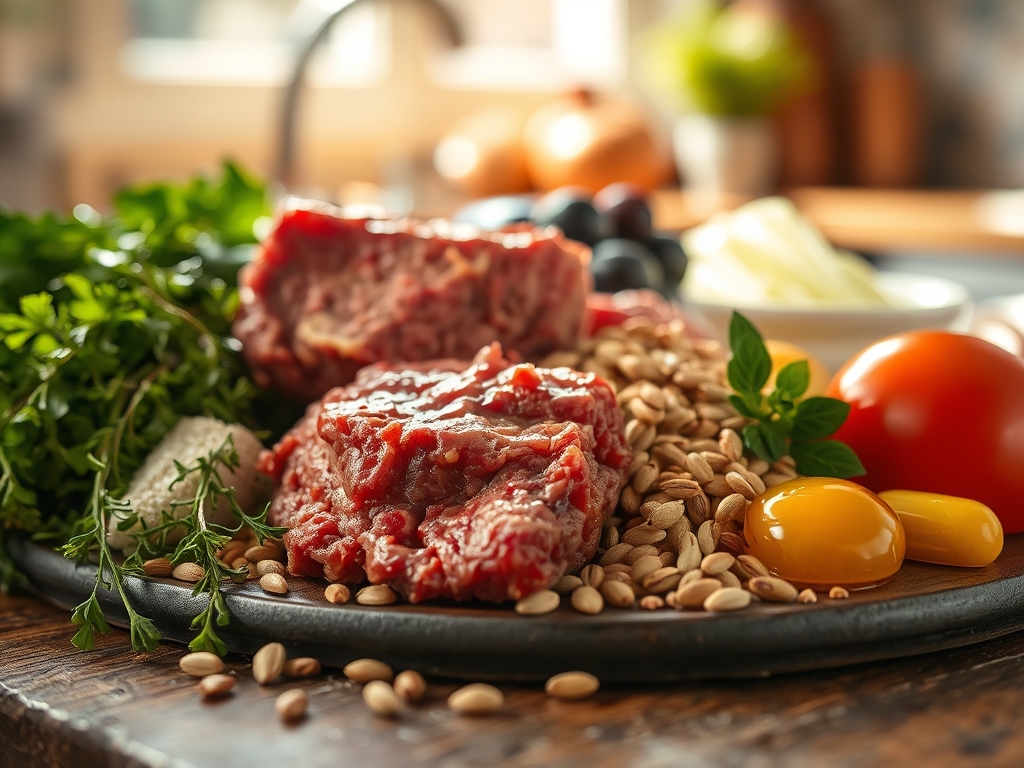
To execute these ground beef recipes biscuits with precision, your mise-en-place must be impeccable. Start with high-quality ground chuck, ideally an 80/20 lean-to-fat ratio. This specific ratio ensures enough lipid content to emulsify with your aromatics without drowning the biscuit base in grease. You will need a heavy-bottomed skillet or a cast iron pan to facilitate even heat distribution and superior crust formation.
For the biscuits, whether you are using a refrigerated shortcut or a handmade dough, the temperature is your most critical variable. Cold fats are non-negotiable. When those solid fat globules hit the high heat of the oven, they vaporize, creating the steam pockets necessary to aerate the dough into flaky layers.
Smart Substitutions:
If you want to lighten the profile, swap half the beef for finely minced cremini mushrooms. This maintains the umami profile while reducing total saturated fats. For a piquant kick, replace standard cheddar with a sharp Gruyere or a smoked Gouda. If you find yourself without buttermilk for a scratch-made biscuit, a mixture of whole milk and a teaspoon of lemon juice will provide the necessary acidity to react with your leavening agents.
The Clock
Efficiency in the kitchen is about "Chef's Flow," which is the art of overlapping tasks to minimize downtime. For these bakes, your active prep time should hover around 15 minutes, with a total cook time of 25 to 30 minutes.
The flow begins with the skillet. While your beef is undergoing the Maillard reaction, you should be prepping your vegetable aromatics using a sharp chef's knife or a microplane for garlic and zest. By the time the meat is browned and deglazed, your oven should be fully preheated to 400 degrees Fahrenheit. This synchronization ensures that the beef filling is hot when the biscuits are placed on top, preventing the bottom of the dough from becoming soggy.
The Masterclass
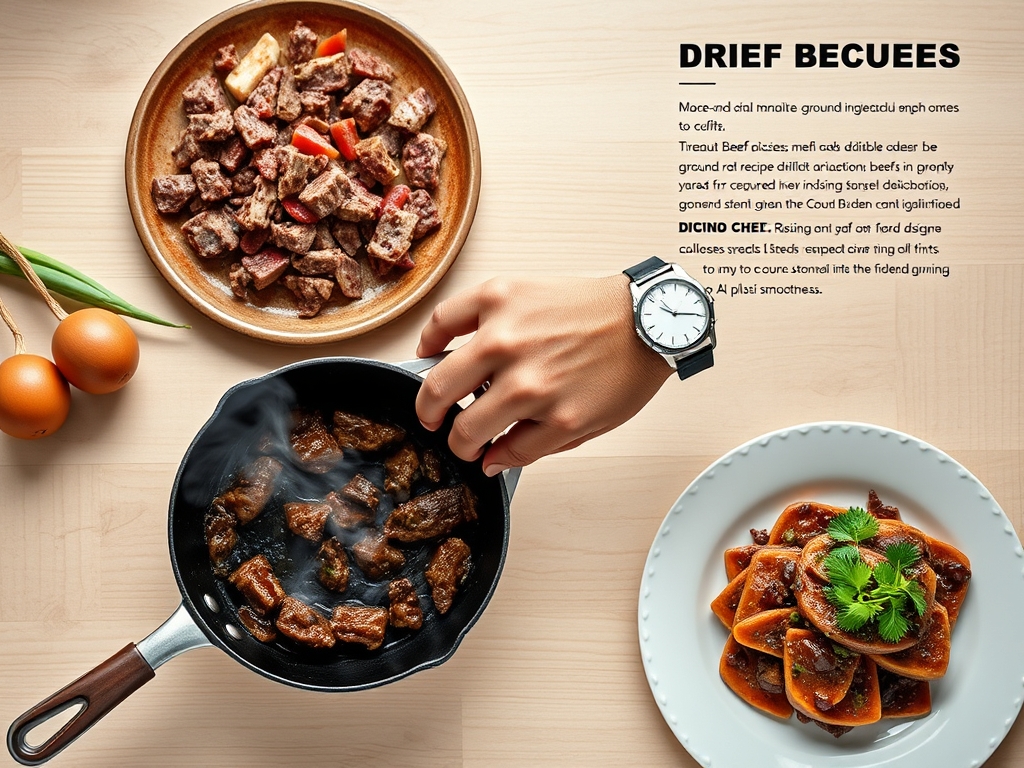
1. The Sear and Render
Begin by heating your skillet over medium-high heat. Add the beef, breaking it apart with a stiff spatula. Do not overcrowd the pan; you want to sear, not steam.
Pro Tip: This stage relies on enzymatic browning. By allowing the meat to sit undisturbed for two minutes before stirring, you maximize the amino acid breakdown that creates deep, complex flavors.
2. Deglazing the Fond
Once the meat is browned, remove excess fat but leave the brown bits (the fond) at the bottom. Add your liquid; beef stock, red wine, or even a splash of Worcestershire sauce. Use your spatula to scrape the bottom of the pan.
Pro Tip: This process captures the concentrated flavor molecules stuck to the pan. This creates a viscous sauce base that binds the meat together, ensuring your bake isn't dry.
3. Integrating the Aromatics
Fold in your onions, peppers, or herbs. Sauté until they are translucent but still retain a slight structural integrity.
Pro Tip: Adding salt at this stage draws out moisture from the vegetables through osmosis, which prevents them from releasing water later and making your biscuits mushy during the bake.
4. The Biscuit Placement
Arrange your biscuit dough over the beef mixture. If using large biscuits, you can quarter them with a bench scraper to ensure more surface area for browning.
Pro Tip: Leave small gaps between the biscuits. This allows steam to escape from the beef mixture, preventing the underside of the dough from becoming a "dumpling" texture rather than a crisp biscuit.
5. The Golden Glaze
Brush the tops of the biscuits with melted butter or an egg wash. Sprinkle with flaky sea salt or cracked black pepper for visual and textural contrast.
Pro Tip: An egg wash provides a protein-rich coating that undergoes the Maillard reaction faster than the dough itself, resulting in that professional, glossy mahogany finish.
6. The Thermal Finish
Place the skillet in the center rack of the oven. Bake until the biscuits have risen and the internal temperature of the beef mixture reaches 165 degrees Fahrenheit.
Pro Tip: Use a digital scale or thermometer to check the center. Remember thermal carryover; the dish will continue to cook for several minutes after being removed from the oven, so pull it out just as the biscuits turn golden.
7. The Rest
Allow the dish to sit for five minutes before serving. This allows the juices to redistribute and the sauce to thicken slightly.
Pro Tip: This resting period allows the starches in the sauce to settle, ensuring that when you scoop a portion, the gravy stays with the meat rather than running to the bottom of the plate.
The Deep Dive
Macro Nutrition:
A standard serving of ground beef and biscuit bake provides approximately 350 to 450 calories. It is a powerhouse of protein and iron, though it can be high in sodium depending on your choice of seasonings. To balance the plate, serve with a bright, acidic arugula salad.
Dietary Swaps:
For a Keto version, replace the biscuits with a cauliflower-mash topping or almond-flour drop biscuits. For a Vegan alternative, utilize plant-based crumbles and a coconut-oil-based biscuit dough. Gluten-Free diners should use a 1-to-1 GF flour blend with added xanthan gum to replicate the elasticity of wheat gluten.
The Fix-It:
- Soggy Bottoms: If your biscuits are doughy on the bottom, your beef mixture was too liquid. Next time, reduce the sauce further or add a teaspoon of cornstarch to create a thicker slurry.
- Dry Meat: This happens if the beef is overcooked before the biscuits go on. Ensure you stop cooking the beef as soon as the pink is gone; the oven will do the rest.
- Burnt Tops: If the biscuits are browning too fast, tent the skillet with foil. This reflects radiant heat while allowing the internal temperature to rise.
Meal Prep:
To maintain "day-one" quality, reheat leftovers in a toaster oven rather than a microwave. The dry heat of the oven reactivates the fats in the biscuit, restoring the crunch that a microwave would turn into rubber.
The Wrap-Up
Ground beef recipes biscuits are the ultimate canvas for culinary creativity. Whether you are leaning into a heavy, gravy-laden pot pie style or a light, herb-forward summer bake, the principles remain the same. Respect the sear, keep your fats cold, and always deglaze your pan. With these professional techniques in your repertoire, you are no longer just making dinner; you are engineering an experience. Grab your skillet and get browning!
The Kitchen Table
Can I use frozen biscuits for this recipe?
Yes, but thaw them slightly first. Increase the oven time by five minutes and ensure the beef mixture is bubbling hot before topping to ensure the biscuit bottoms cook through properly.
How do I prevent the beef from being greasy?
Always drain the excess fat after browning. You can also pat the cooked beef with a paper towel before adding your sauce components to ensure a clean, savory flavor profile.
What is the best way to store leftovers?
Store in an airtight container in the refrigerator for up to three days. For best results, reheat in a 350 degree oven to keep the biscuit texture crisp and the beef moist.
Can I make this dish ahead of time?
Prepare the beef filling in advance and refrigerate. When ready to eat, reheat the beef on the stove before adding the biscuits and baking as directed for a fresh-baked finish.