
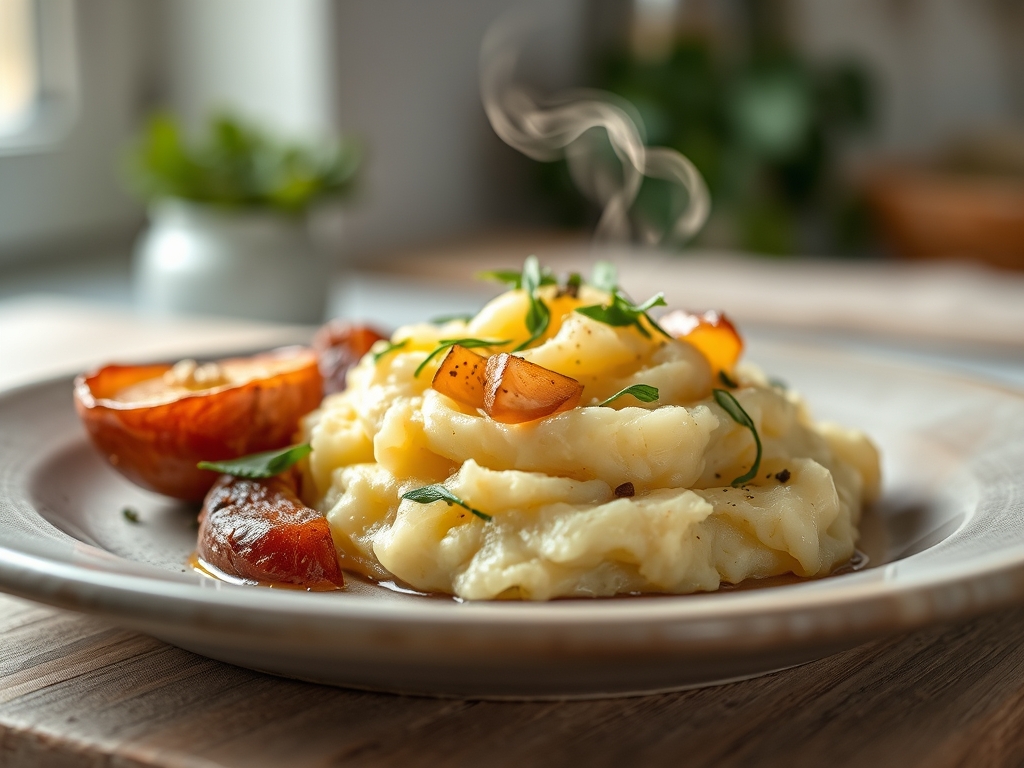
Imagine a bowl so velvety it catches the light like silk; a mountain of gold-flecked ivory that smells of cultured butter and earthy garden soil. When you dive into the world of red skin mashed potato recipes, you are not just making a side dish. You are engineering a masterpiece of texture and comfort. We are chasing that elusive, cloud-like consistency that clings to a fork but melts the moment it hits your tongue. Red potatoes are the secret weapon here because their waxy cellular structure holds firm against the heat; providing a snappy contrast to the lush creaminess we are about to create.
Forget the grainy, watery mashes of your childhood. We are going to treat these tubers like fine pastry. By the time we are done, you will understand exactly how starch molecules behave under pressure and why the temperature of your dairy can make or break a dinner party. Grab your favorite apron and clear the counter. We are about to turn a humble root vegetable into a culinary event that will have your friends begging for the secret.

The Gathers:
To achieve professional results, your mise-en-place must be precise. Start with five pounds of B-size red potatoes. These smaller tubers have a higher skin-to-flesh ratio; which is vital for the rustic aesthetic and earthy flavor profile of authentic red skin mashed potato recipes. You will also need sixteen ounces of heavy cream and one cup of unsalted European-style butter. The higher fat content in European butter (usually 82 to 85 percent) ensures a more viscous and stable emulsion.
For the aromatics, gather four cloves of fresh garlic, a sprig of rosemary, and a handful of chives. Use a digital scale to measure your kosher salt; precision here prevents the dreaded "flat" flavor profile. Smart Substitutions: If you want a lighter finish, swap half the heavy cream for whole-milk Greek yogurt. This adds a piquant tang and boosts the protein content without sacrificing the body of the mash. If you are avoiding dairy altogether, a high-quality cashew cream provides the necessary lipids to coat the starch granules effectively.
The Clock
Preparation for this dish requires about fifteen minutes of active knife work and thirty minutes of passive cooking time. This is what I call the Chef's Flow. While the potatoes are simmering, you are not just waiting; you are using that window to infuse your dairy. This overlap ensures that the moment the potatoes are drained, your liquid gold is ready to be incorporated. Total time from pantry to table is roughly fifty minutes. Remember, rushing the cooling process or the boiling phase leads to uneven starch gelatinization; patience is your most important ingredient.
The Masterclass
1. The Uniform Cube
Begin by scrubbing your potatoes with a stiff brush to remove any grit. Do not peel them. Cut the potatoes into uniform one-inch cubes using a sharp chef's knife. Consistency is key here; if the pieces vary in size, the smaller ones will overcook and take on water before the larger ones are tender.
Pro Tip: Cutting the potatoes into smaller, equal sizes increases the surface area for enzymatic browning if you were roasting; but here, it ensures that the heat penetrates the center of every piece at the same rate, preventing a "lumpy" core.
2. The Cold Start
Place your cubes into a heavy-bottomed skillet or a large stockpot and cover them with cold, heavily salted water. Starting with cold water allows the exterior and interior of the potato to heat up simultaneously. If you drop them into boiling water, the outside will turn to mush while the inside remains starchy and hard.
Pro Tip: This technique manages thermal carryover. By heating the water gradually, you strengthen the pectin in the cell walls; which helps the red skins stay attached to the flesh during the mashing process.
3. The Gentle Simmer
Bring the water to a boil and then immediately reduce to a steady simmer. You are looking for "lazy bubbles." Boiling them too aggressively will rupture the starch cells prematurely, leading to a gluey texture. Test for doneness with a fork; it should slide in with zero resistance.
Pro Tip: Use a bench scraper to clear your workstation while you wait. Maintaining a clean space prevents cross-contamination and keeps your focus on the temperature of the pot.
4. The Steam Dry
Once tender, drain the potatoes into a colander. Now, return them to the hot pot for sixty seconds over low heat. Shake the pot gently. You will see steam rising rapidly; this is the excess moisture evaporating.
Pro Tip: This is the most underrated step in red skin mashed potato recipes. Removing residual water makes room for the fat. If the potatoes are "wet," the butter cannot penetrate the starch, and your mash will separate.
5. The Dairy Infusion
While the potatoes are simmering, place your cream, butter, and smashed garlic cloves into a saucier. Heat until the butter is melted and the mixture is fragrant. Do not let it boil over. Strain out the garlic solids before using.
Pro Tip: Adding cold dairy to hot potatoes "shocks" the starch and causes it to tighten. By using warm, infused liquids, you create a seamless emulsification that stays creamy even as it cools.
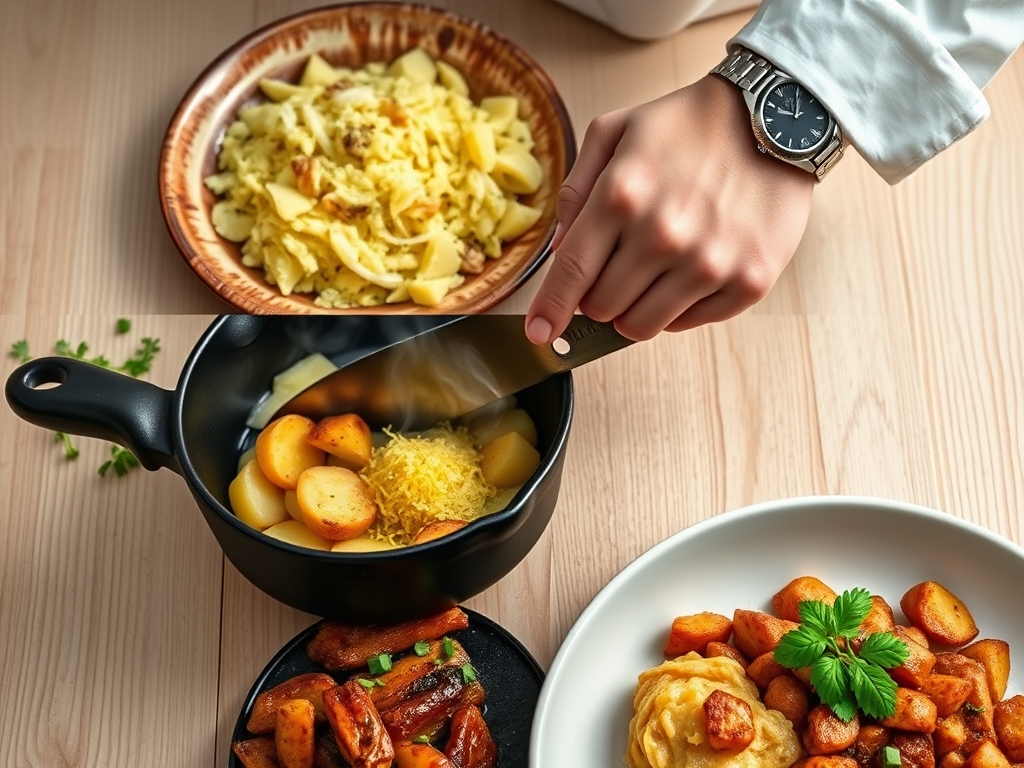
6. The Manual Mash
Use a traditional wire masher or a ricer for this step. If you want the rustic look of red skin mashed potato recipes, the wire masher is superior. Avoid the food processor at all costs; the high-speed blades will shear the starch molecules and turn your dinner into literal wallpaper paste.
Pro Tip: Mashing by hand allows you to control the aeration. You want to incorporate just enough air to make them fluffy without breaking down the beautiful red skins.
7. The Fold
Slowly pour your warm cream mixture over the potatoes. Use a silicone spatula to fold the liquid into the solids. Stop the moment the liquid is absorbed. Over-mixing is the enemy of a light mash.
Pro Tip: This is where the viscous nature of the heavy cream works its magic. The fats coat the starch granules, preventing them from bonding into a sticky mass.
8. The Microplane Finish
Grate a tiny bit of fresh nutmeg or lemon zest over the top using a microplane. This adds a hidden layer of complexity that cuts through the richness of the butter.
Pro Tip: Aromatic compounds are volatile. Adding them at the very end ensures the scent hits the guest's nose the moment the bowl is placed on the table.
9. The Rest
Let the mash sit for three minutes before serving. This allows the starches to fully absorb the fats and stabilize.
Pro Tip: This brief rest utilizes latent heat to finish the "setting" of the mash, ensuring that it holds its shape on the plate rather than weeping liquid.
The Deep Dive
When we look at the Macro Nutrition, a standard serving of these potatoes provides complex carbohydrates, potassium, and Vitamin C. While the butter adds fats, it also aids in the absorption of the fat-soluble vitamins found in the potato skins. For Dietary Swaps, those on a Keto path can substitute half the potatoes with steamed cauliflower. For a Vegan version, use a high-quality olive oil and cashew milk; the result is surprisingly silky.
The Fix-It: If your potatoes end up gluey, do not panic. Spread them in a baking dish, top with parmesan cheese, and bake until a crust forms; you have successfully pivoted to a gratin. If they are too salty, add a splash of unseasoned heavy cream. If they are lumpy, use a tongs to pick out the largest chunks and mash them separately before folding them back in.
For Meal Prep, reheating is a science. Do not use the microwave alone. Place the potatoes in a saucepan with a splash of milk and heat over low, stirring constantly. This restores the emulsion and prevents the butter from "breaking" into an oily puddle.
The Wrap-Up
Mastering red skin mashed potato recipes is a rite of passage for any home cook. It is the perfect marriage of chemistry and comfort. By controlling the temperature of your water, drying your tubers thoroughly, and warming your dairy, you elevate a simple side dish into a gourmet experience. Remember; the skins are not just for color; they are the texture that makes this dish iconic. Now, go grab your saucier and show those potatoes who is boss!
The Kitchen Table
Can I make these in advance?
Yes. You can make them up to two days ahead. Store them in an airtight container and reheat slowly on the stove with an extra splash of warm cream to restore the original viscous texture.
Why are my mashed potatoes gluey?
Glueyness happens when starch cells are ruptured by over-working. This usually occurs from using a food processor or over-mixing. Always mash by hand and stop the moment the ingredients are combined to keep them light.
Do I have to salt the water?
Absolutely. Salting the water seasons the potato from the inside out. If you wait until the end to salt, the flavor will sit on the surface and taste "one-dimensional" rather than deeply seasoned.
Is it okay to leave the skins on?
Yes; that is the signature of red skin mashed potato recipes. The skins provide fiber, color, and an earthy flavor. Just ensure you scrub them thoroughly with a brush before boiling to remove debris.