

Picture the scent of vinegar hitting a hot, heavy-bottomed skillet; it is sharp, acidic, and then suddenly mellows into something deeply savory as it mingles with soy sauce and rendered fat. This is the aromatic heartbeat of a Filipino kitchen. When you explore chicken recipes philippines, you are not just looking for dinner ideas; you are embarking on a journey through a landscape of salt, acid, and heat. The Filipino palate is obsessed with balance, specifically the interplay between sourness and umami. Whether it is the crisp skin of a perfectly fried bird or the viscous, rich sauce of a slow-braised stew, these dishes rely on the chemistry of simple ingredients transformed by time. We are going to master the classics, from the iconic Adobo to the comforting ginger-infused Tinola. We will use modern techniques to elevate these ancestral flavors, ensuring every bite is a masterclass in texture and taste. Grab your apron and your sharpest chef knife; we are about to turn your kitchen into a tropical sanctuary of flavor.
The Gathers:
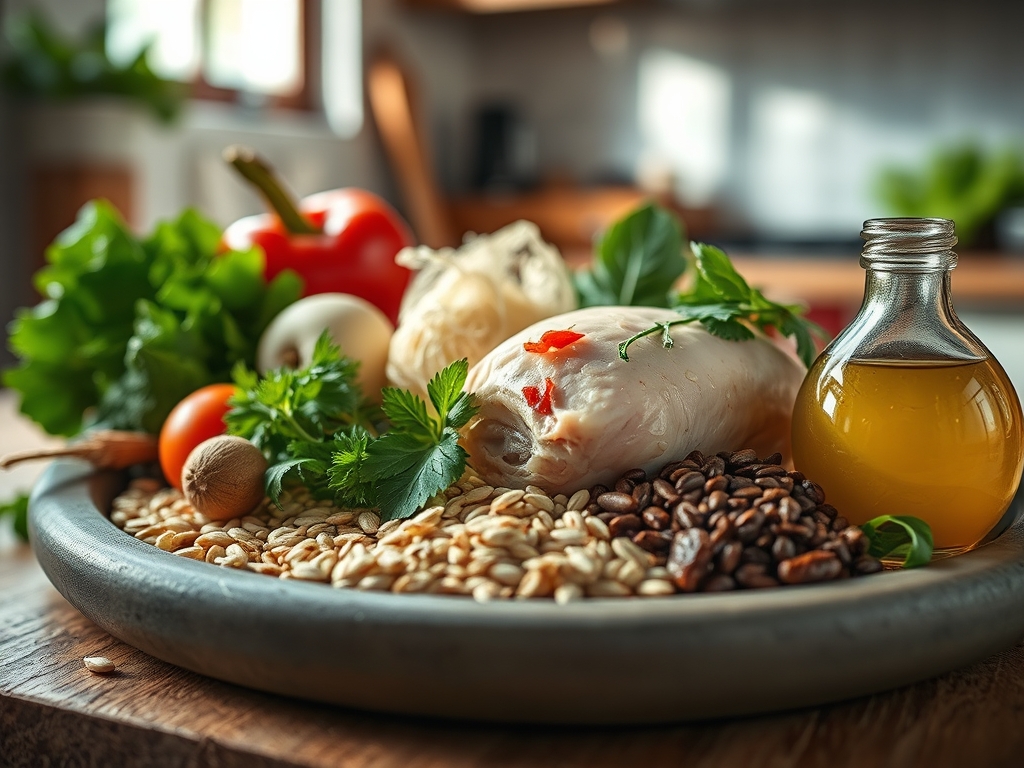
To execute these chicken recipes philippines flawlessly, your mise-en-place must be precise. We start with the chicken itself. For stews like Afritada or Caldereta, bone-in, skin-on thighs are non-negotiable because the collagen in the joints breaks down into gelatin, providing a luxurious mouthfeel. You will need a heavy-bottomed skillet or a cast-iron dutch oven to ensure even heat distribution. Your aromatics are the holy trinity of Filipino cooking: pungent garlic, red onions, and ginger. Use a microplane to grate your ginger into a fine paste; this increases the surface area and allows the gingerols to infuse the oil more efficiently.
For the liquids, keep high-quality coconut milk, naturally brewed soy sauce, and cane vinegar on standby. Cane vinegar is milder than white distilled vinegar; it provides a piquant brightness without the harsh chemical aftertaste. If you cannot find cane vinegar, a mixture of apple cider vinegar and a pinch of sugar is a smart substitution. For our crispy dishes, a digital scale is your best friend to measure the ratio of cornstarch to flour, ensuring a shatteringly crisp crust that resists sogginess even when tossed in sauce.
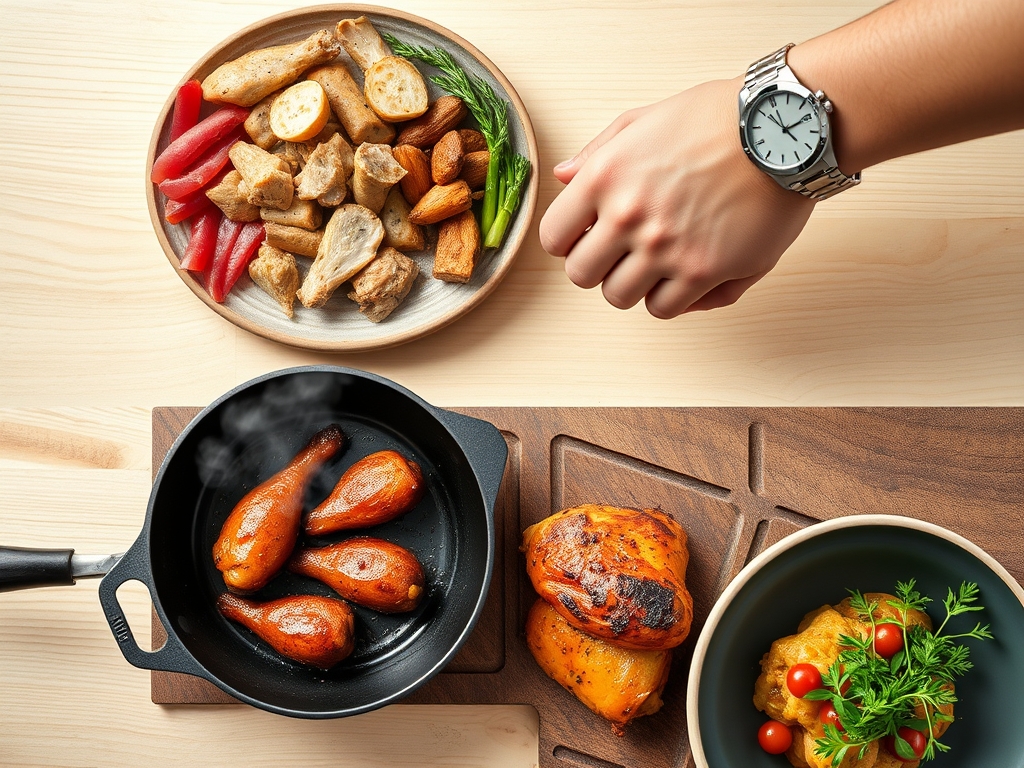
The Clock:
Efficiency in the kitchen is all about the "Chef's Flow." Most of these traditional dishes require a two-stage process: the sear and the simmer. Expect to spend 20 minutes on prep, focusing on consistent knife cuts to ensure even cooking. Active cooking time generally ranges from 30 to 45 minutes. The flow starts with rendering the fat from the chicken skin, followed by deglazing the pan with aromatics, and finally, a low-temperature braise. This sequence allows the flavors to build in layers rather than muddying together.
The Masterclass:
1. The Maillard Sear
Start by patting your chicken completely dry with paper towels. Moisture is the enemy of browning. Heat your skillet until it reaches the smoke point of your oil, then place the chicken skin-side down using metal tongs. Do not crowd the pan; overcrowding drops the temperature and causes the meat to steam rather than sear.
Pro Tip: This stage triggers the Maillard reaction, a chemical reaction between amino acids and reducing sugars that creates hundreds of different flavor compounds. Achieving a deep golden brown here ensures a complex, savory base for your sauce.
2. Deglazing the Aromatics
Once the chicken is seared and set aside, you will notice brown bits stuck to the bottom of the pan. This is called "fond." Toss in your minced garlic and onions, using a wooden spoon or a bench scraper to loosen those bits. The moisture from the onions will help release the fond back into the mix.
Pro Tip: This process is called deglazing. The fond contains concentrated flavor that, when re-incorporated, adds a professional depth to the final dish that salt alone cannot provide.
3. The Low and Slow Infusion
Add your liquids, such as coconut milk for Ginataan or vinegar for Adobo. Lower the heat to a gentle simmer. High heat will cause the proteins in the chicken to contract and become tough; a low simmer allows the connective tissue to soften gradually.
Pro Tip: Use a saucier if you have one; its rounded bottom prevents aromatics from getting stuck in corners and burning during the long reduction phase.
4. Emulsifying the Sauce
In dishes like Chicken Curry or Caldereta, you want a sauce that clings to the meat. If your sauce looks oily or broken, whisk in a cold pat of butter or a splash of heavy cream at the very end off the heat.
Pro Tip: This creates an emulsion, where fat and water-based liquids are forced to stay together. It results in a silky, glossy finish that looks beautiful on the plate.
5. The Resting Period
Once the chicken reaches an internal temperature of 165 degrees Fahrenheit on a digital thermometer, remove it from the heat. Let it rest for five to ten minutes before serving.
Pro Tip: This accounts for thermal carryover, where the internal temperature continues to rise slightly after removal. Resting also allows the juices to redistribute, ensuring the meat stays succulent.
The Deep Dive:
From a nutritional standpoint, these chicken recipes philippines are high in protein and can be easily adjusted for various lifestyles. Chicken is a lean source of essential amino acids. For a Keto version, simply omit the sugar often found in Filipino sauces and swap white rice for cauliflower rice. For a Vegan alternative, firm tofu or young green jackfruit works beautifully as a protein substitute, as they both absorb the piquant flavors of the braising liquid. If you are Gluten-Free, ensure you use tamari or liquid aminos instead of traditional soy sauce.
The Fix-It:
- The Sauce is Too Salty: Do not add water, which dilutes the flavor profile. Instead, add a peeled potato to the simmering liquid; the starch absorbs excess salt. Alternatively, a splash of acid (calamansi or lime) can mask saltiness.
- The Chicken is Dry: This usually happens from boiling rather than simmering. If the meat is already overcooked, shred it and toss it back into the sauce to maximize surface area for moisture absorption.
- The Sauce is Too Thin: Create a slurry using one teaspoon of cornstarch and one tablespoon of cold water. Whisk it into the boiling sauce for thirty seconds until it reaches a viscous consistency.
Meal Prep and Reheating:
Filipino food is famous for tasting better the next day. This is because the acids in the vinegar continue to break down the proteins and the spices further infuse the liquid. To reheat, avoid the microwave, which can make chicken rubbery. Instead, use a small saucepan over medium-low heat with a tablespoon of water to re-aerate the sauce and maintain the meat's integrity.
The Wrap-Up:
Mastering chicken recipes philippines is about more than just following a list of steps; it is about understanding the science of flavor extraction and the patience of a slow simmer. You have learned how to harness the Maillard reaction, how to deglaze like a pro, and how to fix common kitchen mishaps with technical precision. These dishes are soulful, vibrant, and designed to be shared. So, invite your friends over, put a massive pot of jasmine rice on the table, and let the bold, tangy, and savory notes of the Philippines take center stage in your home.
The Kitchen Table:
Why is my chicken adobo tough?
Toughness usually results from boiling the meat at too high a temperature. To fix this, maintain a gentle simmer. This allows the collagen to break down into gelatin, resulting in a tender, melt-in-your-mouth texture.
Can I use chicken breast for these recipes?
While you can, chicken thighs are preferred for Filipino stews. Thighs have more fat and connective tissue, which prevents them from drying out during the long simmering process required to develop deep, authentic flavors.
What is the best substitute for Calamansi?
If you cannot find Calamansi, use a 1:1 mixture of fresh lime juice and lemon juice. This replicates the unique, high-acid, and slightly floral profile of the Philippine lime, ensuring your dish maintains its bright, piquant edge.
How do I get crispy skin on fried chicken?
Ensure the skin is bone-dry before frying. Use a mixture of flour and cornstarch to create a starch barrier. Fry at 350 degrees Fahrenheit, and do not crowd the pan to maintain a consistent, high temperature.