
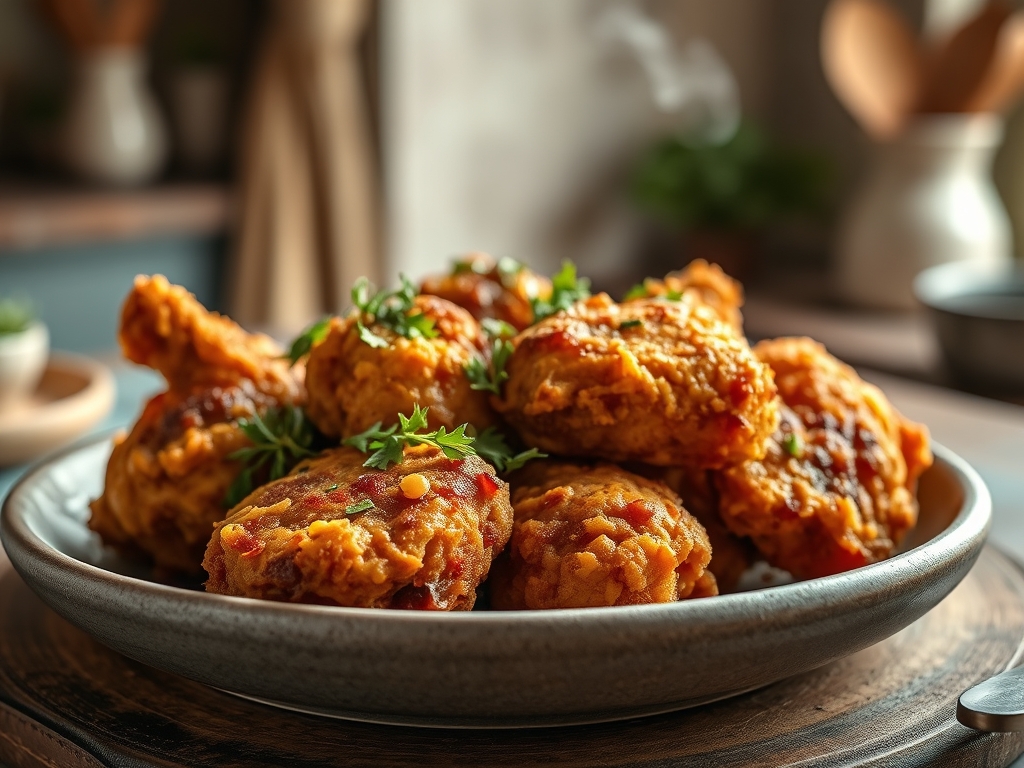
Picture this: the kitchen is humming with the scent of toasted paprika and rendering fat while your guests hover near the counter. You want that shatteringly crisp exterior without the mess of a deep fryer. Mastering oven baked fried chicken recipes requires more than just high heat; it is a delicate dance of moisture management and lipid distribution. We are going to achieve that golden, craggy crust using science as our secret weapon.
The magic happens when we manipulate the surface proteins of the bird to mimic the rapid dehydration of a traditional fry. Most people fail because they treat the oven like a warming drawer. We are going to treat it like a convection engine. By understanding how air circulation interacts with breading, you can produce a result that is indistinguishable from a cast iron skillet fry. We are aiming for a viscous, buttermilk-soaked interior protected by a piquant, crunchy shell.
This is not just dinner; it is an architectural project. We will use a wire rack to ensure three hundred and sixty degree airflow, preventing the dreaded "soggy bottom." Get your digital scale and your heavy-bottomed sheet pans ready. We are about to elevate your Sunday night staple into a technical masterpiece that remains juicy enough to satisfy the toughest critics.
The Gathers:
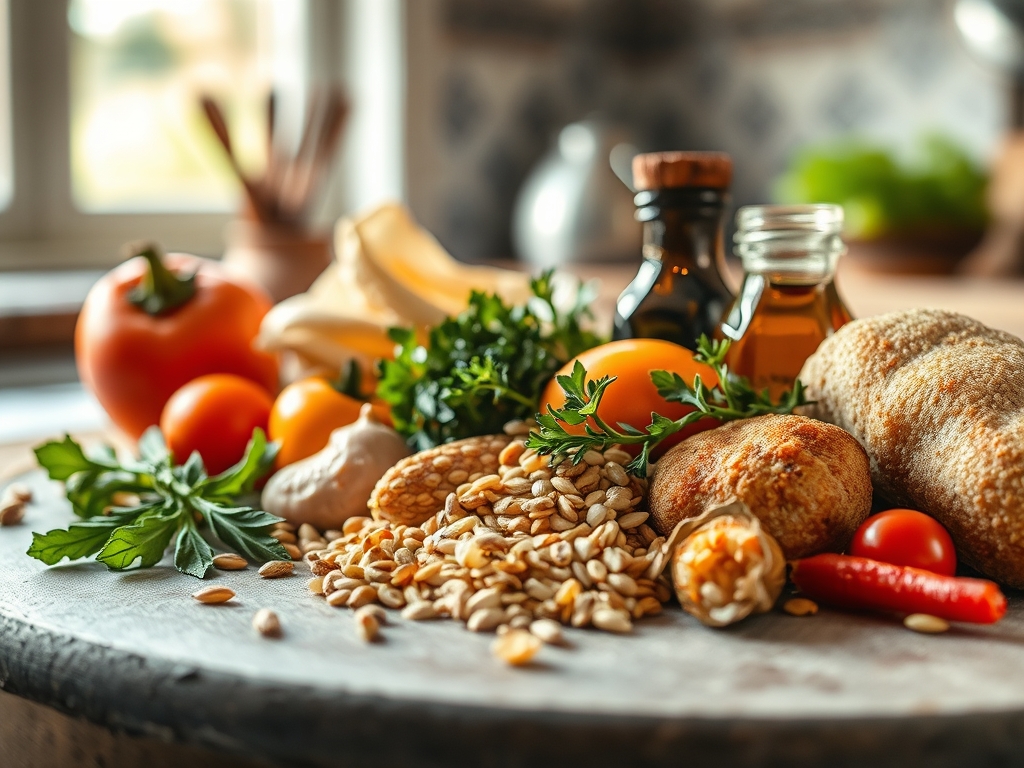
To begin our mise-en-place, we must assemble ingredients that prioritize both flavor and structural integrity. You will need high-quality chicken thighs; the higher fat content ensures the meat remains succulent during the extended dry heat of the oven. For the coating, we utilize panko breadcrumbs for their jagged surface area, which provides more "crunch sites" than standard crumbs.
You will also need a viscous binder. Buttermilk is the gold standard here because its lactic acid works to denature the proteins, tenderizing the meat while providing a tangy counterpoint to the salt. We will infuse this liquid with garlic powder, smoked paprika, and a touch of cayenne for a piquant kick. Use a microplane to zest a bit of lemon into the mix; the citrus oils cut through the richness of the breading.
Smart Substitutions: If you are avoiding dairy, a mixture of unsweetened soy milk and apple cider vinegar creates a functional buttermilk analog. For the breading, crushed pork rinds offer a keto-friendly alternative that renders its own fat, while gluten-free panko made from rice flour provides an identical crystalline structure to wheat-based versions. Always measure your spices by weight on a digital scale for consistent results across every batch.
The Clock
Efficiency in the kitchen is about the Chef's Flow. This process takes approximately seventy-five minutes from start to finish. Your active prep time is twenty minutes, which involves the dredging and coating process. The chicken then requires a mandatory "set time" of fifteen minutes in the refrigerator. This cold rest allows the starches in the breading to hydrate, ensuring the crust sticks to the skin rather than sliding off in the heat.
The bake time is forty minutes at four hundred degrees Fahrenheit. This high temperature is non-negotiable; it triggers the Maillard reaction rapidly before the internal moisture can evaporate. While the chicken roasts, you have a twenty-minute window to prepare your sides or deglaze a saucier for a quick honey-mustard glaze. Finally, a five-minute rest on a cooling rack is essential to allow the internal juices to redistribute.
The Masterclass
1. The Brine and Bind
Submerge your chicken pieces in a seasoned buttermilk bath. Ensure every crevice is coated to create a sticky surface for the dry ingredients. Use your tongs to agitate the pieces, ensuring the lactic acid penetrates the muscle fibers.
Pro Tip: This is the enzymatic tenderization phase. Lactic acid breaks down collagen over time, ensuring that even at high oven temperatures, the meat remains tender rather than rubbery.
2. The Aerated Breading
In a wide shallow bowl, combine your panko with a tablespoon of neutral oil. Use your fingers to rub the oil into the crumbs until they look like wet sand. This ensures every crumb is "pre-fried" before it even hits the oven.
Pro Tip: This technique facilitates lipid conduction. By coating the crumbs in oil first, you allow heat to transfer more efficiently across the surface, resulting in a more uniform golden-brown color.
3. The Dredge and Press
Lift the chicken from the buttermilk, letting the excess drip off. Press it firmly into the panko mixture. Use a "dry hand, wet hand" technique to keep your station clean and prevent the breading from clumping on your fingers.
Pro Tip: Pressing firmly creates mechanical adhesion. You are physically interlocking the breadcrumbs with the protein fibers of the chicken, which prevents the crust from buckling as the meat shrinks during cooking.
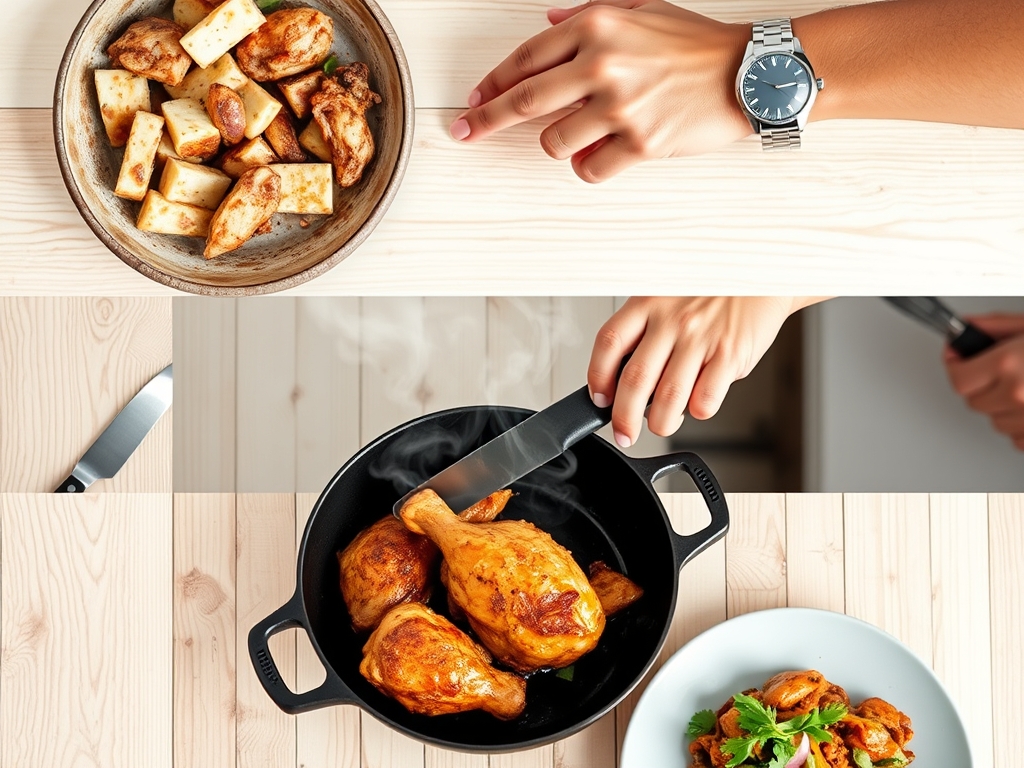
4. The Elevated Bake
Place a wire rack inside a heavy-bottomed sheet pan. Arrange the chicken so no pieces are touching. This allows the hot air to circulate under the meat, mimicking the immersion effect of a deep fryer.
Pro Tip: This maximizes convection efficiency. Without the rack, the bottom of the chicken would sit in its own escaping steam, destroying the crunch you worked so hard to build.
5. The Thermal Check
Slide the pan into the center of the oven. After thirty minutes, use a digital thermometer to check the internal temperature. You are looking for one hundred and sixty-five degrees Fahrenheit for breasts or one hundred and seventy-five for thighs.
Pro Tip: Account for thermal carryover. The internal temperature will rise about five degrees after you remove the chicken from the oven, so pull it just before it hits your final target.
6. The Crisp Finish
If the crust looks pale but the meat is done, switch the oven to the broiler setting for the final sixty seconds. Watch it like a hawk to prevent carbonization.
Pro Tip: The broiler uses infrared radiation to provide a final burst of heat that crisps the outermost layer of starch without overcooking the delicate interior.
7. The Resting Period
Transfer the chicken to a clean cooling rack. Do not place it on paper towels, as the trapped steam will soften the bottom crust. Wait five minutes before serving.
Pro Tip: Resting allows for moisture stabilization. As the temperature drops slightly, the muscle fibers relax and reabsorb the juices, ensuring they stay in the meat and not on your plate.
The Deep Dive
From a macro nutrition perspective, oven baked fried chicken recipes are a revelation. By bypassing the oil vat, you reduce the total fat content by nearly sixty percent while maintaining high protein density. A standard thigh prepared this way contains roughly three hundred calories, making it a sustainable choice for those tracking their intake without sacrificing texture.
For dietary swaps, the science remains the same. If you are going vegan with cauliflower "wings," use a flax-egg binder to replicate the viscous protein matrix of buttermilk. For keto enthusiasts, the pork rind crust provides a zero-carb crunch that actually browns faster than breadcrumbs due to the high fat content of the rinds.
The Fix-It:
- Soggy Bottoms: This usually happens if you skip the wire rack or overcrowd the pan. Ensure at least one inch of space between pieces.
- Breading Falling Off: This occurs if the chicken was too wet. Pat the meat dry with paper towels before the buttermilk dip.
- Burnt Spices: High-sugar spices like onion powder can burn. If your crust is darkening too fast, tent the pan loosely with foil.
Meal Prep Science: To reheat and maintain "day-one" quality, avoid the microwave at all costs. The microwave vibrates water molecules, which steams the crust from the inside out. Instead, use an air fryer at three hundred and fifty degrees for four minutes. This uses rapid air movement to re-crisp the lipids in the breading.
The Wrap-Up
You now hold the keys to the kingdom of crunch. By understanding the physics of airflow and the chemistry of the Maillard reaction, you have transformed a simple bird into a culinary trophy. These oven baked fried chicken recipes are designed to impress, providing that soul-satisfying snap in every bite. Go ahead and pour that glass of wine; you have officially mastered the art of the healthy fry. Your kitchen is now a laboratory of flavor.
The Kitchen Table
Can I use chicken breasts instead of thighs?
Yes, but reduce the cook time by ten minutes. Breasts have less fat and can dry out quickly. Use a digital thermometer to ensure the internal temperature reaches exactly one hundred and sixty-five degrees Fahrenheit for optimal juiciness.
Why is my breading not getting brown?
The oven temperature might be too low or you skipped the oil-toss step. Pre-mixing your breadcrumbs with a small amount of neutral oil ensures they brown evenly through lipid conduction, even without the immersion of a deep fryer.
How do I keep the chicken from sticking to the rack?
Generously coat your wire rack with a high-smoke-point oil spray before placing the chicken down. This prevents the proteins from bonding to the metal during the initial sear, allowing for easy removal once the crust has fully set.
Is it necessary to flip the chicken halfway through?
If you are using a wire rack, flipping is unnecessary. The rack allows for total air circulation. Flipping can actually damage the delicate crust before it has fully dehydrated and hardened, potentially causing the breading to fall off.