
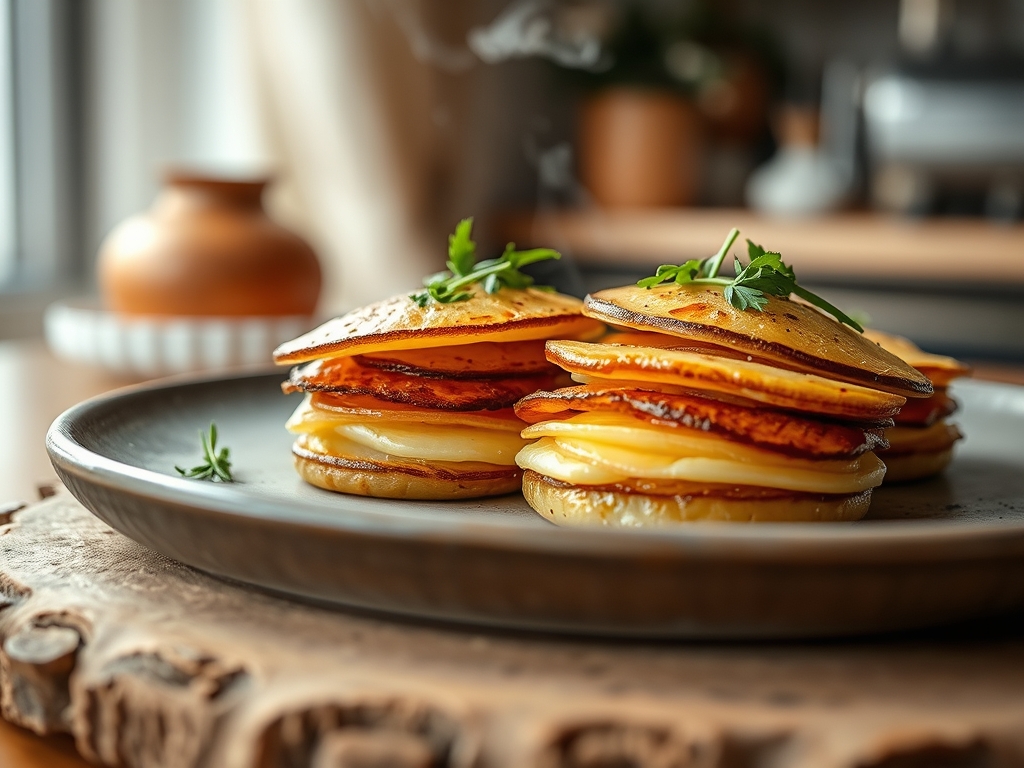
Imagine the sound of a thousand glass shards shattering simultaneously; that is the precise acoustic profile of a perfectly executed potato pavé. We are not just talking about dinner side dishes here. We are diving into a world of structural engineering where starch meets fat to create something transcendental. Mastering layered potato recipes requires a shift in perspective from mere cooking to architectural assembly. It is about the rhythm of the mandoline and the alchemy of the oven. If you have ever craved that specific, golden-ratio crunch that shatters into a buttery, melt-in-your-mouth interior, you are in the right place. We are going to take the humble tuber and elevate it to a fine-art status that would make a Michelin inspector weep. This journey is about precision, patience, and a healthy obsession with surface area. By the time we are finished, you will understand exactly why the thickness of a millimeter can be the difference between a soggy mess and a culinary masterpiece. Grab your apron; it is time to get technical.
The Gathers:
To achieve the structural integrity required for these layered potato recipes, your mise-en-place must be clinical. Start with high-starch Russets or waxy Yukon Golds. The Russet offers a fluffier internal crumb, while the Yukon provides a viscous, buttery mouthfeel due to its higher sugar content. You will need a high-quality fat source; clarified butter (ghee) is the gold standard because the milk solids have been rendered out, allowing for a higher smoke point without bitter carbonization.
Your aromatics should be fresh. Think woody herbs like rosemary and thyme which can withstand high thermal loads. Use a microplane to zest garlic into a paste; this ensures the flavor is infused into the fat without leaving burnt, acrid chunks between your layers. For the seasoning, a fine sea salt is non-negotiable for even distribution, alongside a piquant kick from freshly cracked white pepper.
Smart Substitutions: If you are avoiding dairy, duck fat is a world-class alternative that offers an incredible savory depth. For a plant-based version, use a refined coconut oil blended with a touch of nutritional yeast to mimic that savory, umami profile. If you find yourself without a mandoline, a very sharp chef's knife and a steady hand are your only recourse, though consistency will be harder to maintain.
The Clock:
Efficiency in the kitchen is about "Chef's Flow." This is the art of overlapping tasks so that no second is wasted. For these layered potato recipes, expect a total commitment of about two and a half hours, though active labor is only forty minutes.
Prep Time: 30 minutes. This involves the rhythmic slicing of the tubers and the preparation of the fat infusion.
Cook Time: 90 minutes. This includes the initial "set" bake and the final high-heat crisping phase.
Rest Time: 30 minutes (minimum). Do not skip this. The rest allows the starches to retrograde, locking the layers together so they do not slide apart when sliced.
The flow looks like this: While the oven preheats, you slice. While the fat melts, you line your pans. The long bake is your time to prepare a bright, acidic garnish to cut through the richness.
The Masterclass:
1. The Precision Slice
Using a mandoline, slice your potatoes into uniform 1.5mm rounds. They should be translucent enough to see the shadow of your hand through them. Place them immediately into a bowl of cold water to prevent enzymatic browning, but dry them thoroughly with a lint-free towel before the next step.
Pro Tip: Drying the slices is vital because excess moisture creates steam. Steam is the enemy of the Maillard reaction, the chemical process that creates that savory, brown crust we crave.
2. The Fat Infusion
In a small saucier, gently heat your clarified butter with crushed garlic and herbs. Do not let it boil; you want to infuse the fat, not deep-fry the aromatics. Once fragrant, strain the solids using a fine-mesh sieve.
Pro Tip: Fat acts as a heat conductor. By coating every millimeter of the potato surface, you ensure even thermal distribution, which prevents "cold spots" in the center of your stack.
3. The Architectural Build
Line a heavy-bottomed pan with parchment paper. Brush the bottom with your infused fat. Lay the potato slices in overlapping rows, brushing every single layer with more fat and a light dusting of salt. Press down firmly with a bench scraper every three layers to remove air pockets.
Pro Tip: This compression is essential for emulsification. The starch from the potatoes mixes with the fat to create a glue-like bond that holds the layers together during the high-heat phase.
4. The Compression Bake
Cover the top with parchment and another identical pan. Add a weight on top (like a clean brick or a heavy cast-iron skillet). Bake at 350 degrees Fahrenheit until the potatoes are tender when pierced with a paring knife.
Pro Tip: Weighted baking prevents the layers from curling. This ensures maximum surface-to-pan contact, which is the secret to that uniform, golden-brown finish seen in professional kitchens.
5. The Chill and Set
Once baked, let the potatoes cool to room temperature while still weighted, then move them to the fridge for at least two hours. This allows the starches to undergo retrogradation, transforming from a soft gel into a firm, sliceable block.
Pro Tip: Cold potatoes are easier to cut into perfect geometric shapes. A sharp knife will glide through the chilled starch without tearing the delicate layers you worked so hard to build.
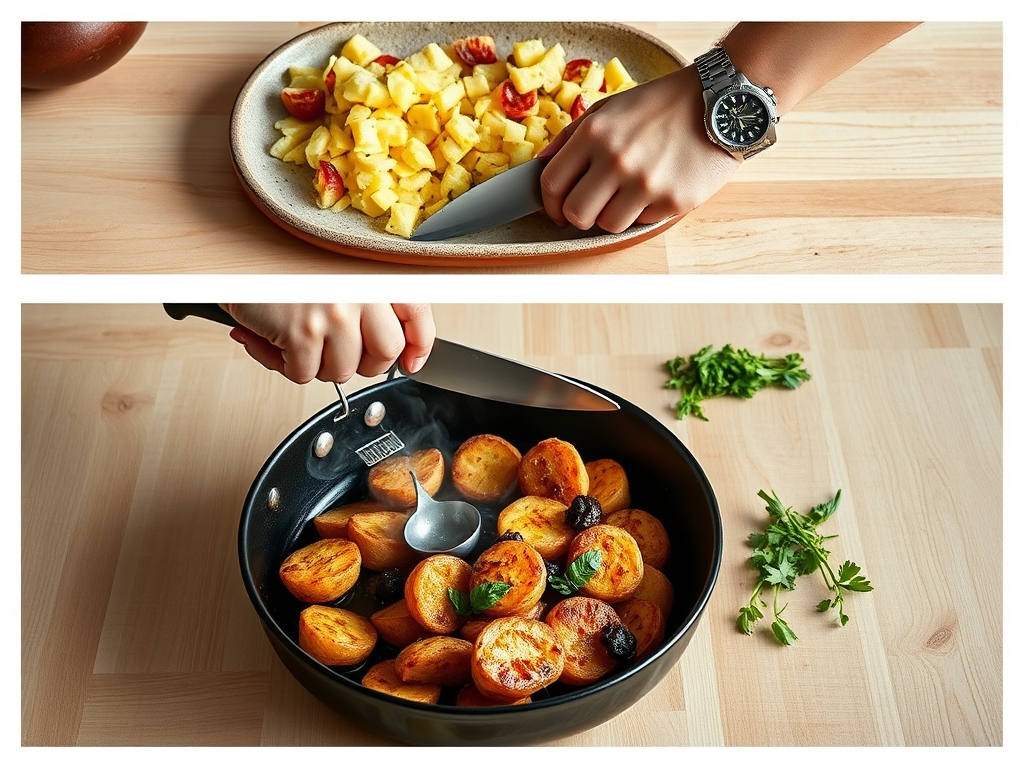
6. The Final Sear
Slice the chilled block into cubes or rectangles. Heat a heavy-bottomed skillet with a thin layer of oil. Sear each side until it is deep mahogany and incredibly crisp. Use tongs to flip them gently to avoid bruising the edges.
Pro Tip: Watch for thermal carryover. Remove the potatoes from the heat just before they reach your desired color, as the internal heat will continue to cook the edges for another sixty seconds.
The Deep Dive:
Macro Nutrition: Potatoes are naturally fat-free and high in potassium, but these layered potato recipes are "luxury" dishes. A standard serving contains roughly 250 calories, primarily driven by the healthy fats used for layering. They are naturally gluten-free, making them a safe bet for celiac-friendly entertaining.
Dietary Swaps: For a Keto-adjacent version, replace half the potato layers with thinly sliced celery root (celeriac). It has a lower glycemic index and adds a sophisticated, earthy flavor. For a vegan masterpiece, use a high-quality avocado oil or a vegan butter alternative that contains lecithin for better browning.
The Fix-It:
- Layers Sliding: This happens if you used too much fat or did not compress enough. Fix it by chilling the block longer before searing.
- Greasy Texture: Your searing oil wasn't hot enough. The oil must be shimmering to create an instant barrier.
- Burnt Bottoms: Your oven has hot spots. Use a digital scale to ensure your weights are centered, and rotate the pan halfway through the bake.
Meal Prep: These are a dream for prep. You can complete the "Compression Bake" up to three days in advance. To reheat, do not use a microwave; it will turn the starch into rubber. Instead, use an air fryer or a hot oven at 400 degrees Fahrenheit to re-activate the crispness.
The Wrap-Up:
There you have it; the science of the perfect crunch. Layered potato recipes are more than just food; they are a testament to what happens when you respect the ingredient and the process. Whether you are serving these at a high-stakes dinner party or just treating yourself on a Tuesday, remember that the magic is in the details. The thinness of the slice, the weight of the press, and the patience of the chill are your keys to success. Now, go forth and shatter some expectations.
The Kitchen Table:
Which potato is best for layering?
Yukon Golds are the gold standard. They possess a natural creaminess and a medium starch content that creates a perfect "glue" between layers while maintaining a firm structure after the long, weighted baking process.
Can I make these without a mandoline?
Yes, but it is challenging. Use a very sharp chef's knife and aim for consistent 1.5mm slices. Inconsistent thickness leads to uneven cooking, where some layers turn to mush while others remain unpleasantly crunchy.
Why do my potato layers fall apart?
This usually stems from skipping the compression step or the cooling phase. Weights press out air, while chilling allows the starches to firm up, effectively "welding" the layers together into a single, solid block.
How do I get the edges so crispy?
The secret is clarified butter and a heavy-bottomed skillet. Clarified butter has a high smoke point, allowing you to sear at high temperatures without burning, while the heavy pan ensures even, consistent heat distribution.