
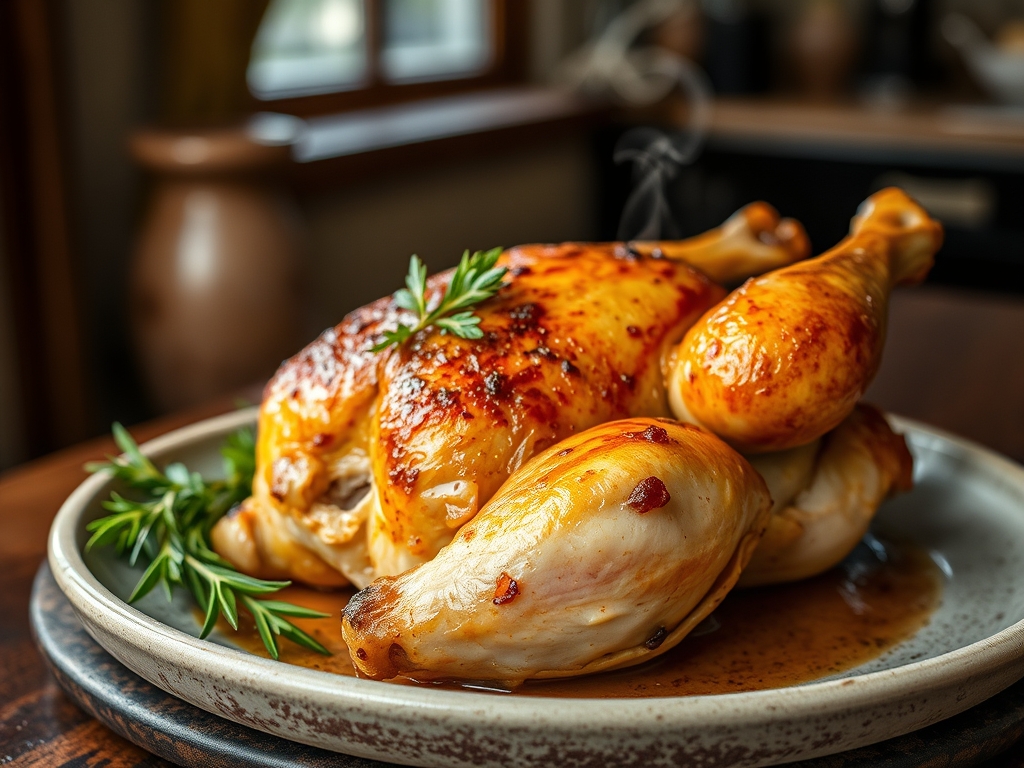
Picture the scene: your kitchen is filled with the scent of rendered fat and toasted rosemary, a smell so deep it feels like a warm hug. When it comes to whole chicken recipes baked to perfection, the difference between a dry, forgotten bird and a masterpiece lies in the molecular details of the skin. We are chasing that shatteringly crisp, golden-brown exterior and a breast so succulent it practically carves itself. It is not just dinner; it is a culinary flex that proves you have mastered the art of heat transfer.
The secret is all in the preparation. Most home cooks treat a chicken like a chore, but we are going to treat it like a science experiment with a very delicious hypothesis. By the time we are done, you will understand why moisture is the enemy of the Maillard reaction and how a simple digital scale can change your roasting game forever. We are moving beyond the basic "toss it in the oven" mentality. We are aiming for a bird that looks like it belongs on a magazine cover but tastes like home. Let us get into the grit of the gather.

The Gathers:
To achieve a professional result, your mise-en-place must be precise. Start with a four to five pound organic bird; the quality of the fat stores in the thighs will dictate the final flavor profile. You will need high-quality kosher salt, which has larger crystals that adhere better to the protein fibers. Grab your microplane to zest a lemon without hitting the bitter white pith, and ensure you have a bunch of woody herbs like thyme and rosemary. The volatile oils in these herbs need high heat to fully infuse into the meat.
For the fat, skip the cheap oils. Use high-smoke point clarified butter or avocado oil to ensure the skin crisps without burning. If you want a deeper umami profile, keep some garlic cloves and a shallot nearby to stuff into the cavity.
Smart Substitutions:
If you are out of fresh herbs, a concentrated poultry seasoning works, but reduce the salt to avoid over-seasoning. For a dairy-free version that still browns beautifully, use duck fat or schmaltz. These animal fats have a chemical composition that encourages enzymatic browning more effectively than plant-based oils. If you lack a roasting rack, a bed of thick-cut root vegetables like carrots and parsnips creates a natural pedestal that elevates the bird and prevents the bottom from steaming in its own juices.
The Clock
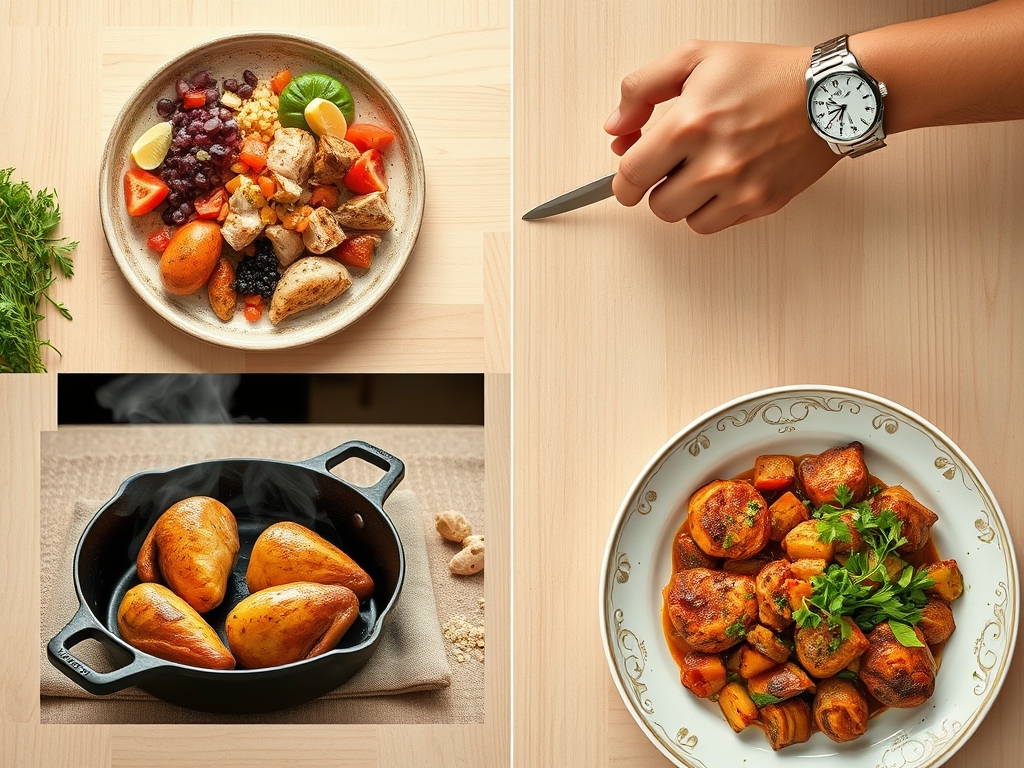
The "Chef's Flow" is all about managing thermal momentum. Your active prep time is roughly 20 minutes, mostly spent drying the skin and seasoning. However, the real work happens in the resting phase. Plan for 15 minutes of pound-for-pound roasting time at 425 degrees Fahrenheit. A standard four-pound bird usually takes about 60 to 70 minutes. Crucially, you must factor in a 20-minute rest period post-oven. This allows the internal juices to redistribute. If you cut into it immediately, the viscous juices will flee onto your cutting board, leaving the meat parched.
The Masterclass
1. The Great Desiccation
The most vital step is removing every molecule of surface moisture. Use paper towels to pat the skin until it feels like parchment paper. If you have time, leave it uncovered in the fridge for four hours.
Pro Tip: This process, known as surface evaporation, is essential because water absorbs energy. If the skin is wet, the oven's energy goes into boiling off the water rather than crisping the skin through the Maillard reaction.
2. The Trussing Technique
Using butcher's twine, secure the wings and legs tightly against the body. Use your tongs to help flip the bird as you wrap the string.
Pro Tip: Trussing reduces the surface area exposed to direct heat, which prevents the delicate wing tips from burning and ensures the legs cook at the same rate as the breast, a concept known as thermal equilibrium.
3. Salt Saturation
Generously coat the bird in kosher salt, including the cavity. Use a digital scale to ensure you are using about 1.5% salt by weight for the most balanced seasoning.
Pro Tip: Salt acts as a denaturant, breaking down the tightly wound protein structures in the meat. This allows the muscle fibers to hold onto more water during the high-heat roasting process.
4. The Fat Barrier
Slather the skin with your fat of choice. I prefer a compound butter mixed with piquant black pepper and garlic. Use a saucier to melt it slightly if you want to brush it on for an even coat.
Pro Tip: Fat is a superior heat conductor compared to air. By coating the chicken in oil or butter, you are creating a more efficient medium for heat to reach the skin, leading to that coveted golden hue.
5. Aromatics Infusion
Stuff the cavity with a halved lemon, smashed garlic, and herbs. Do not overstuff, as air needs to circulate.
Pro Tip: As the chicken heats up, the moisture inside the lemon and herbs creates a localized steam chamber. This infuses the meat from the inside out with essential oils without drying out the exterior.
6. High Heat Launch
Start your oven at 450 degrees Fahrenheit for the first 15 minutes, then drop it to 400. This initial blast of heat triggers the rendering process immediately.
Pro Tip: This "thermal shock" causes the subcutaneous fat to render quickly, which fries the skin from the underside while the oven air crisps it from the top.
7. The Thermometer Truth
Do not guess. Use a probe thermometer inserted into the thickest part of the thigh, making sure not to hit the bone.
Pro Tip: Remove the chicken when it hits 160 degrees. Thermal carryover will cause the internal temperature to rise another 5 degrees while it rests, hitting the safe and juicy target of 165.
8. The Deglaze Move
While the bird rests, take your roasting pan and place it over a burner. Add a splash of white wine or stock and use a bench scraper or whisk to lift the browned bits.
Pro Tip: These bits, called fond, are concentrated pockets of protein and sugar. Deglazing creates a pan sauce that adds a final layer of complexity to the dish.
9. The Patient Rest
Place the chicken on a warm platter and wait. Do not tent it tightly with foil, as this will trap steam and soften the skin you worked so hard to crisp.
Pro Tip: Resting allows the muscle fibers to relax. As they cool slightly, they reabsorb the liquid trapped in the center, ensuring every bite is moist.
The Deep Dive
Macro Nutrition: A standard serving of roasted chicken is a powerhouse of lean protein, providing roughly 25g per 3-ounce serving. It is rich in selenium and phosphorus, which support metabolic function.
Dietary Swaps:
- Keto: This recipe is naturally keto-compliant. Use extra butter for increased healthy fats.
- Vegan: Swap the chicken for a large head of cauliflower. Use the same seasoning profile and roast until tender.
- GF: This method is naturally gluten-free. Just ensure your spices do not have hidden anti-caking agents containing wheat.
The Fix-It:
- Soggy Skin: If the skin is limp, crank the broiler for the last 2 minutes. Watch it like a hawk to prevent carbonization.
- Raw Near Bone: If the joints are still pink, carve the legs off and return them to the oven for 5 minutes while the breast rests.
- Burnt Aromatics: If the herbs in the pan are smoking, add a half-cup of water to the bottom of the pan to regulate the temperature.
Meal Prep: To maintain "day-one" quality, reheat slices in a heavy-bottomed skillet with a teaspoon of water and a lid. This creates a gentle steam that warms the meat without toughening the proteins.
The Wrap-Up
Mastering whole chicken recipes baked in your own kitchen is the ultimate culinary milestone. It is about understanding how heat, fat, and salt interact to transform a simple bird into a centerpiece. You have got the tools, the science, and the technique; now go make your kitchen smell like a five-star bistro.
The Kitchen Table
How do I get the skin extra crispy?
Ensure the skin is bone-dry before roasting. Use a high-smoke point fat and avoid "tenting" the chicken with foil while it rests, as the trapped steam will immediately soften the crisp exterior.
What temperature is best for roasting chicken?
A high-low approach works best. Start at 450 degrees Fahrenheit for 15 minutes to render the fat, then drop to 400 degrees to cook the meat through without burning the skin.
How long does a 4lb chicken take to bake?
Typically, a four-pound chicken takes 60 to 75 minutes. However, always use a meat thermometer to check for an internal temperature of 160 degrees Fahrenheit before resting.
Should I wash the chicken before baking?
No. Washing chicken splashes bacteria around your sink and counters. Instead, pat the skin dry with paper towels to ensure a safe and effective sear during the roasting process.
Why is my roasted chicken dry?
Dryness usually results from overcooking or failing to let the bird rest. Always pull the chicken at 160 degrees and rest it for 20 minutes to allow juices to redistribute.