
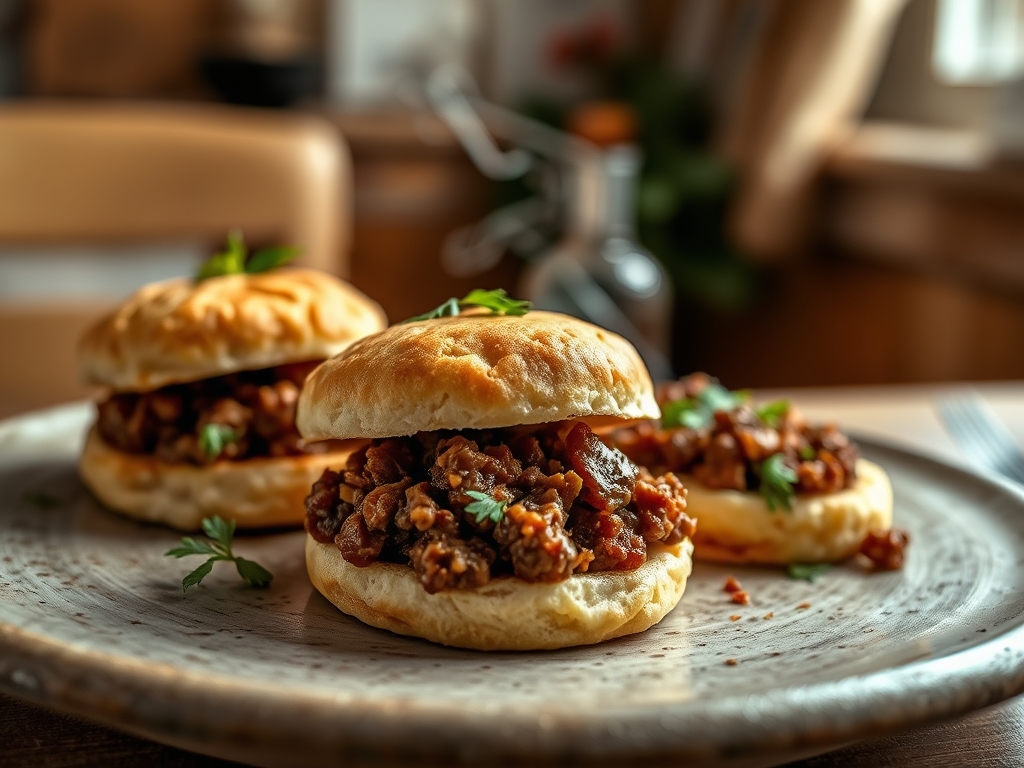
Picture a Sunday afternoon where the air is thick with the scent of rendering fat and toasted flour. You are craving something that feels like a hug but tastes like a five star bistro. That is the magic of biscuits and ground beef recipes; they bridge the gap between humble pantry staples and sophisticated comfort food.
This pairing is a masterclass in texture. You have the shatteringly crisp, laminated layers of a buttermilk biscuit meeting the savory, umami forward depth of browned beef. It is not just dinner; it is a structural achievement. Whether you are folding spiced meat into a cobbler or topping a savory pie with golden dough rounds, the science of the Maillard reaction ensures every bite is packed with complex flavor profiles. We are moving past the basic "meat and bread" concept to explore how fat, acid, and heat transform these simple ingredients into a culinary event. Grab your favorite heavy bottomed skillet; we are about to elevate your weeknight rotation with professional precision and a little bit of kitchen wit.
The Gathers:
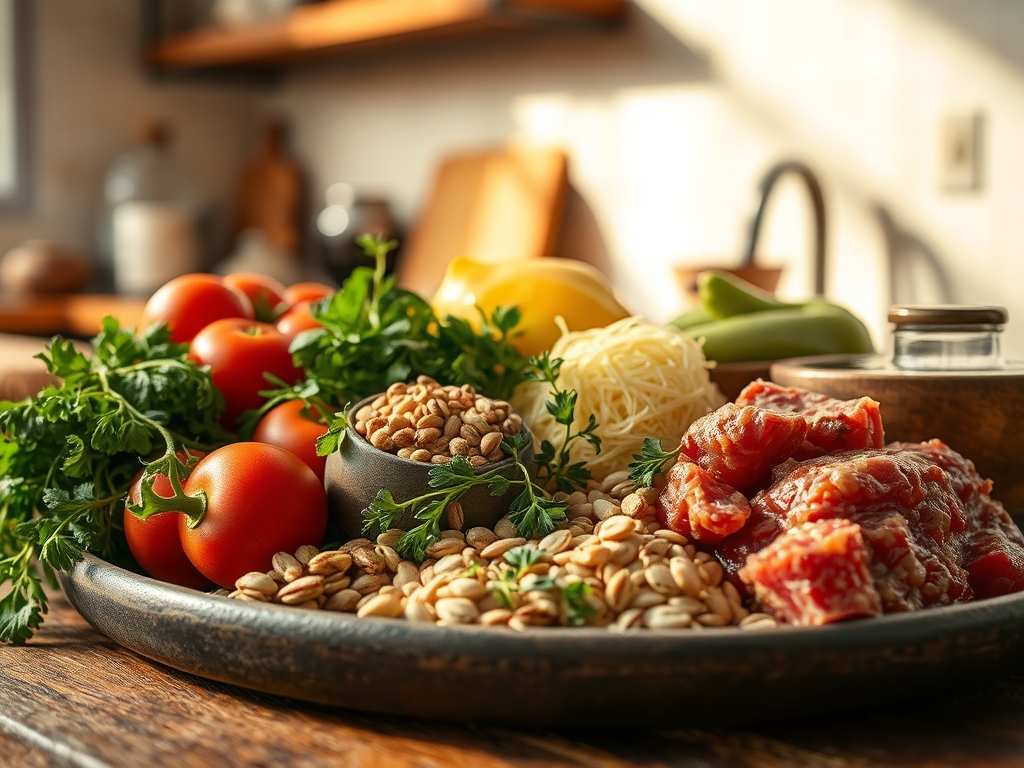
Setting your stage, or mise-en-place, is the difference between a frantic kitchen and a fluid one. For these biscuits and ground beef recipes, you need high quality fats and proteins. Start with 80/20 ground chuck; the 20 percent fat content is vital for moisture and flavor retention during the rendering process. You will also need chilled, unsalted European style butter, which has a higher butterfat content and lower water percentage than standard sticks, ensuring your biscuit layers actually puff rather than steam.
Your dry goods should include low protein pastry flour or a high quality all purpose flour for a tender crumb. Keep a bottle of cold buttermilk nearby; the lactic acid reacts with your leavening agents to produce carbon dioxide, creating that airy lift. For aromatics, reach for shallots, garlic, and fresh thyme.
Smart Substitutions: If you are looking for a leaner profile, swap the beef for ground bison, but add a tablespoon of Worcestershire sauce to mimic that deep beefy umami. For a dairy free biscuit, use frozen coconut oil and almond milk spiked with a teaspoon of lemon juice to replicate the acidity of buttermilk. If you find yourself without a rolling pin, a chilled wine bottle works in a pinch to maintain the cold temperature of the dough.
The Clock:
Efficiency in the kitchen is all about the Chef's Flow. This is the art of overlapping tasks so that no minute is wasted.
Prep Time: 20 Minutes. This includes your chopping and the critical "chill time" for your fats. Professional tip: cube your butter and stick it in the freezer for ten minutes before you start.
Cook Time: 25 to 35 Minutes. While your beef is browning and deglazing in the skillet, your oven should be preheating to at least 425 degrees Fahrenheit.
The Flow: Start by browning the meat. While the beef undergoes enzymatic browning, use your bench scraper to cut the fat into your flour. By the time your filling is seasoned and thickened into a viscous gravy, your dough is ready to be cut. The biscuits hit the top of the beef just as the skillet comes off the heat, and the whole assembly slides into the oven. This synchronized dance ensures the bottom of the biscuit steams into a dumpling texture while the top shatters like glass.
The Masterclass:
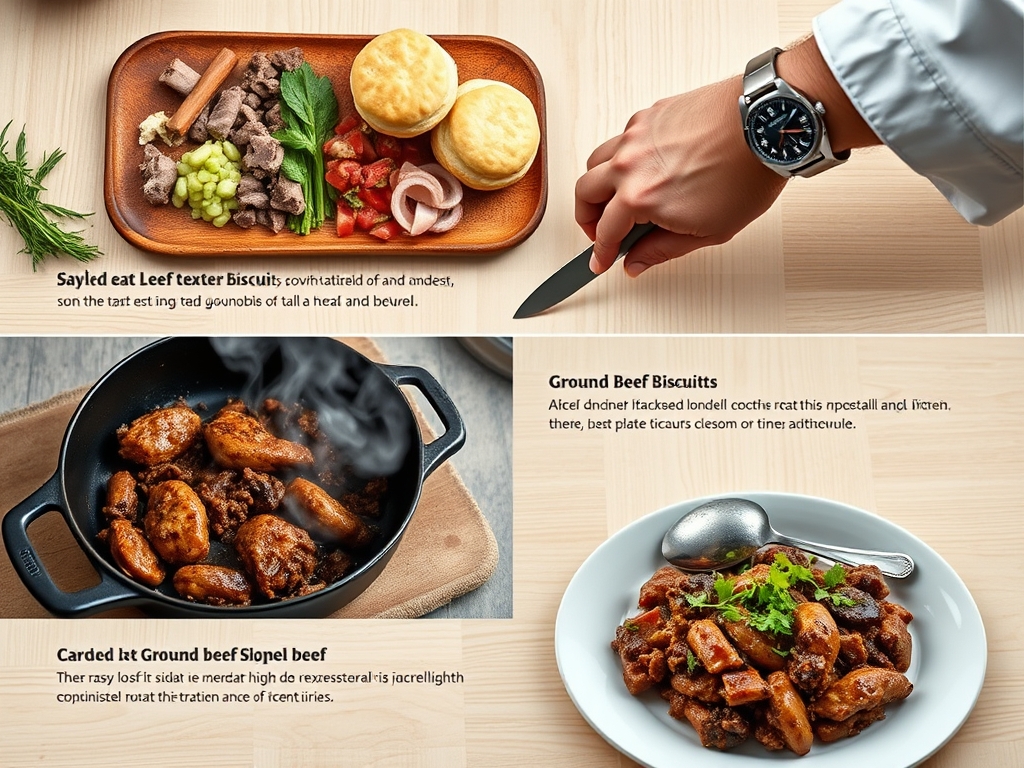
1. The Sear and Render
Place your ground beef in a preheated heavy bottomed skillet. Do not crowd the pan; you want to sear, not steam. Use a stiff spatula to break the meat into uniform morsels.
Pro Tip: This stage is all about the Maillard reaction. By allowing the meat to develop a dark brown crust, you are creating hundreds of new flavor compounds. Avoid stirring constantly; let the meat sit undisturbed for three minutes to maximize this chemical transformation.
2. Deglazing the Fond
Once the meat is browned, remove excess fat but leave the brown bits (the fond) at the bottom. Pour in a splash of beef stock or dry red wine and scrape the bottom of the pan.
Pro Tip: Deglazing is a functional cleaning of the pan that doubles as flavor extraction. The liquid dissolves the caramelized proteins, creating a viscous base for your sauce that carries the essence of the beef into every corner of the dish.
3. Aerating the Flour
In a large bowl, whisk your flour, baking powder, and salt. Use a microplane to grate cold butter directly into the mixture.
Pro Tip: Grating the butter creates uniform "shards" of fat. When these hit the hot oven, the water in the butter evaporates instantly, creating steam pockets that aerate the dough. This is the secret to a professional, flaky rise.
4. Folding for Laminations
Add the buttermilk and stir until just combined. Turn the dough onto a floured surface and fold it over itself five or six times.
Pro Tip: This is called rough puff lamination. Each fold creates distinct layers of fat and flour. Overworking the dough at this stage develops too much gluten, which will turn your biscuits into hockey pucks. Keep your touch light and fast.
5. The Emulsified Gravy
Add a tablespoon of flour to your meat and aromatics, cooking for one minute before slowly whisking in more stock or cream.
Pro Tip: You are creating a veloute style emulsion. The flour coats the fat droplets, preventing the sauce from breaking. This ensures a silky mouthfeel that coats the back of a spoon and provides a moist environment for the biscuits to bake upon.
6. The Assembly and Bake
Drop your biscuit rounds onto the simmering beef mixture. Brush the tops with an egg wash or melted butter.
Pro Tip: The egg wash provides a protein source for further browning. This is thermal carryover in action; the heat from the beef starts cooking the bottom of the biscuits before they even hit the oven, ensuring the centers are never doughy.
7. The Rest Period
Once golden brown, remove the skillet from the oven and let it sit for five minutes before serving.
Pro Tip: Resting allows the starches in the gravy to retrograde and thicken. If you scoop into it immediately, the sauce will be too thin. Five minutes of patience results in a perfect, cohesive plate.
8. The Finishing Touch
Garnish with fresh herbs or a zest of lemon using your microplane.
Pro Tip: A hit of acid or fresh chlorophyll cuts through the heavy fats of the beef and butter. This piquant finish resets the palate, making every subsequent bite taste as vibrant as the first.
The Deep Dive:
When we look at the macro nutrition, this dish is a powerhouse of protein and iron. A standard serving provides roughly 25 grams of protein and a significant hit of B vitamins. To make this Keto friendly, swap the biscuit for a cauliflower and almond flour "drop" topping. For a Vegan twist, use protein crumbles and a high quality plant based butter substitute.
The Fix-It:
- Soggy Biscuits: This happens if your gravy is too watery. Fix it by simmering the sauce longer to reduce the volume before adding the dough.
- Tough Dough: You likely over handled the butter. Next time, use a bench scraper instead of your warm hands to mix.
- Bland Beef: If the flavor is flat, you missed the deglazing step. Add a teaspoon of balsamic vinegar or soy sauce at the end to boost the acidity and salt.
Meal Prep: To maintain "day one" quality, store the beef and biscuits separately if possible. Reheat the beef in a saucier on the stove and toast the biscuits in a 350 degree oven to restore their structural integrity.
The Wrap-Up:
There you have it; the ultimate guide to mastering biscuits and ground beef recipes with the soul of a home cook and the brain of a scientist. We have tackled everything from the physics of steam to the chemistry of browning. This dish is a testament to the fact that you do not need expensive ingredients to create a luxury experience. It is all about the technique, the temperature, and the love you put into the fold. Now, go forth, fire up that skillet, and show your kitchen who is boss.
The Kitchen Table:
Can I use canned biscuits for these recipes?
Yes, but the texture will be less flaky. To improve canned biscuits, brush them with melted butter and sprinkle with sea salt before baking to enhance the crust and mimic a homemade profile.
How do I prevent the beef from being greasy?
Always drain the excess fat after the initial browning. Leave about one tablespoon in the pan to sauté your aromatics; this retains the flavor without making the final gravy feel heavy or oily on the tongue.
What is the best way to reheat leftovers?
Use an oven or air fryer at 350 degrees. Microwaves make biscuits rubbery by vibrating water molecules too quickly. The dry heat of an oven restores the crispness of the laminated layers while warming the beef evenly.
Can I make the biscuit dough in advance?
Absolutely. You can cut the butter into the flour and store the dry mix in the freezer. Add the buttermilk only when you are ready to bake to ensure the leavening agents react at the correct time.